

One Person’s Trash Is Another Person’s Treasure
Plus 2 more

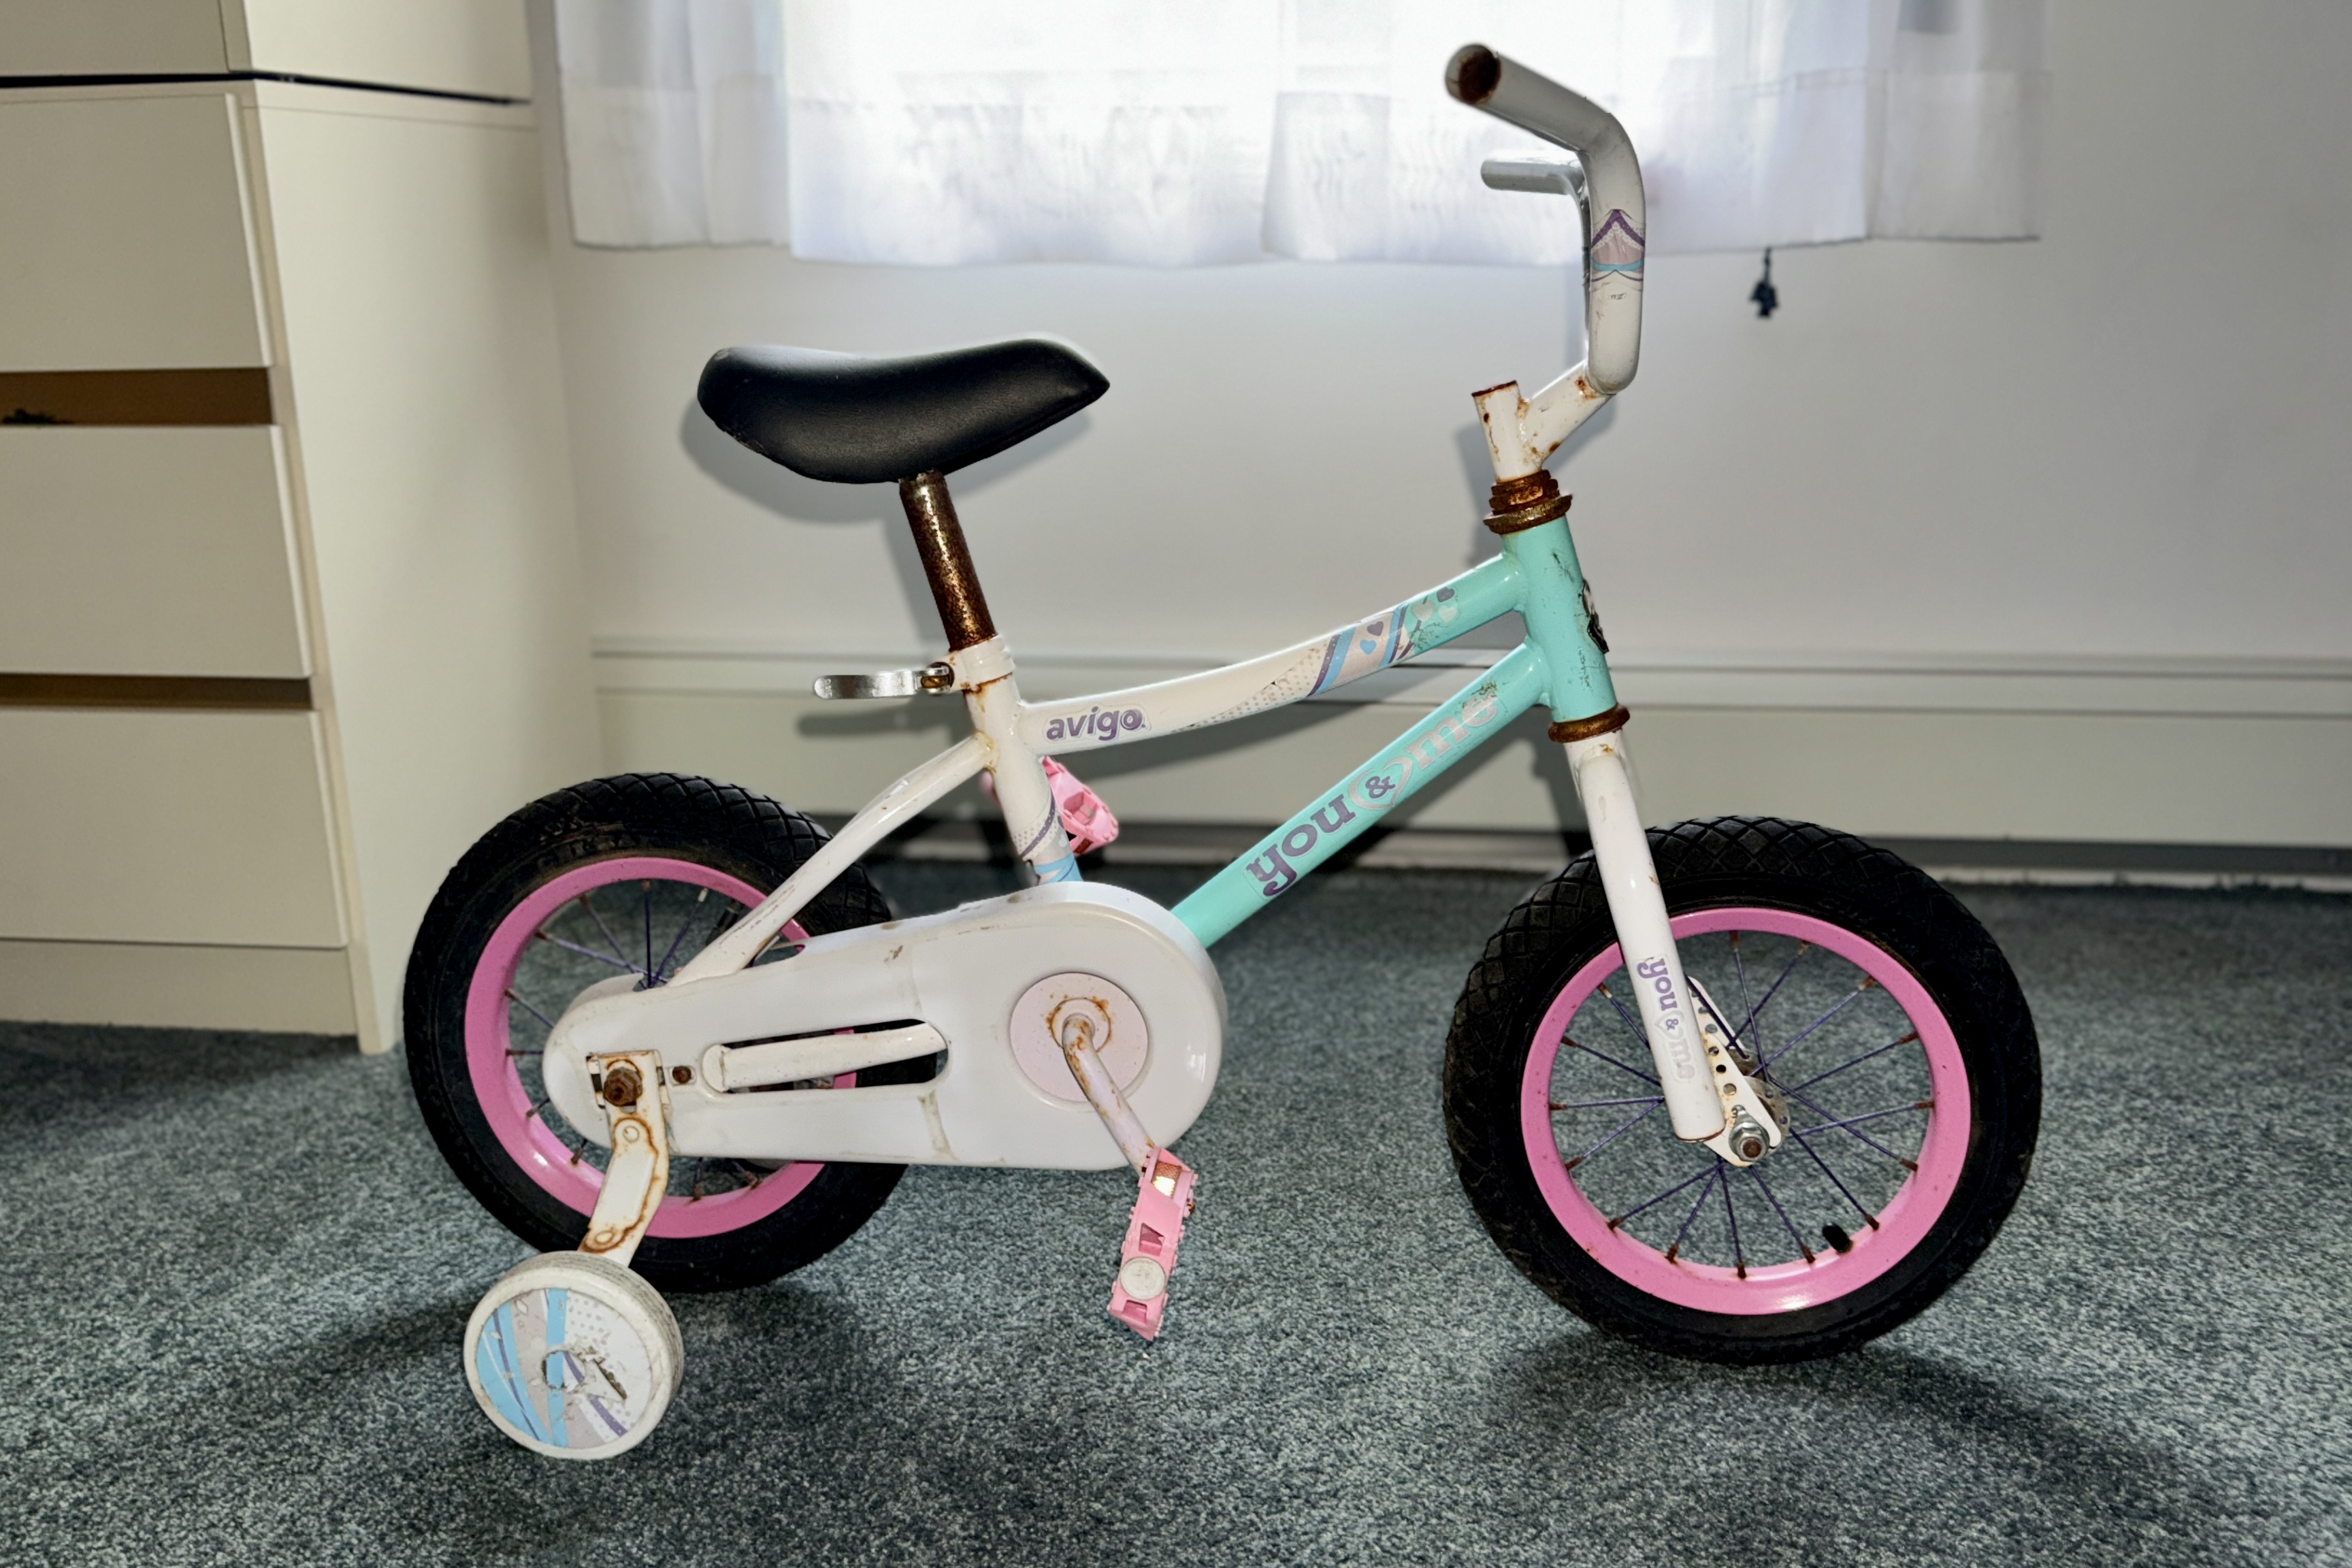

My sister was heading to a community yard sale one Saturday. I just casually mentioned to her that if she happened to see something that I could fix up, refurbish, repaint, something I could use WD-40 on, whatever she could find, then to let me know.
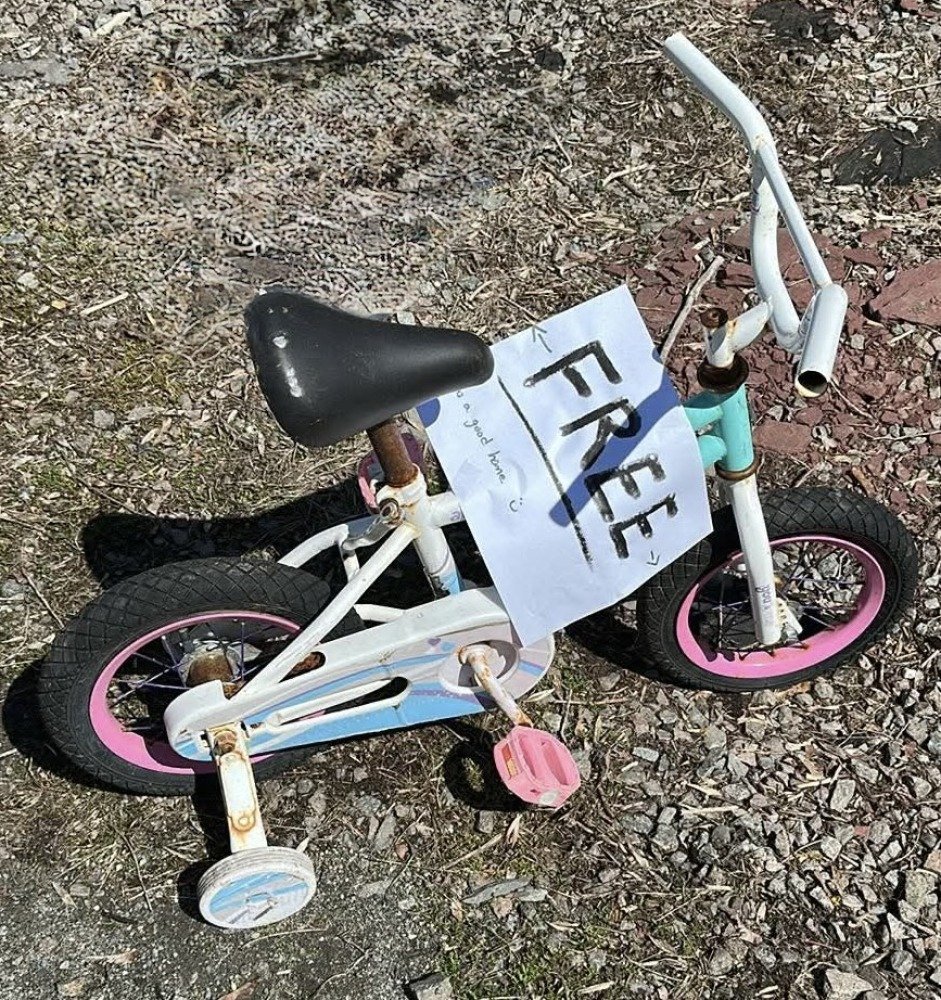
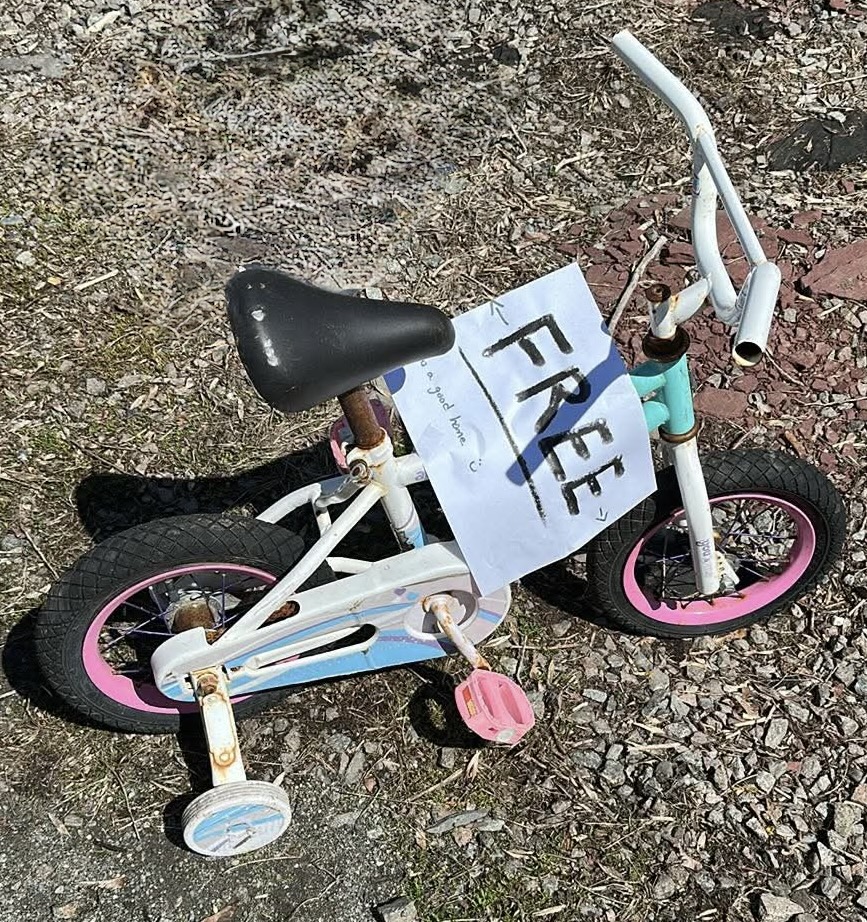
I didn't really expect that she would find anything for me, however a few hours later I received a message asking if I want a little kids bike… and the best part, it was FREE to a good home :) I asked her to send some photos my way. Meanwhile she described it as saying it has some rust, a couple little holes in the seat and the tires look good.
OK I said, I’ll take it! Bring on project “One Person’s Trash Is Another Person’s Treasure”!
I already had a vision of what I would like the end result to look like. However I wanted to physically see my ideas though so I inputted my colour scheme plans, etc into AI to have it create a picture that I could refer to as I moved along on my project. (That photo is NOT the completed project but it does look similar)
Little did I know at that time what I was getting myself into…
Step 1: Have a seat… or not… ??

Plus 6 more

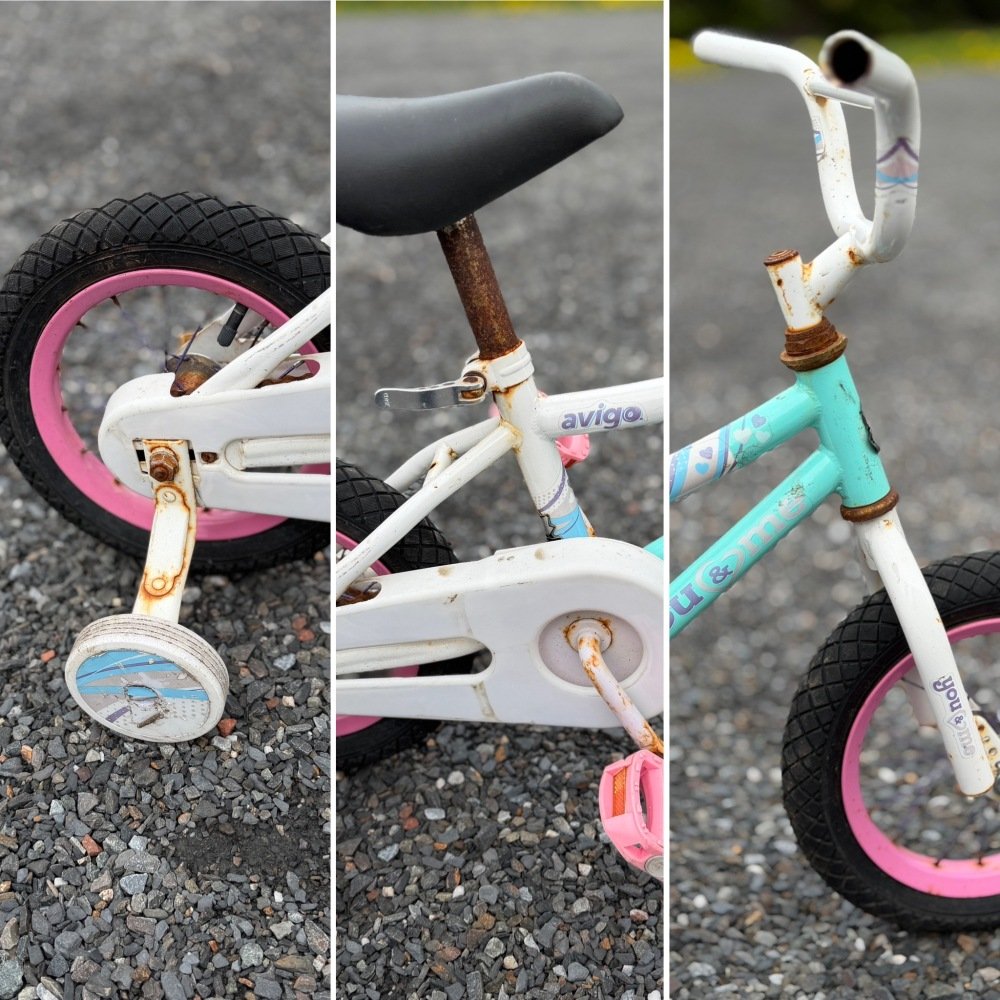
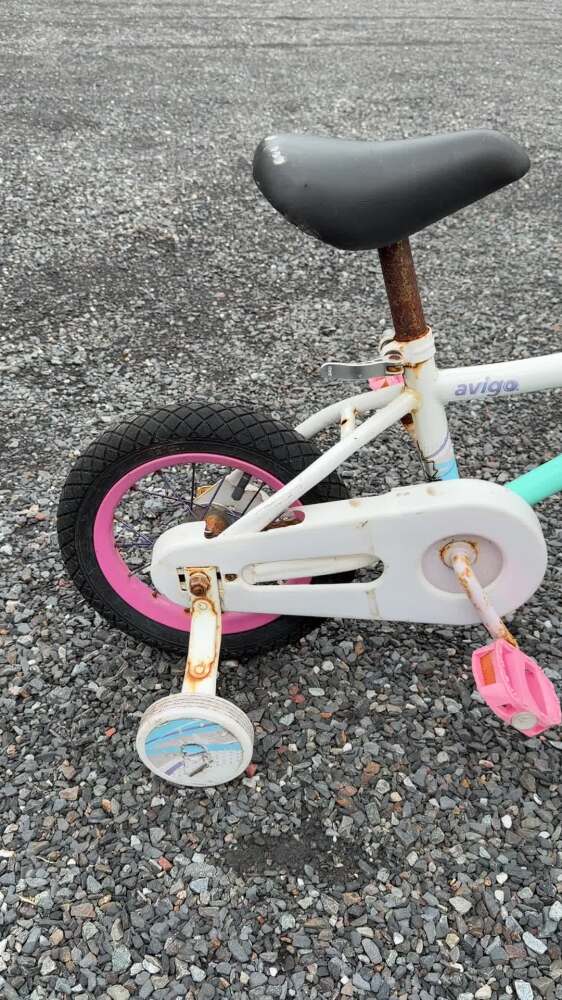
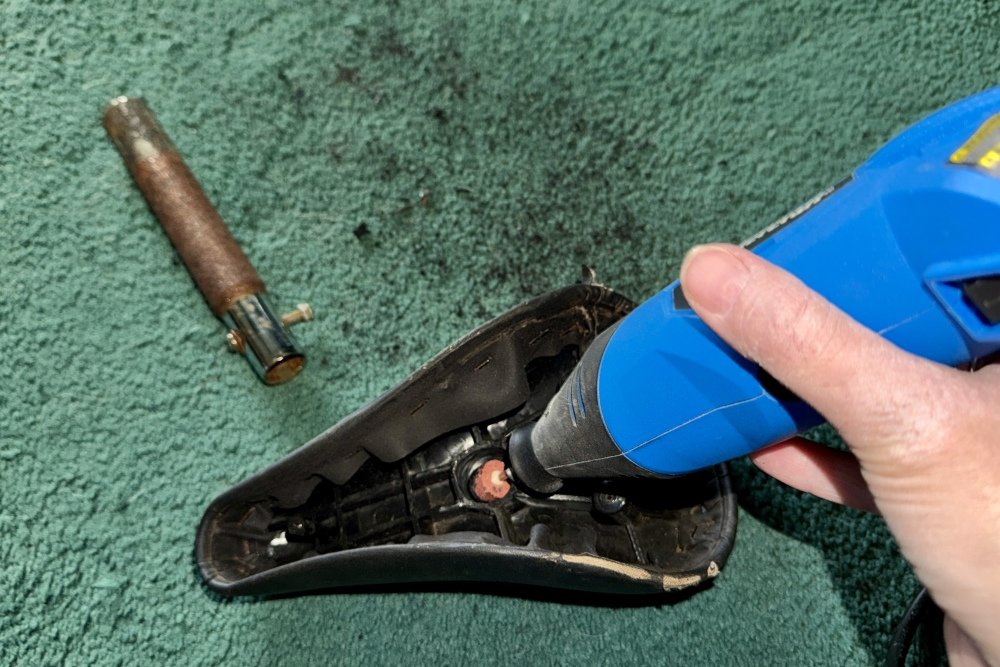
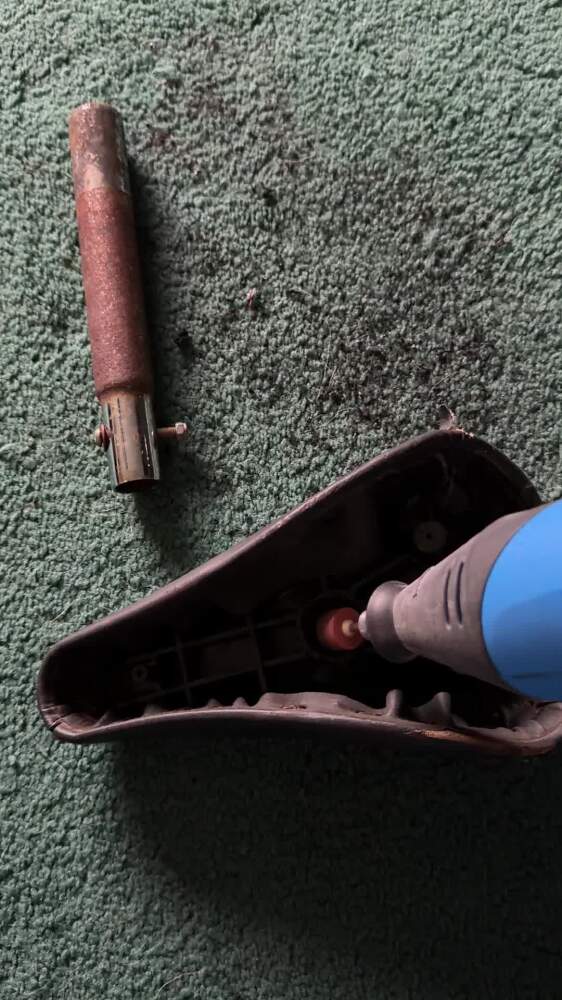
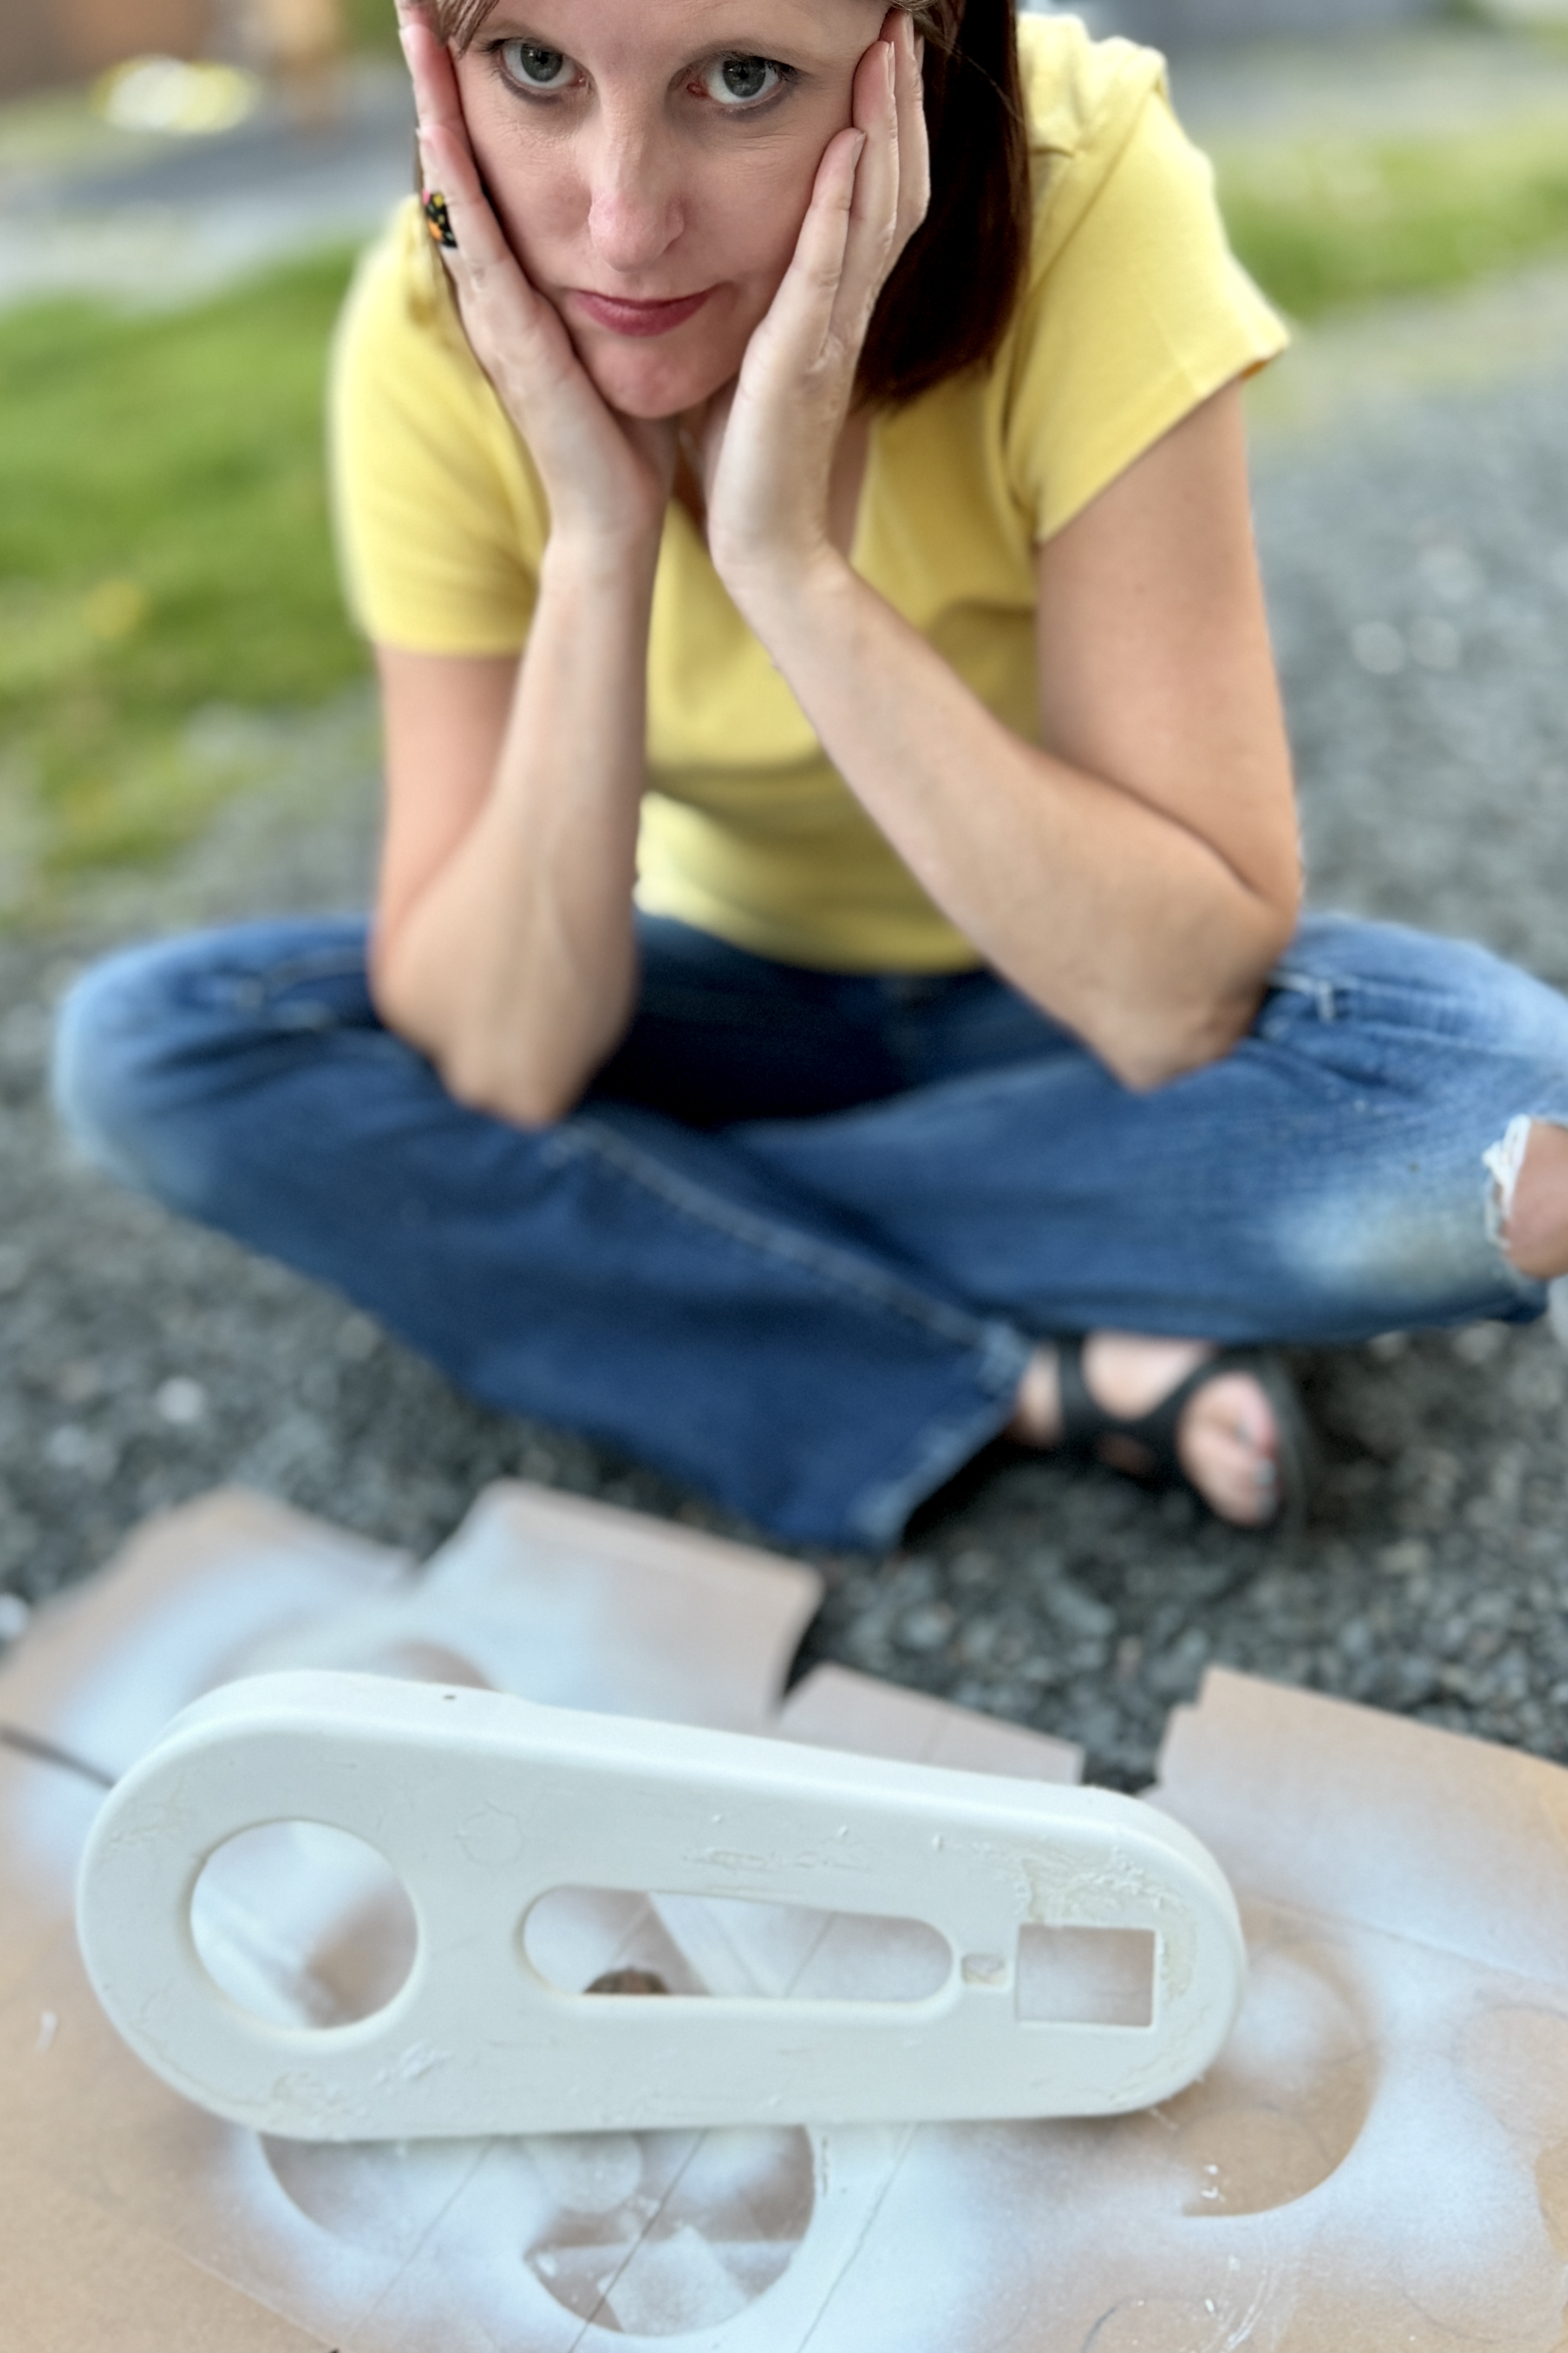
That evening I went to my sisters place to pick up my “treasure”. Turns out she failed to tell me that the seat was not attached to the seat post. The plastic piece inside where the screw went through to hold it onto the post was completely broken off.
That was going to pose a BIG problem with my plans for refurbishment because I was unsure of exactly how to proceed with fixing it. If I couldn’t find a solution, the project would be a bust before it even began.
After thinking about it for a day or two I thought maybe my best option would be to find another junk bicycle that I could take the seat off of so I started with that. A coworker just happened to have an old bicycle of her sons (that had been thrown in the bushes for a while, covered in sap and sticks, etc) and she offered it to me to use for parts. Unfortunately the seat post was too narrow and the seat would also require a lot of work to redo. So it was back to square one.
Just when I thought I was going to have to give up, an idea came to mind. I wasn’t sure if it would work but I had to give it a try.
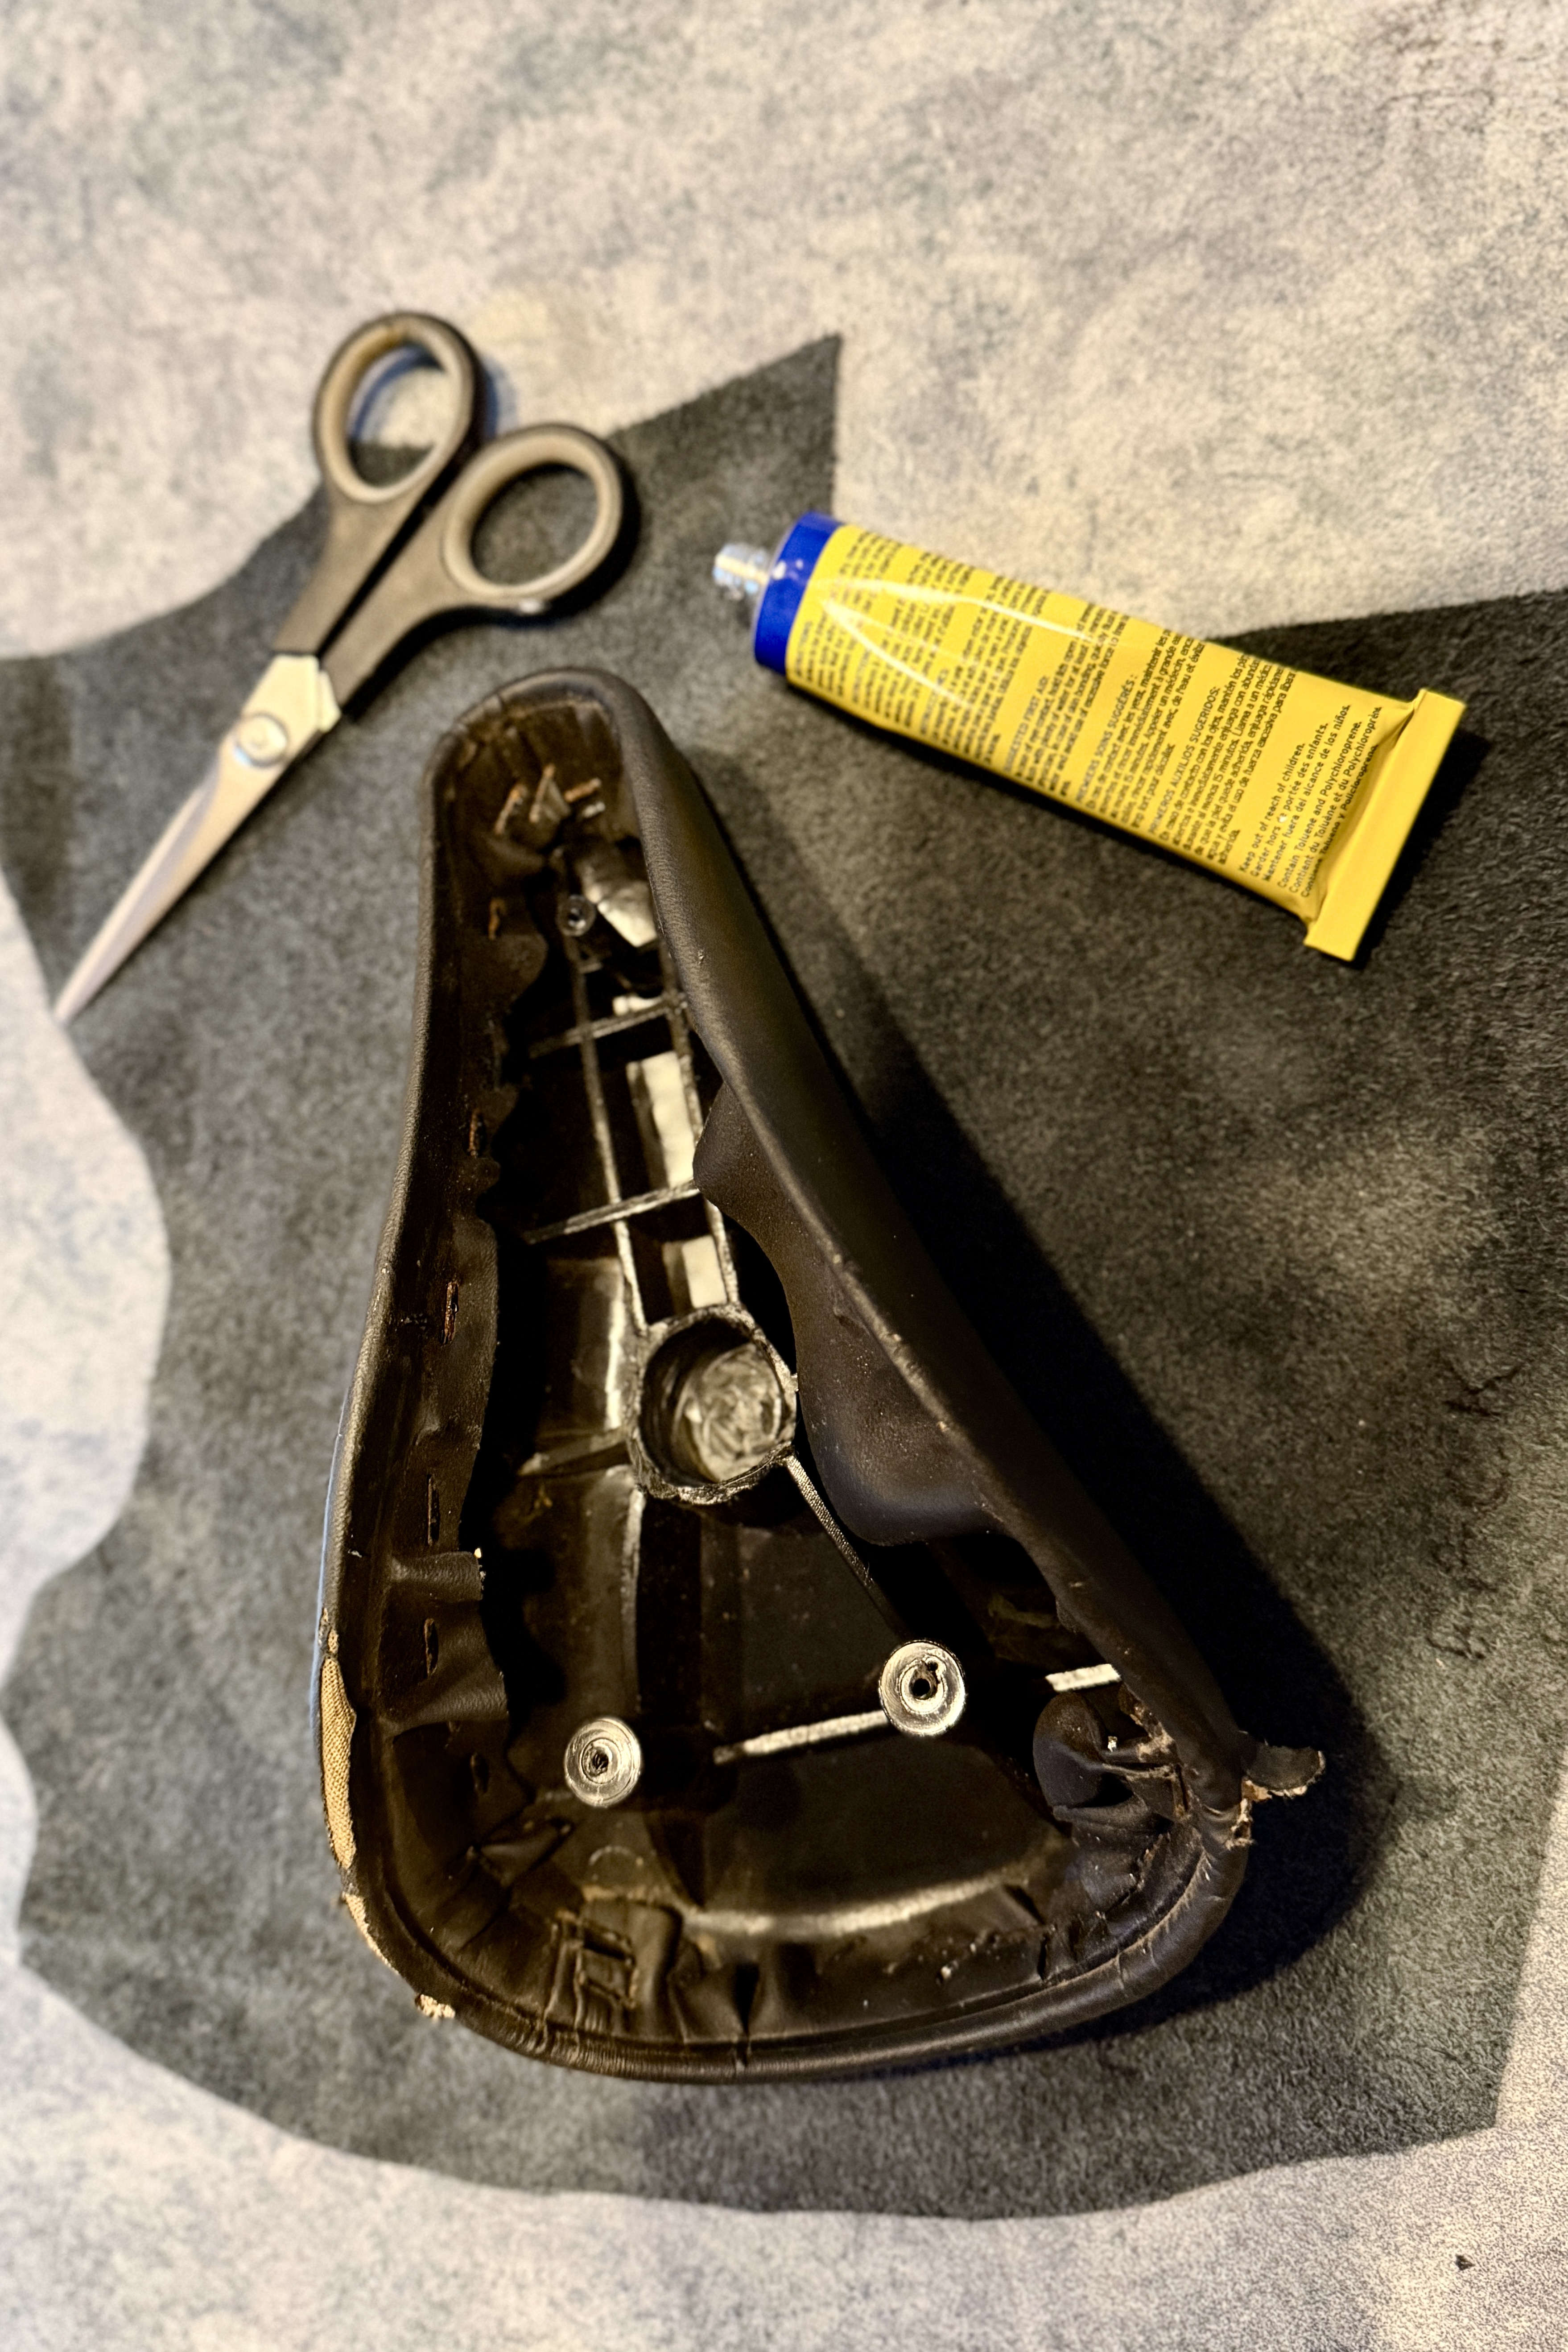
I stopped at the hardware store, stared at the nuts and bolts section looking for the perfect one to put my idea into action. I was explaining to the worker what I was planning on doing - that I was going to put a bolt right through both sides of the seat . She was worried the child using the bike would feel it protruding on the outside. I had already thought of that and had a plan to deal with it. I left with what I needed and went off in search of a scrap piece of leather. I found the perfect piece at a craft store. Perhaps this might just work after all!
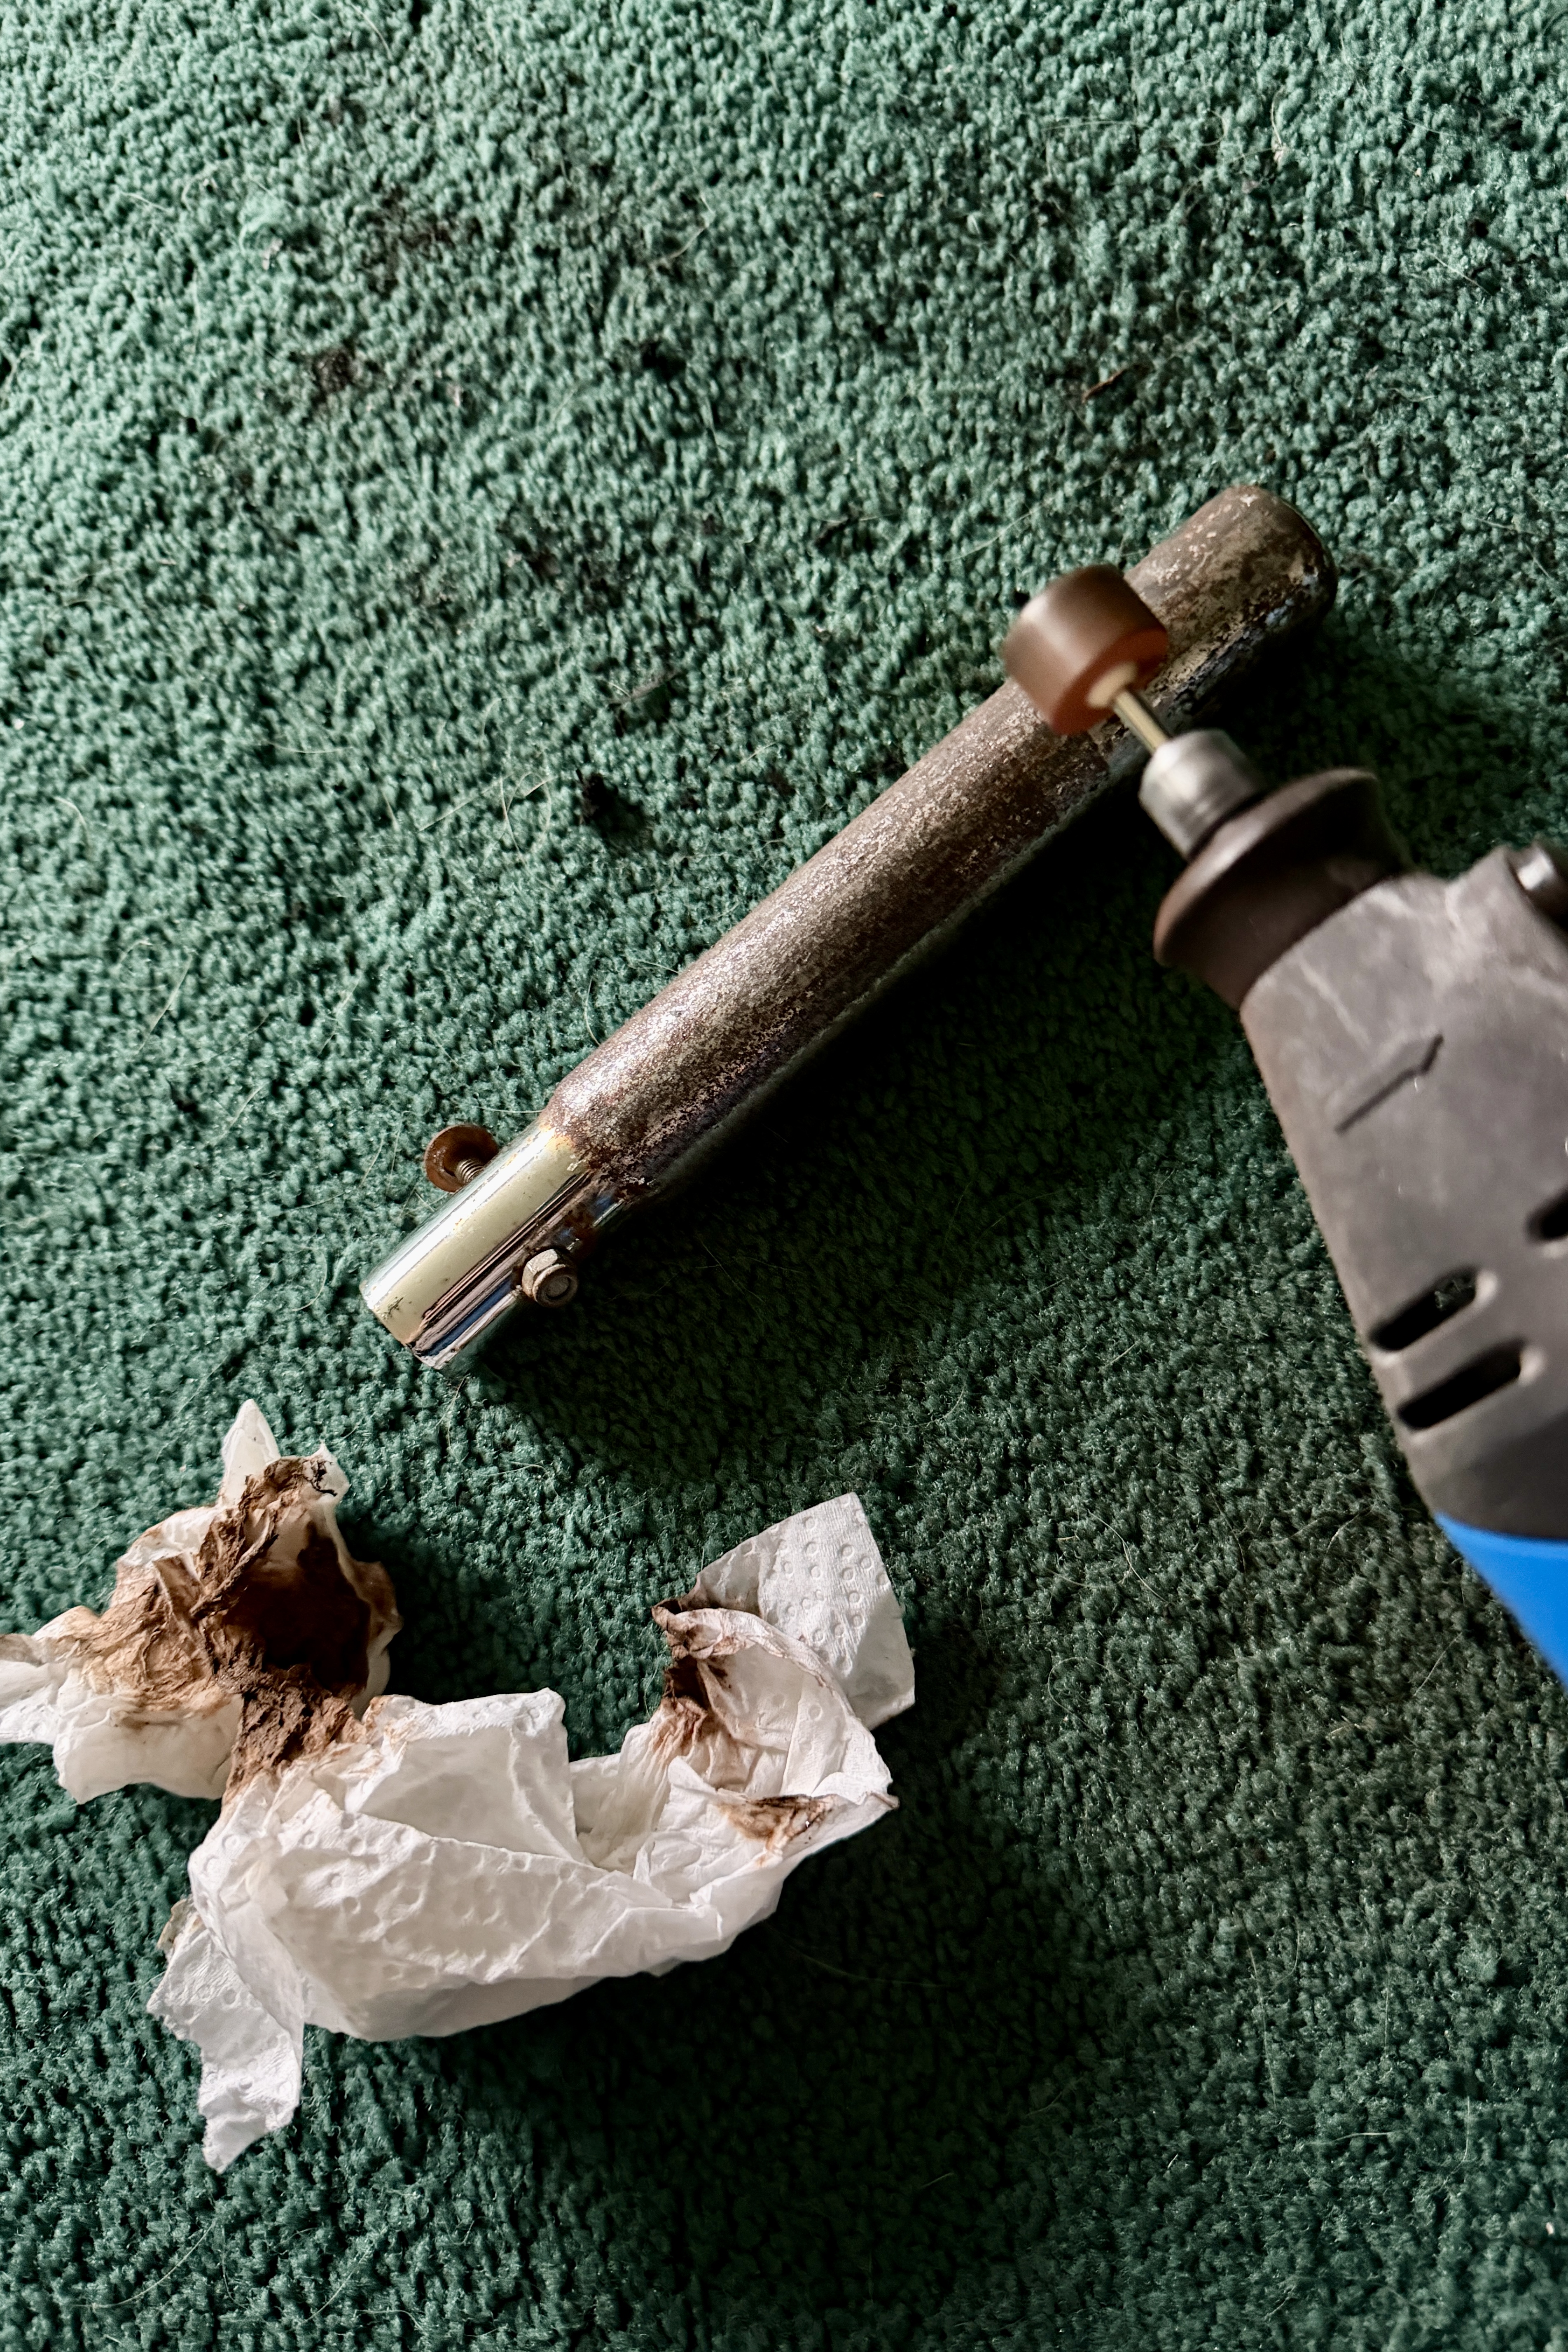
I sanded the rust off the post and I drilled/sanded out a wider hole in the plastic under the seat so the post would sit down into it snuggly, making sure not to sand it too much so it wouldn’t make the plastic weak. I treated the rust on the post with WD-40 being sure to give it a wipe afterwards with a grease fighting soap before spray painting it black.
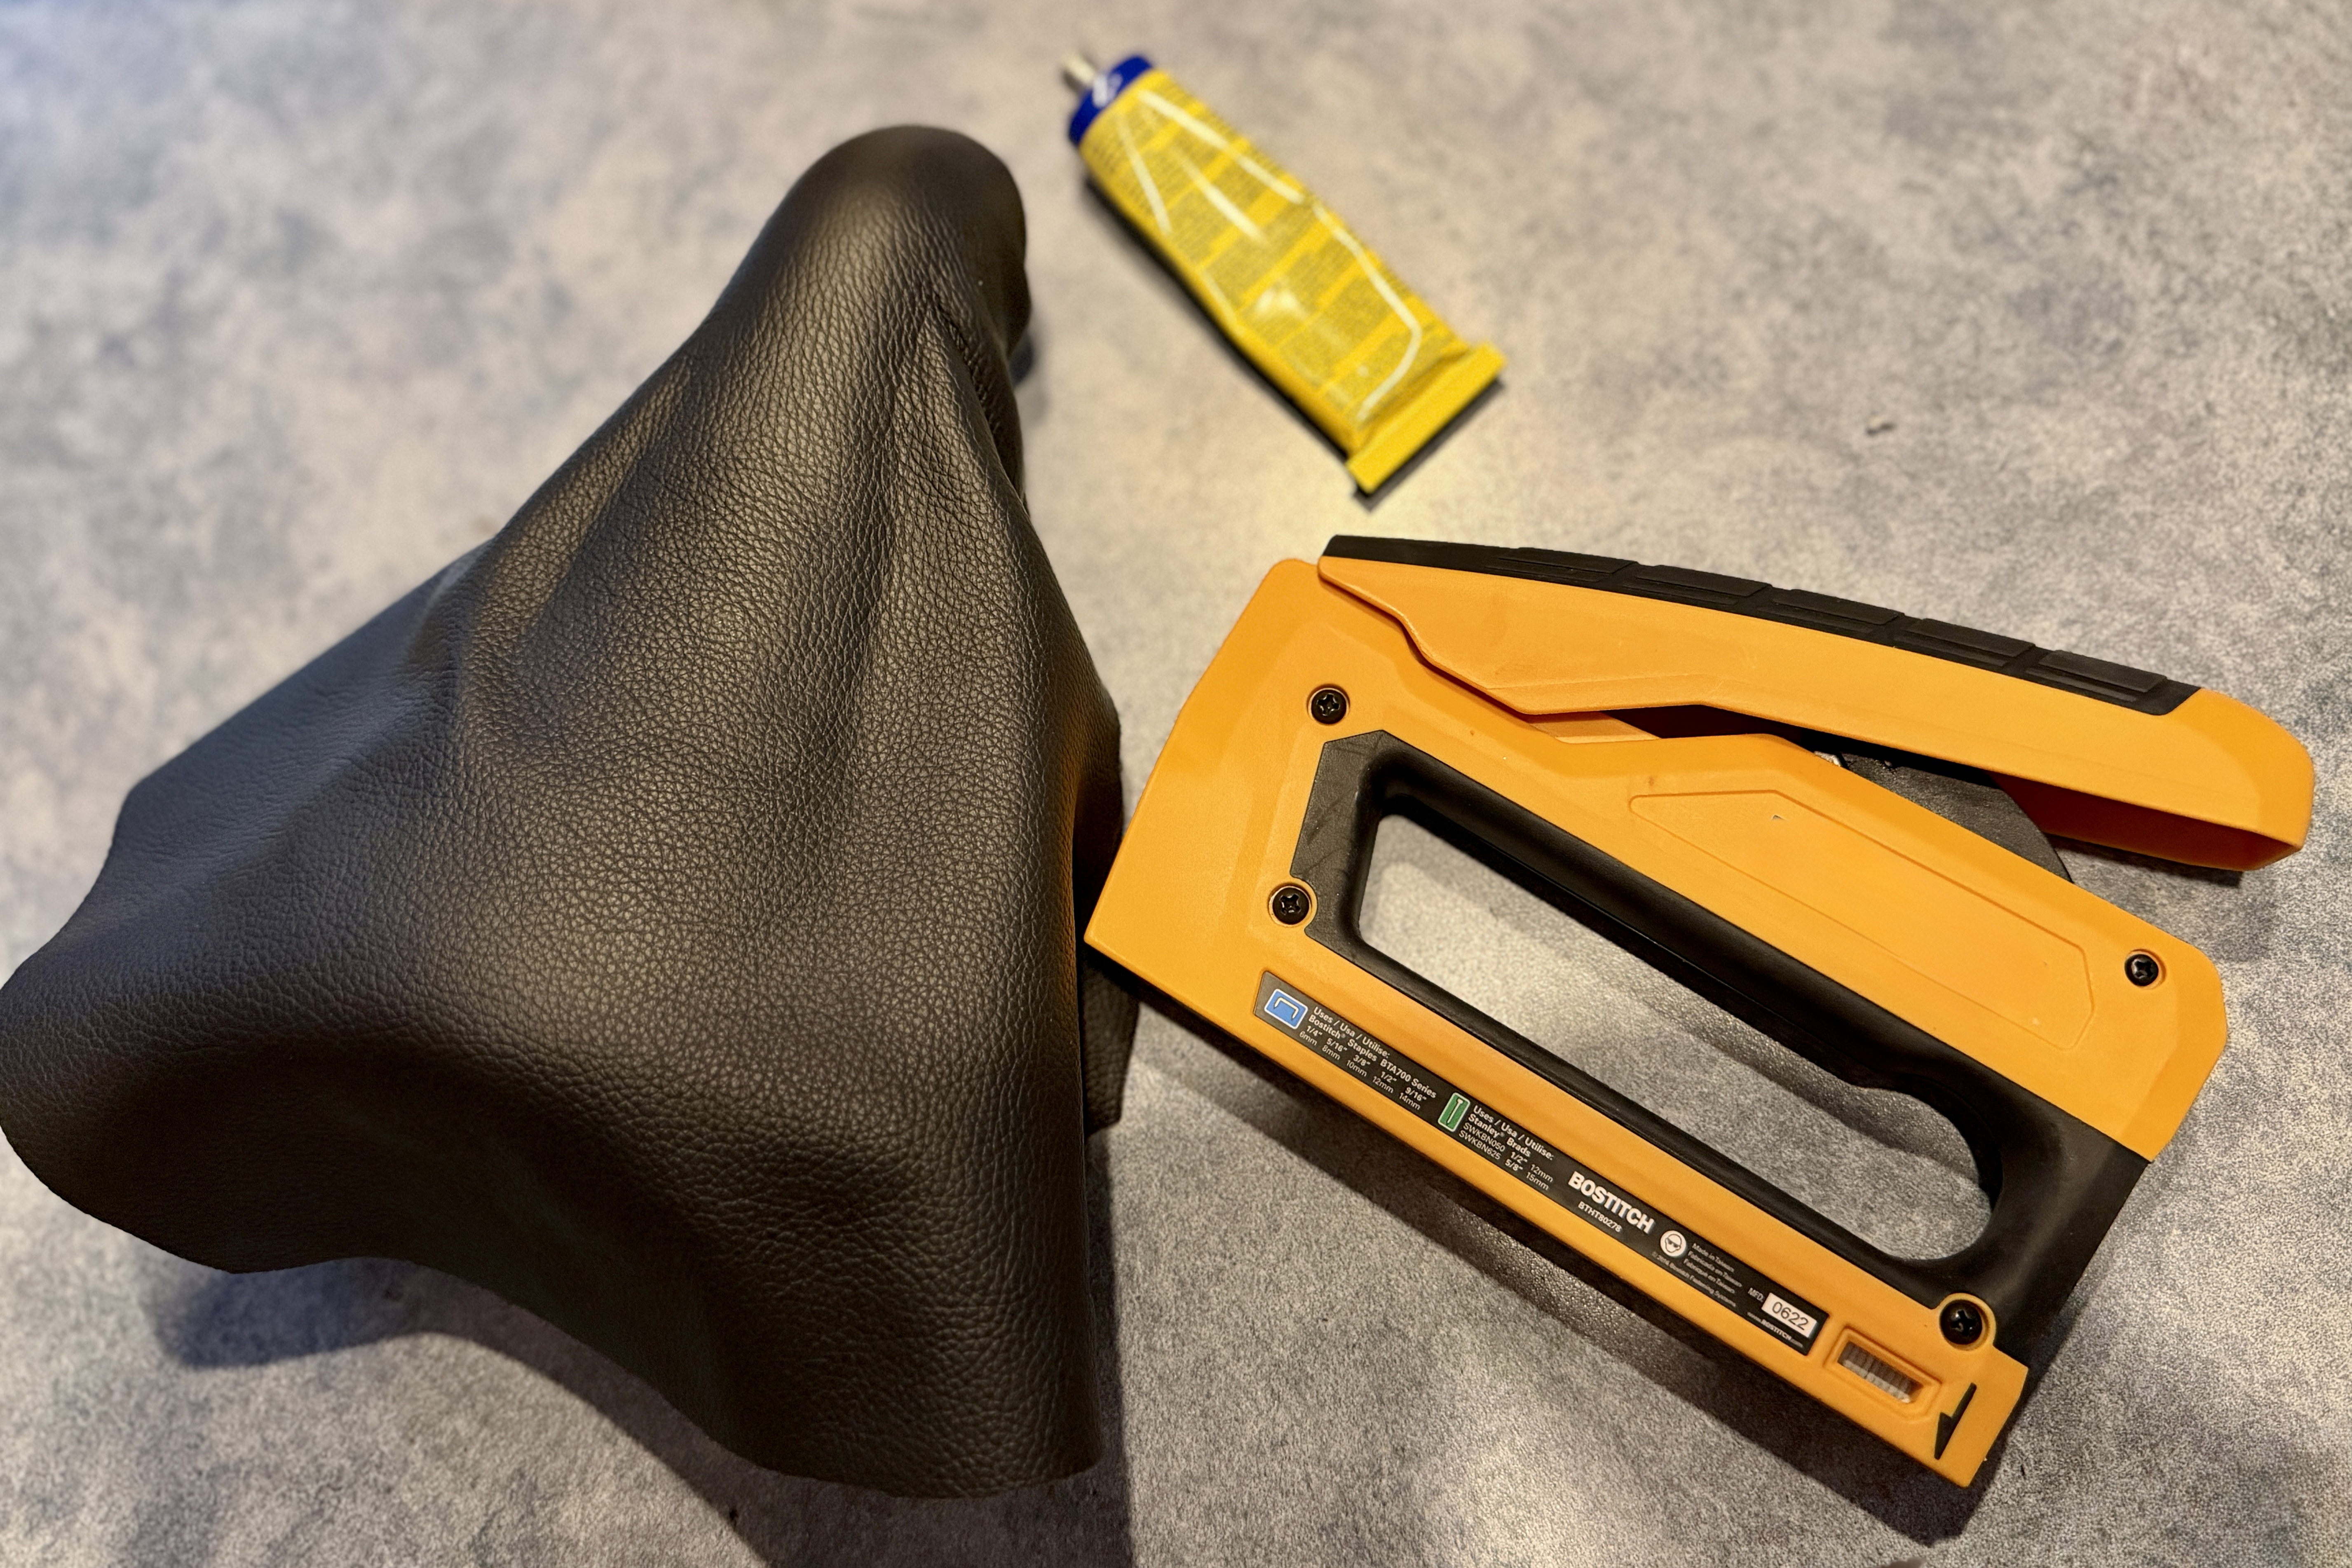
The next day I drilled a hole through each side of the seat, slid the bolt through making sure to go through the seat post in the middle - this was not an easy task getting it lined up to go through both sides - and secured it with a lock nut. Contact cement was used to fasten the post to the seat (both before when I attached the post and after around the base). I got to work stretching out the piece of leather and started attaching it little by little to the original seat with a contact cement that was good for leather, making sure to keep the material as tight and smooth as possible.
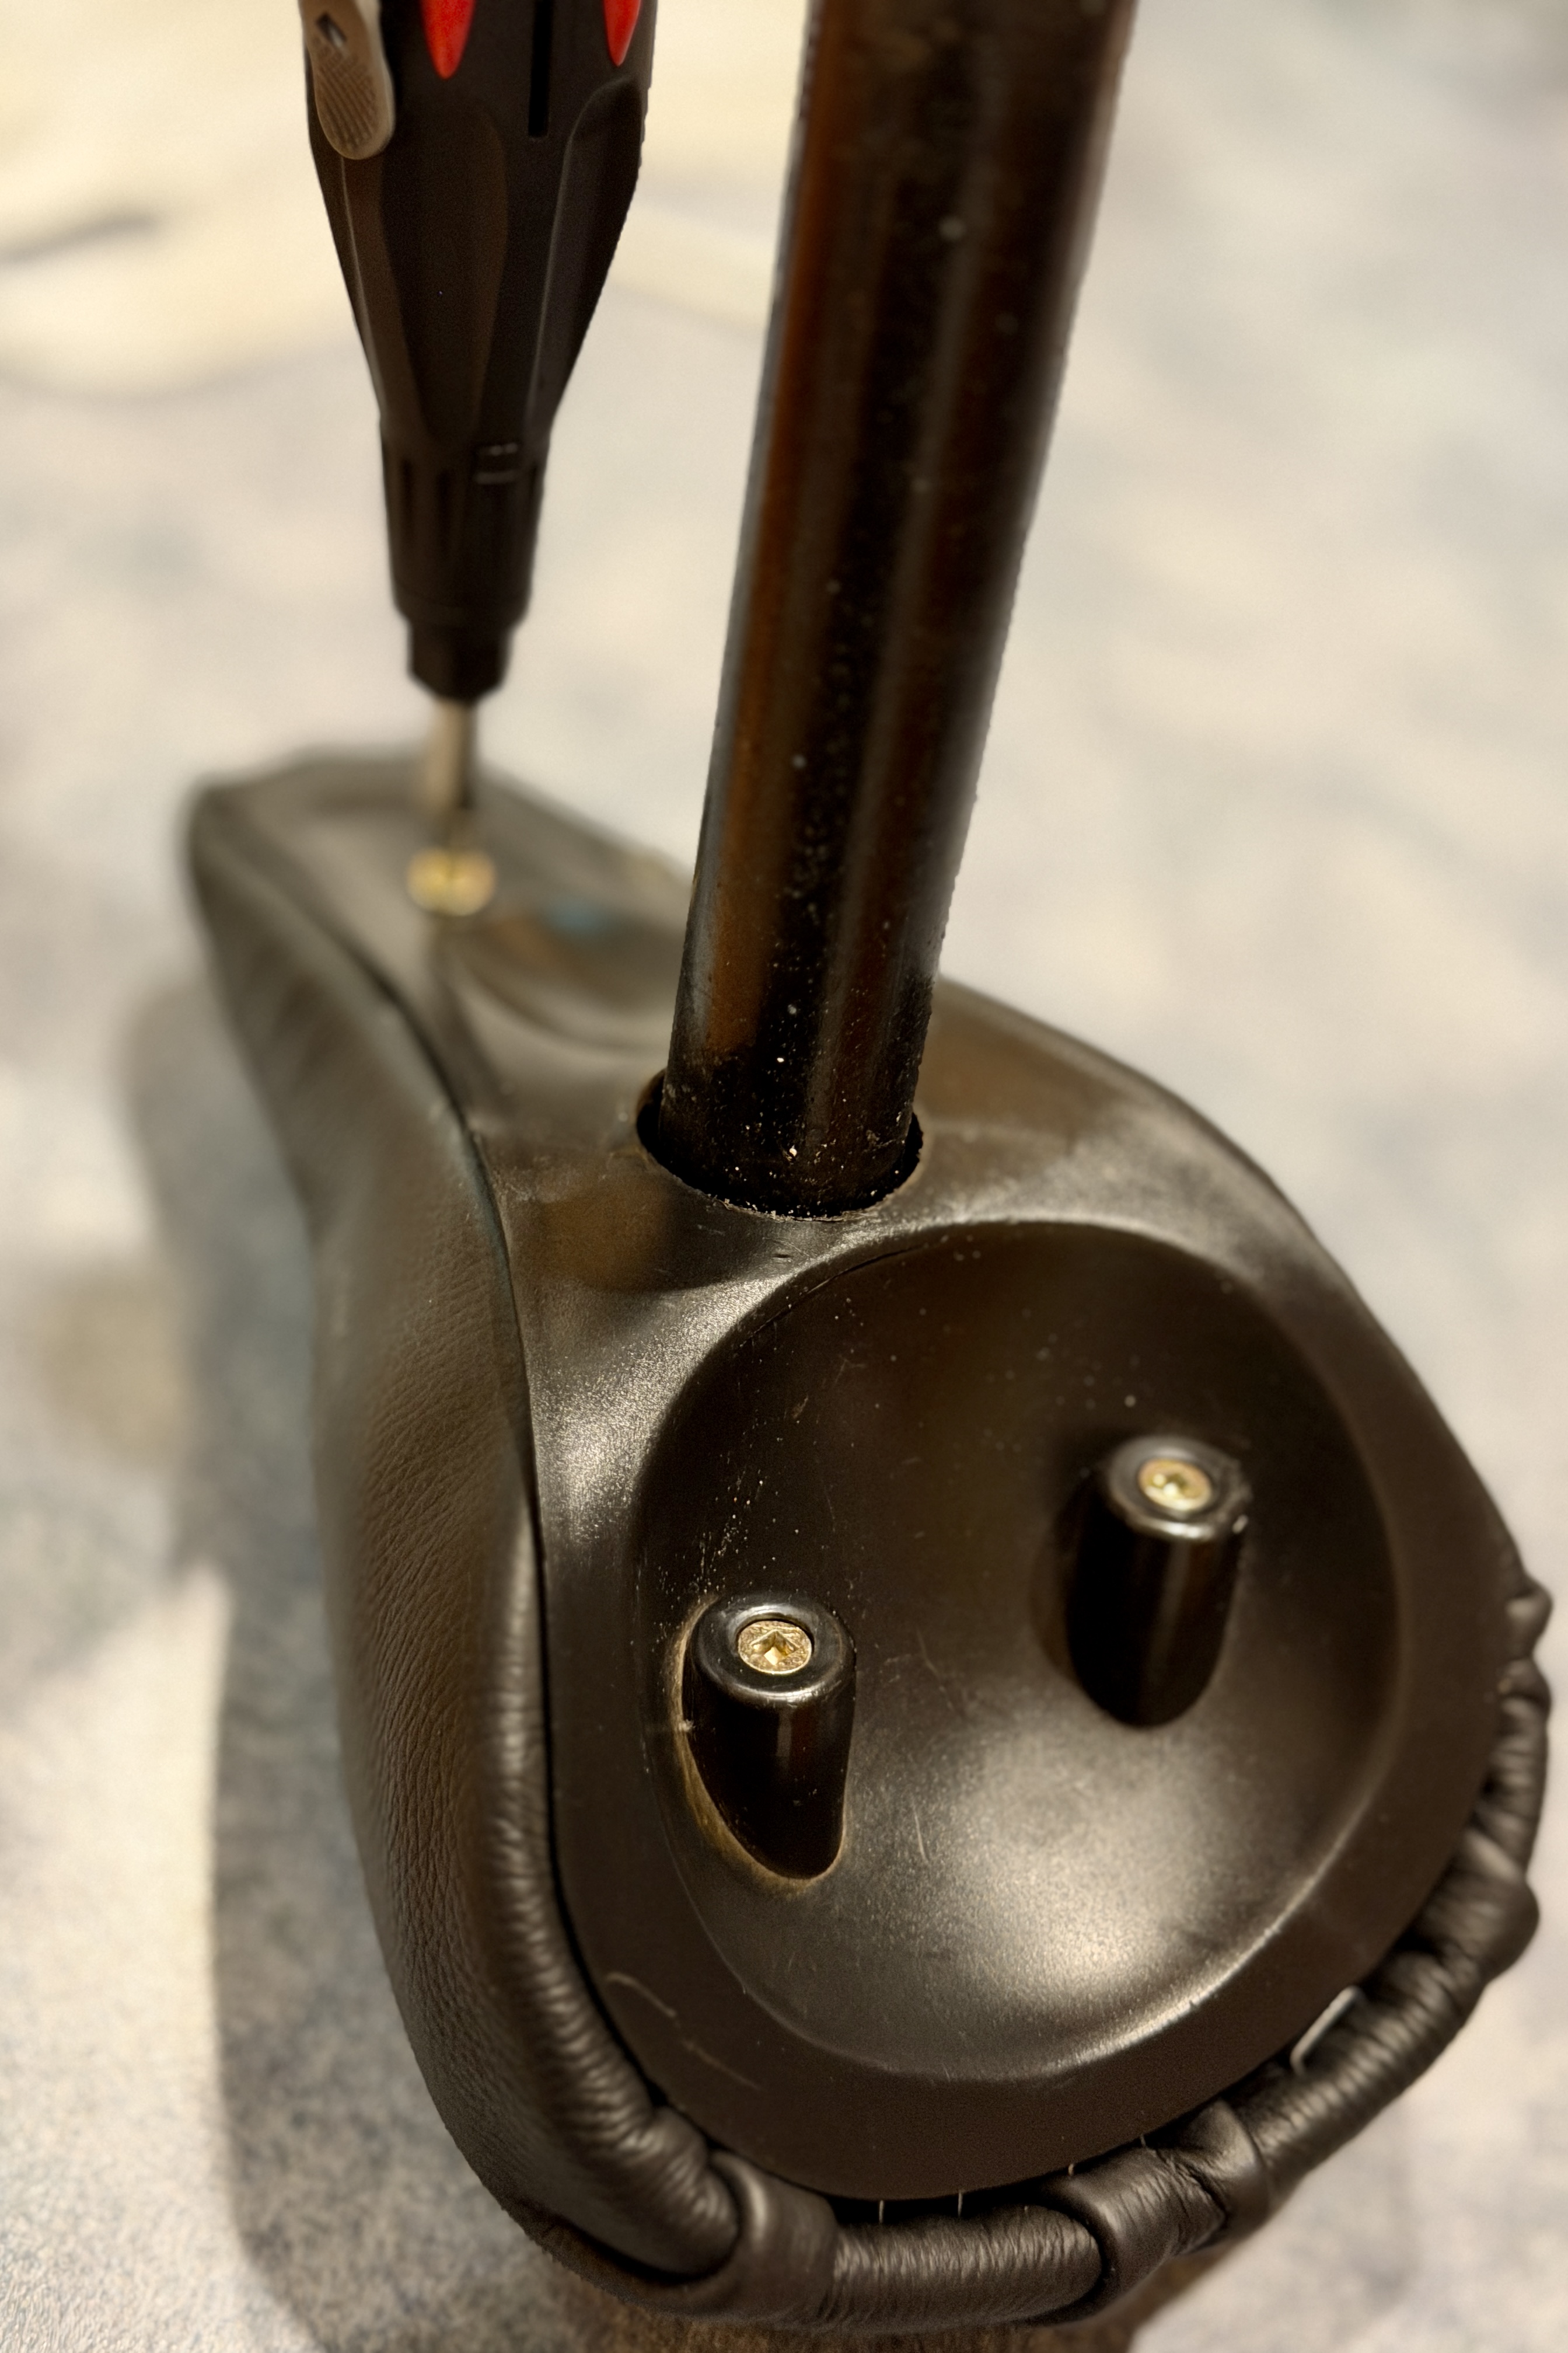
I had some foam kicking around that I used to wrap around the sides where the bolt was and to add some extra padding to the back half of the seat. At that point I was able to continue on with placing the leather on over the foam. For added security I stapled it around the edges from the inside. All that was left was to screw the plastic base of the seat back on. Unfortunately I missed taking a photo with the bolt through it before I put the base on :(
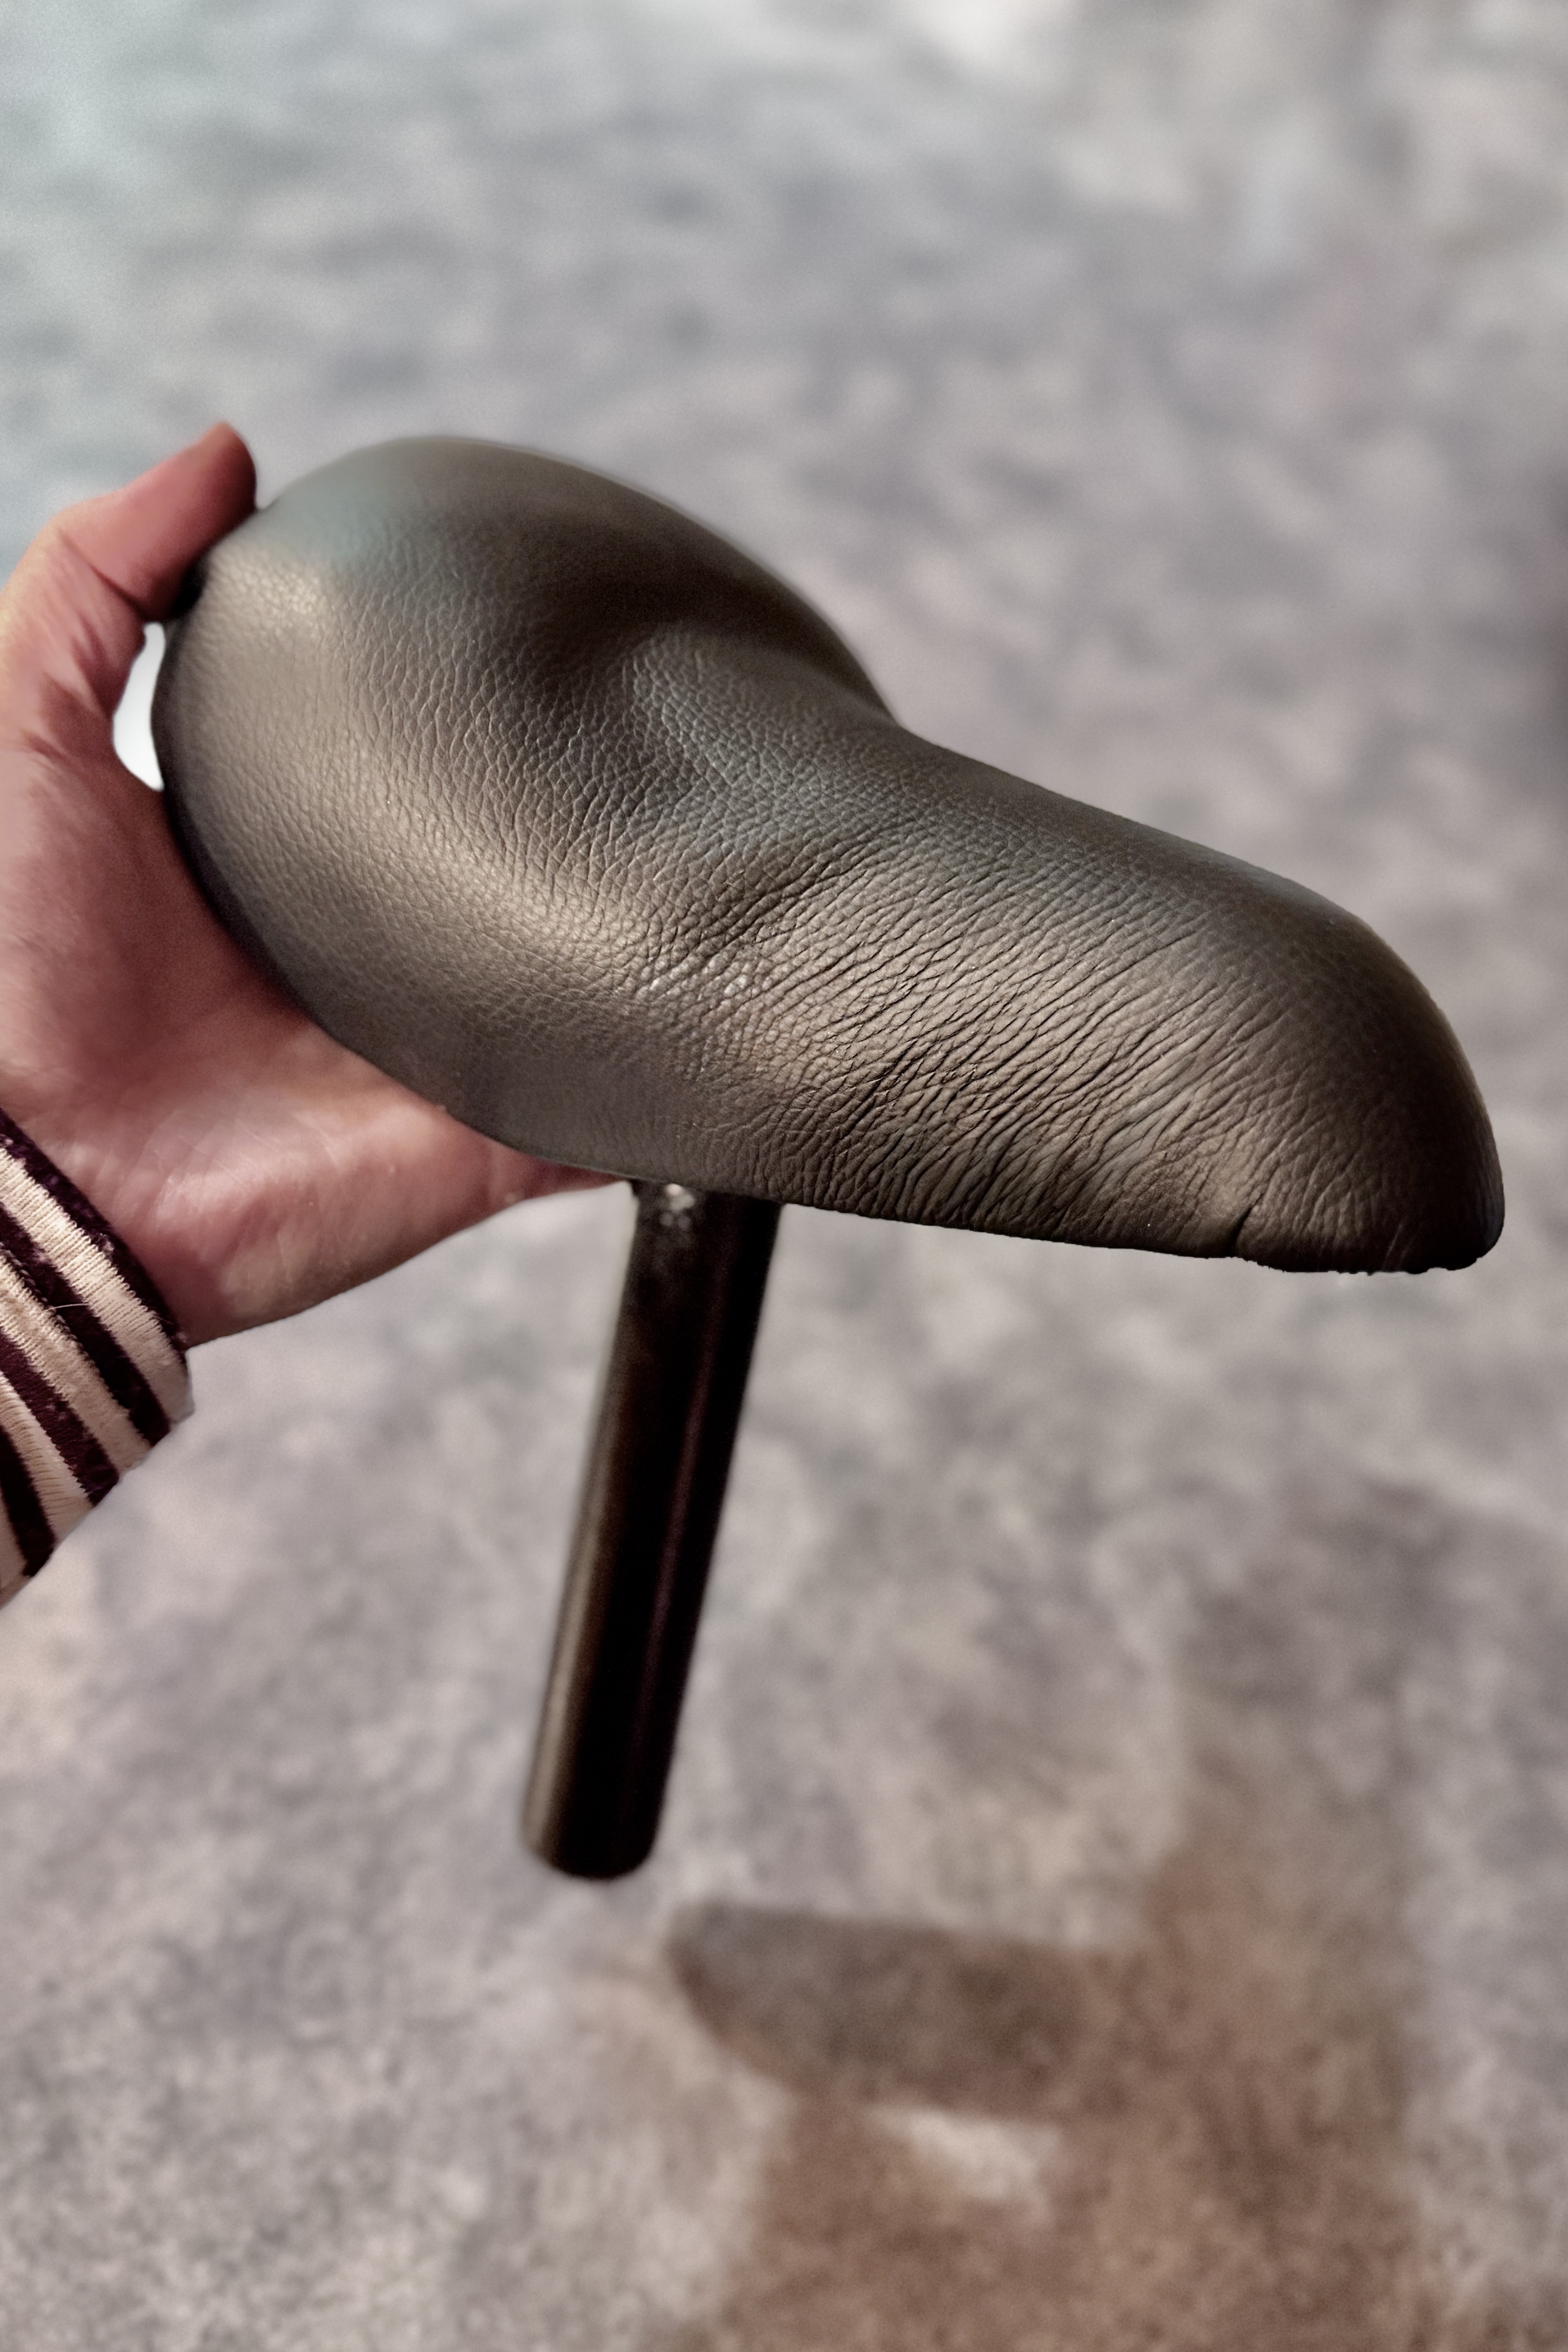
I must say I’m impressed at how well it turned out, considering I have never done such a thing! You can’t feel the bolt at all and the seat feels amazingly sturdy.
Now on to the next part of the project…
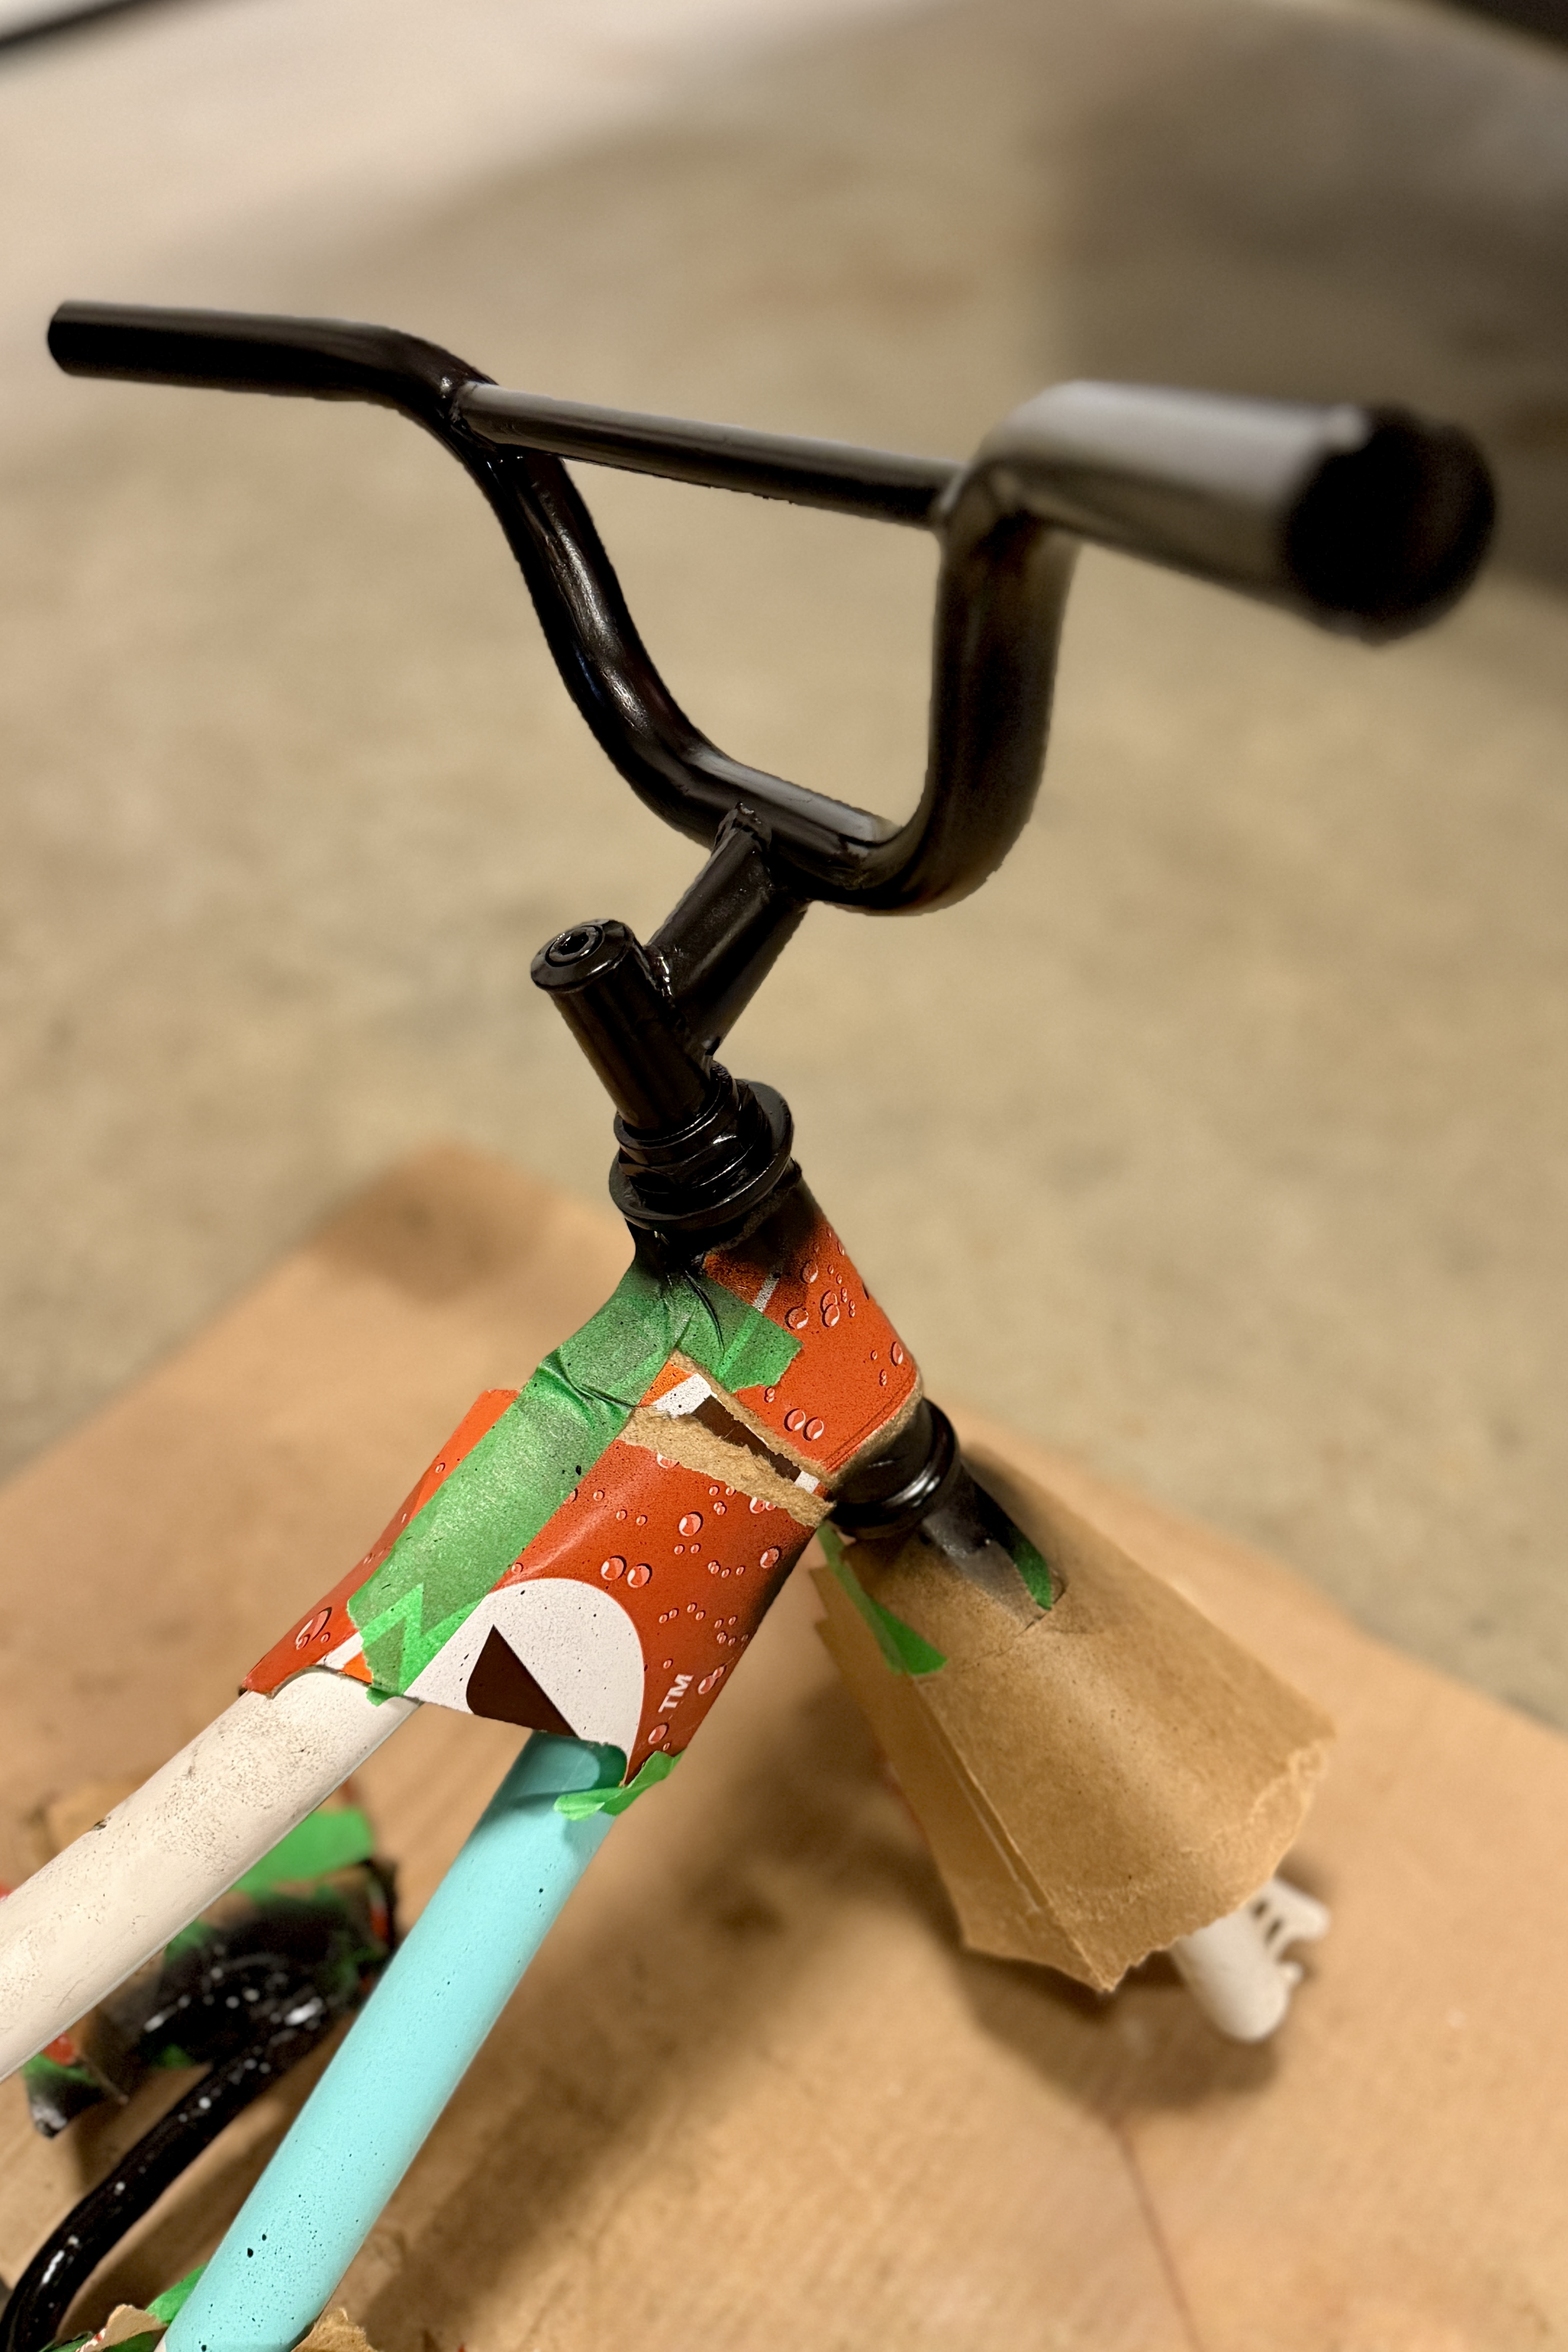
Step 2: A sticky situation


First up, I needed to remove the stickers from the frame. Some came off easy, some came off in pieces. Regardless they typically left some kind of residue that needed to be cleaned off. The original WD-40 was fantastic for that - just spray it directly on the spot or on a cloth and gently rub back and forth until it was gone.
Step 3: Bye bye rust!

Plus 1 more
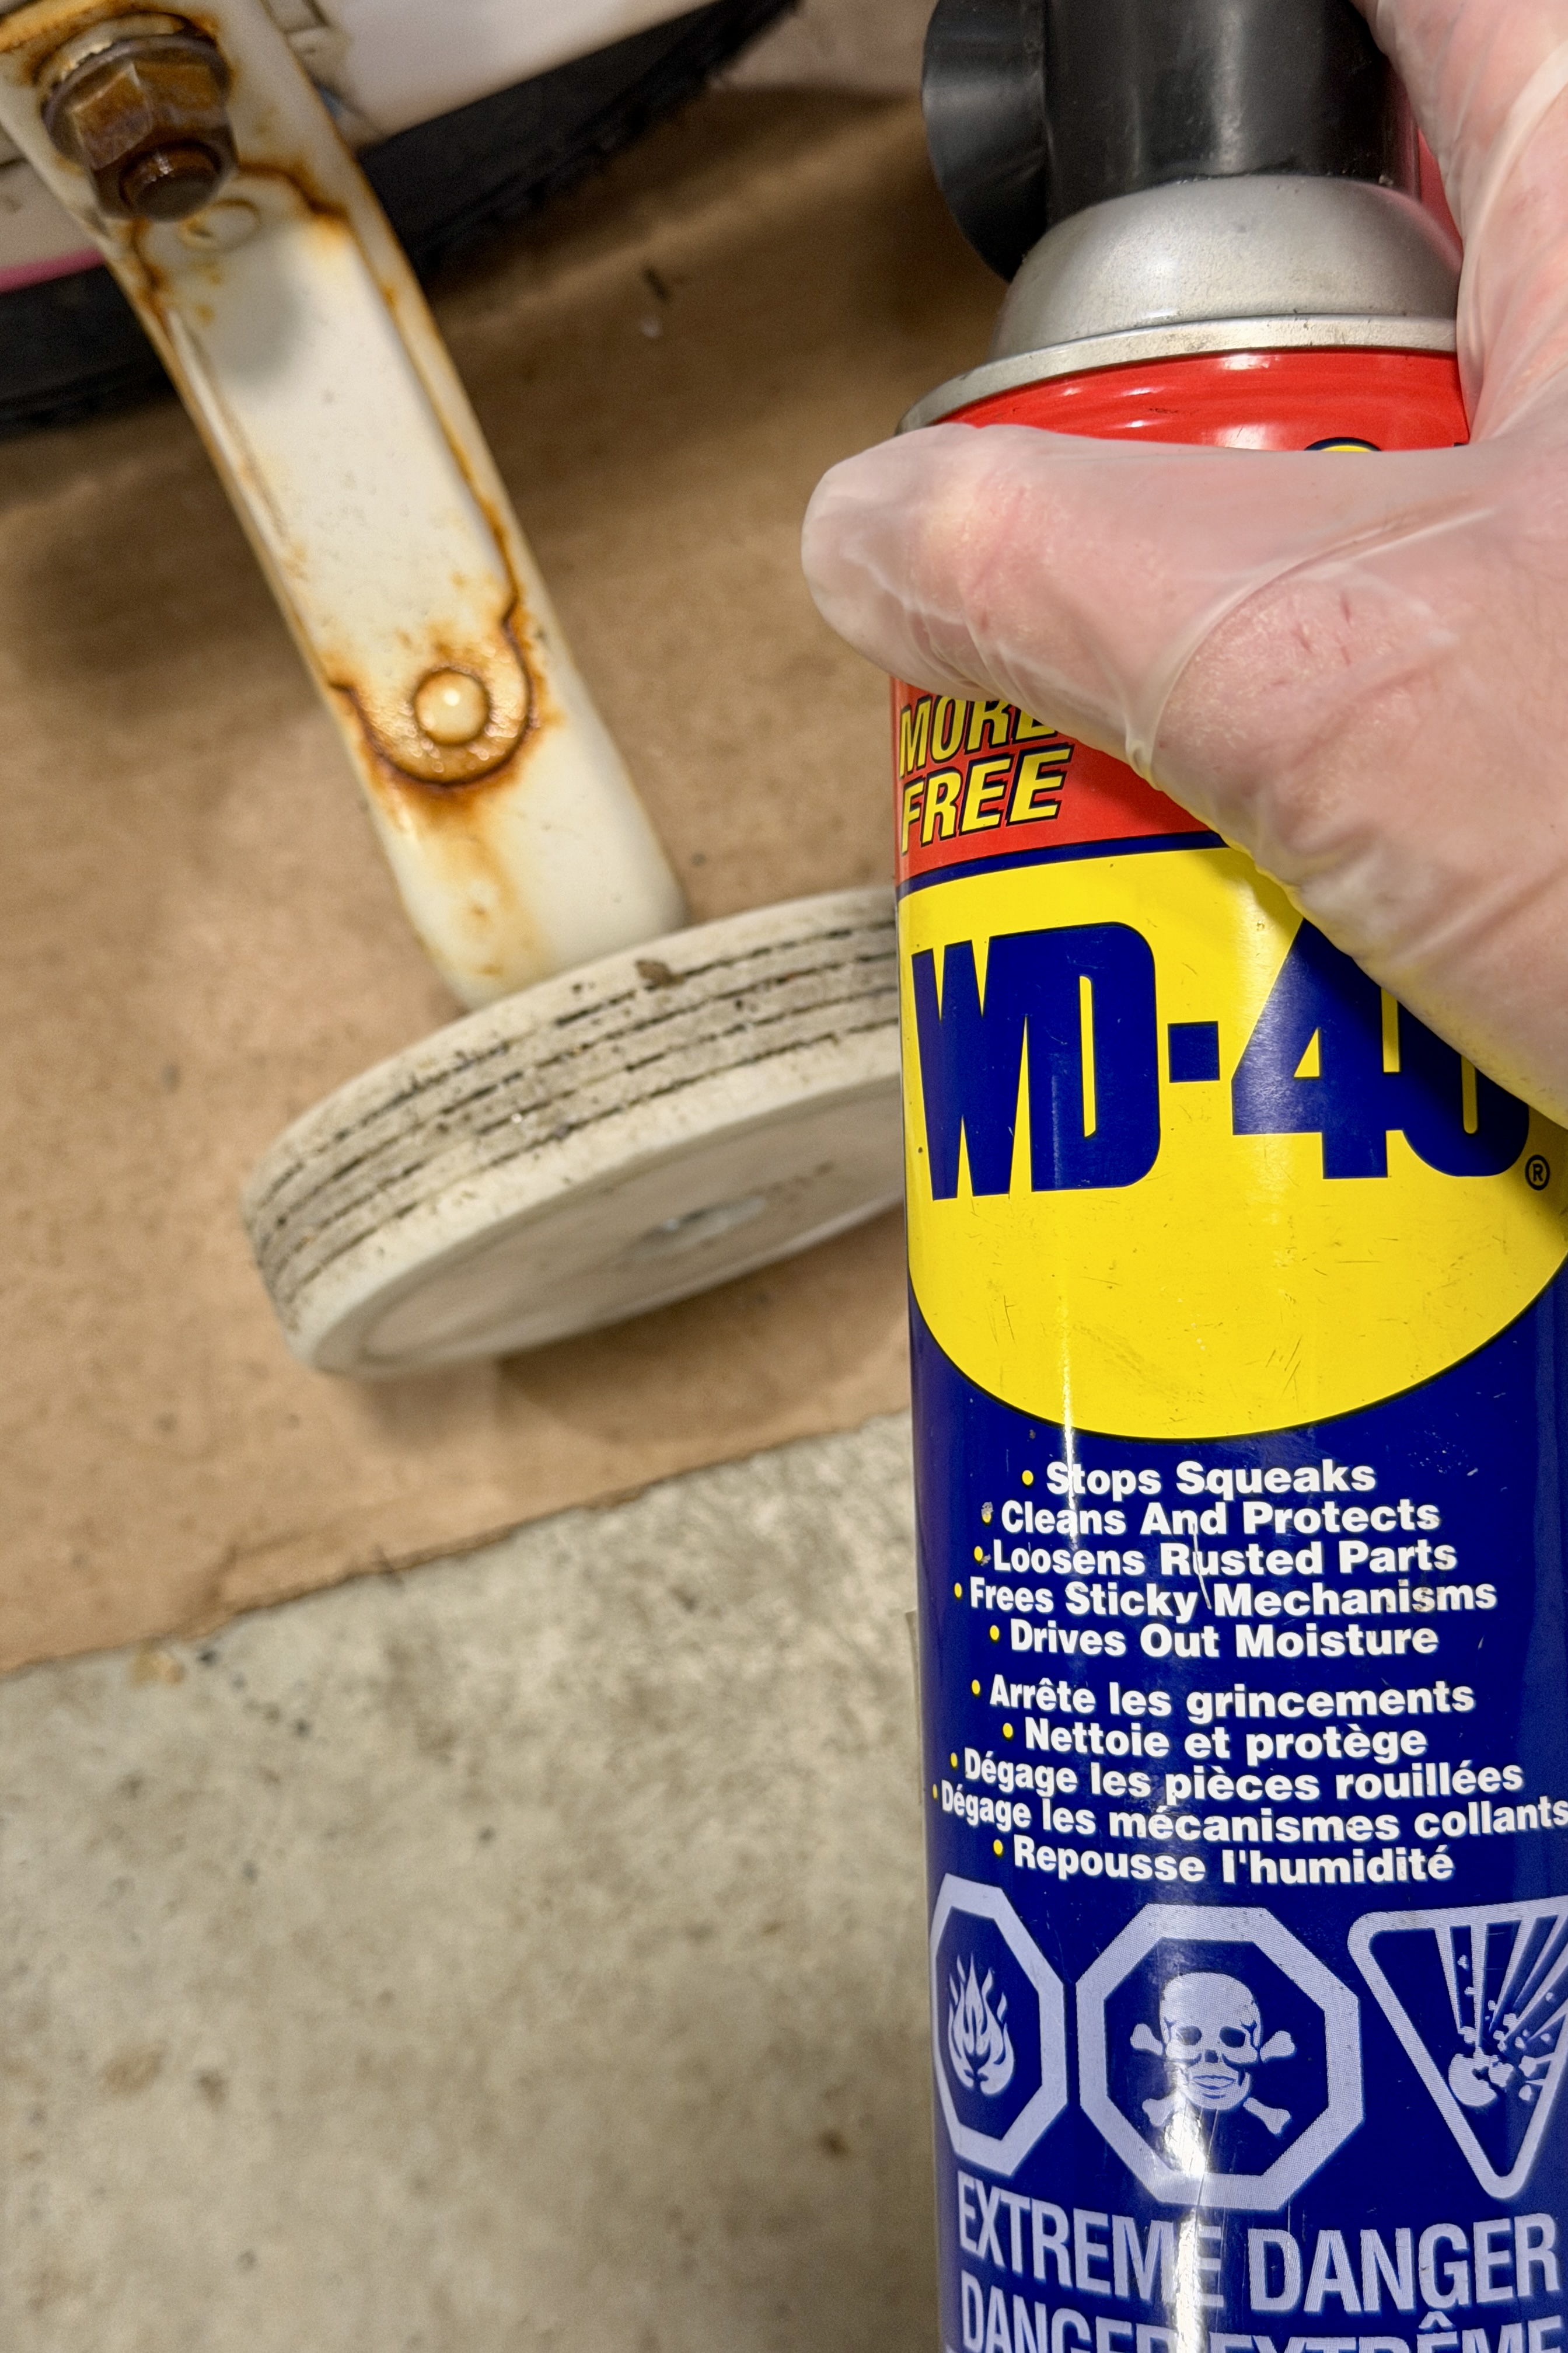

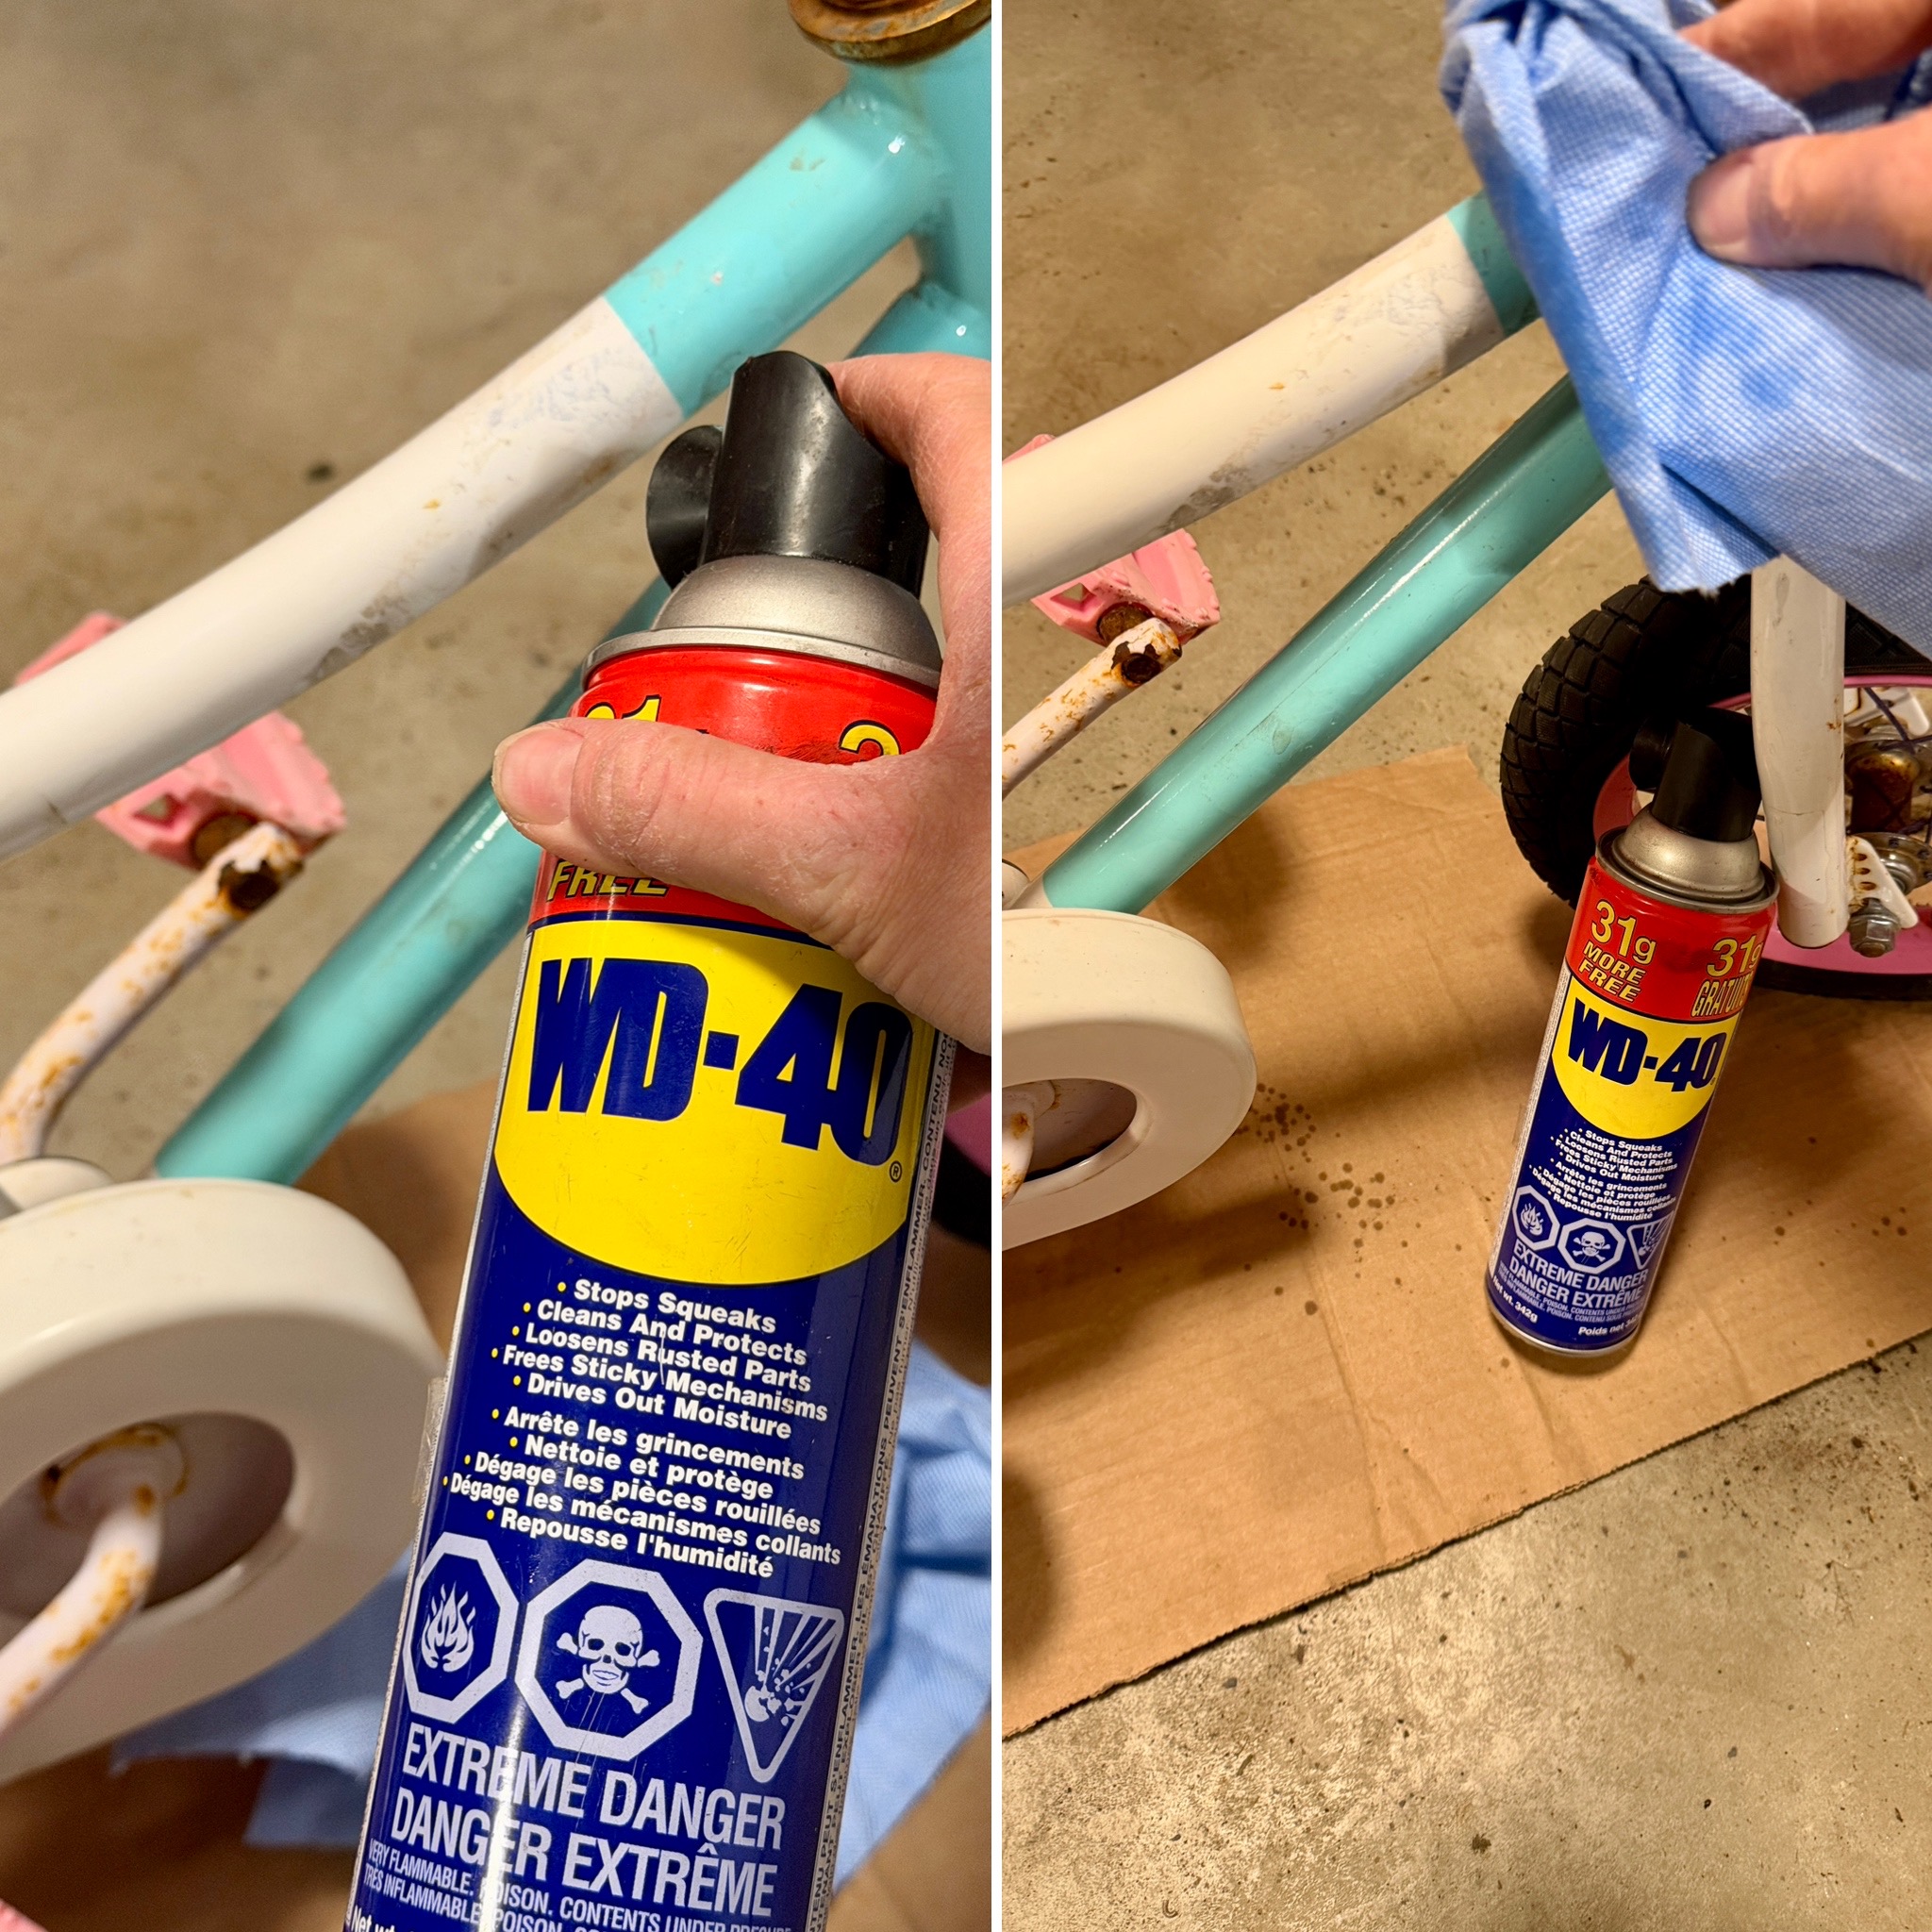
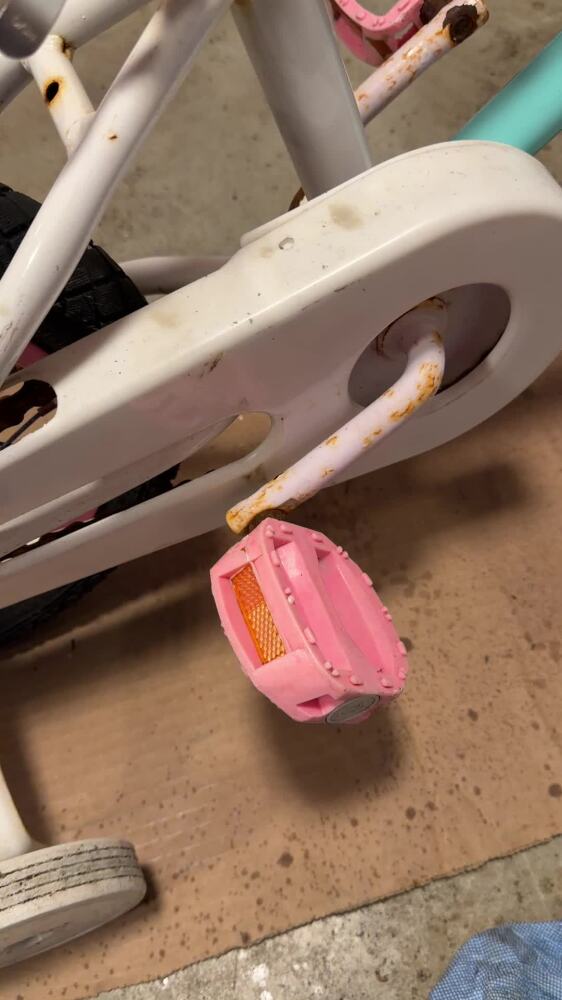
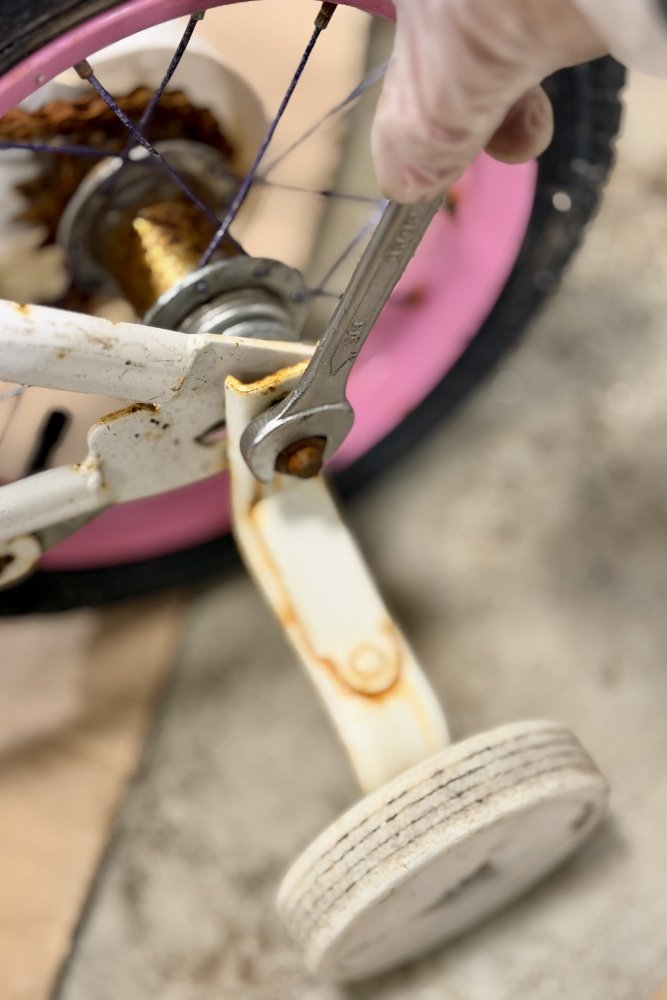
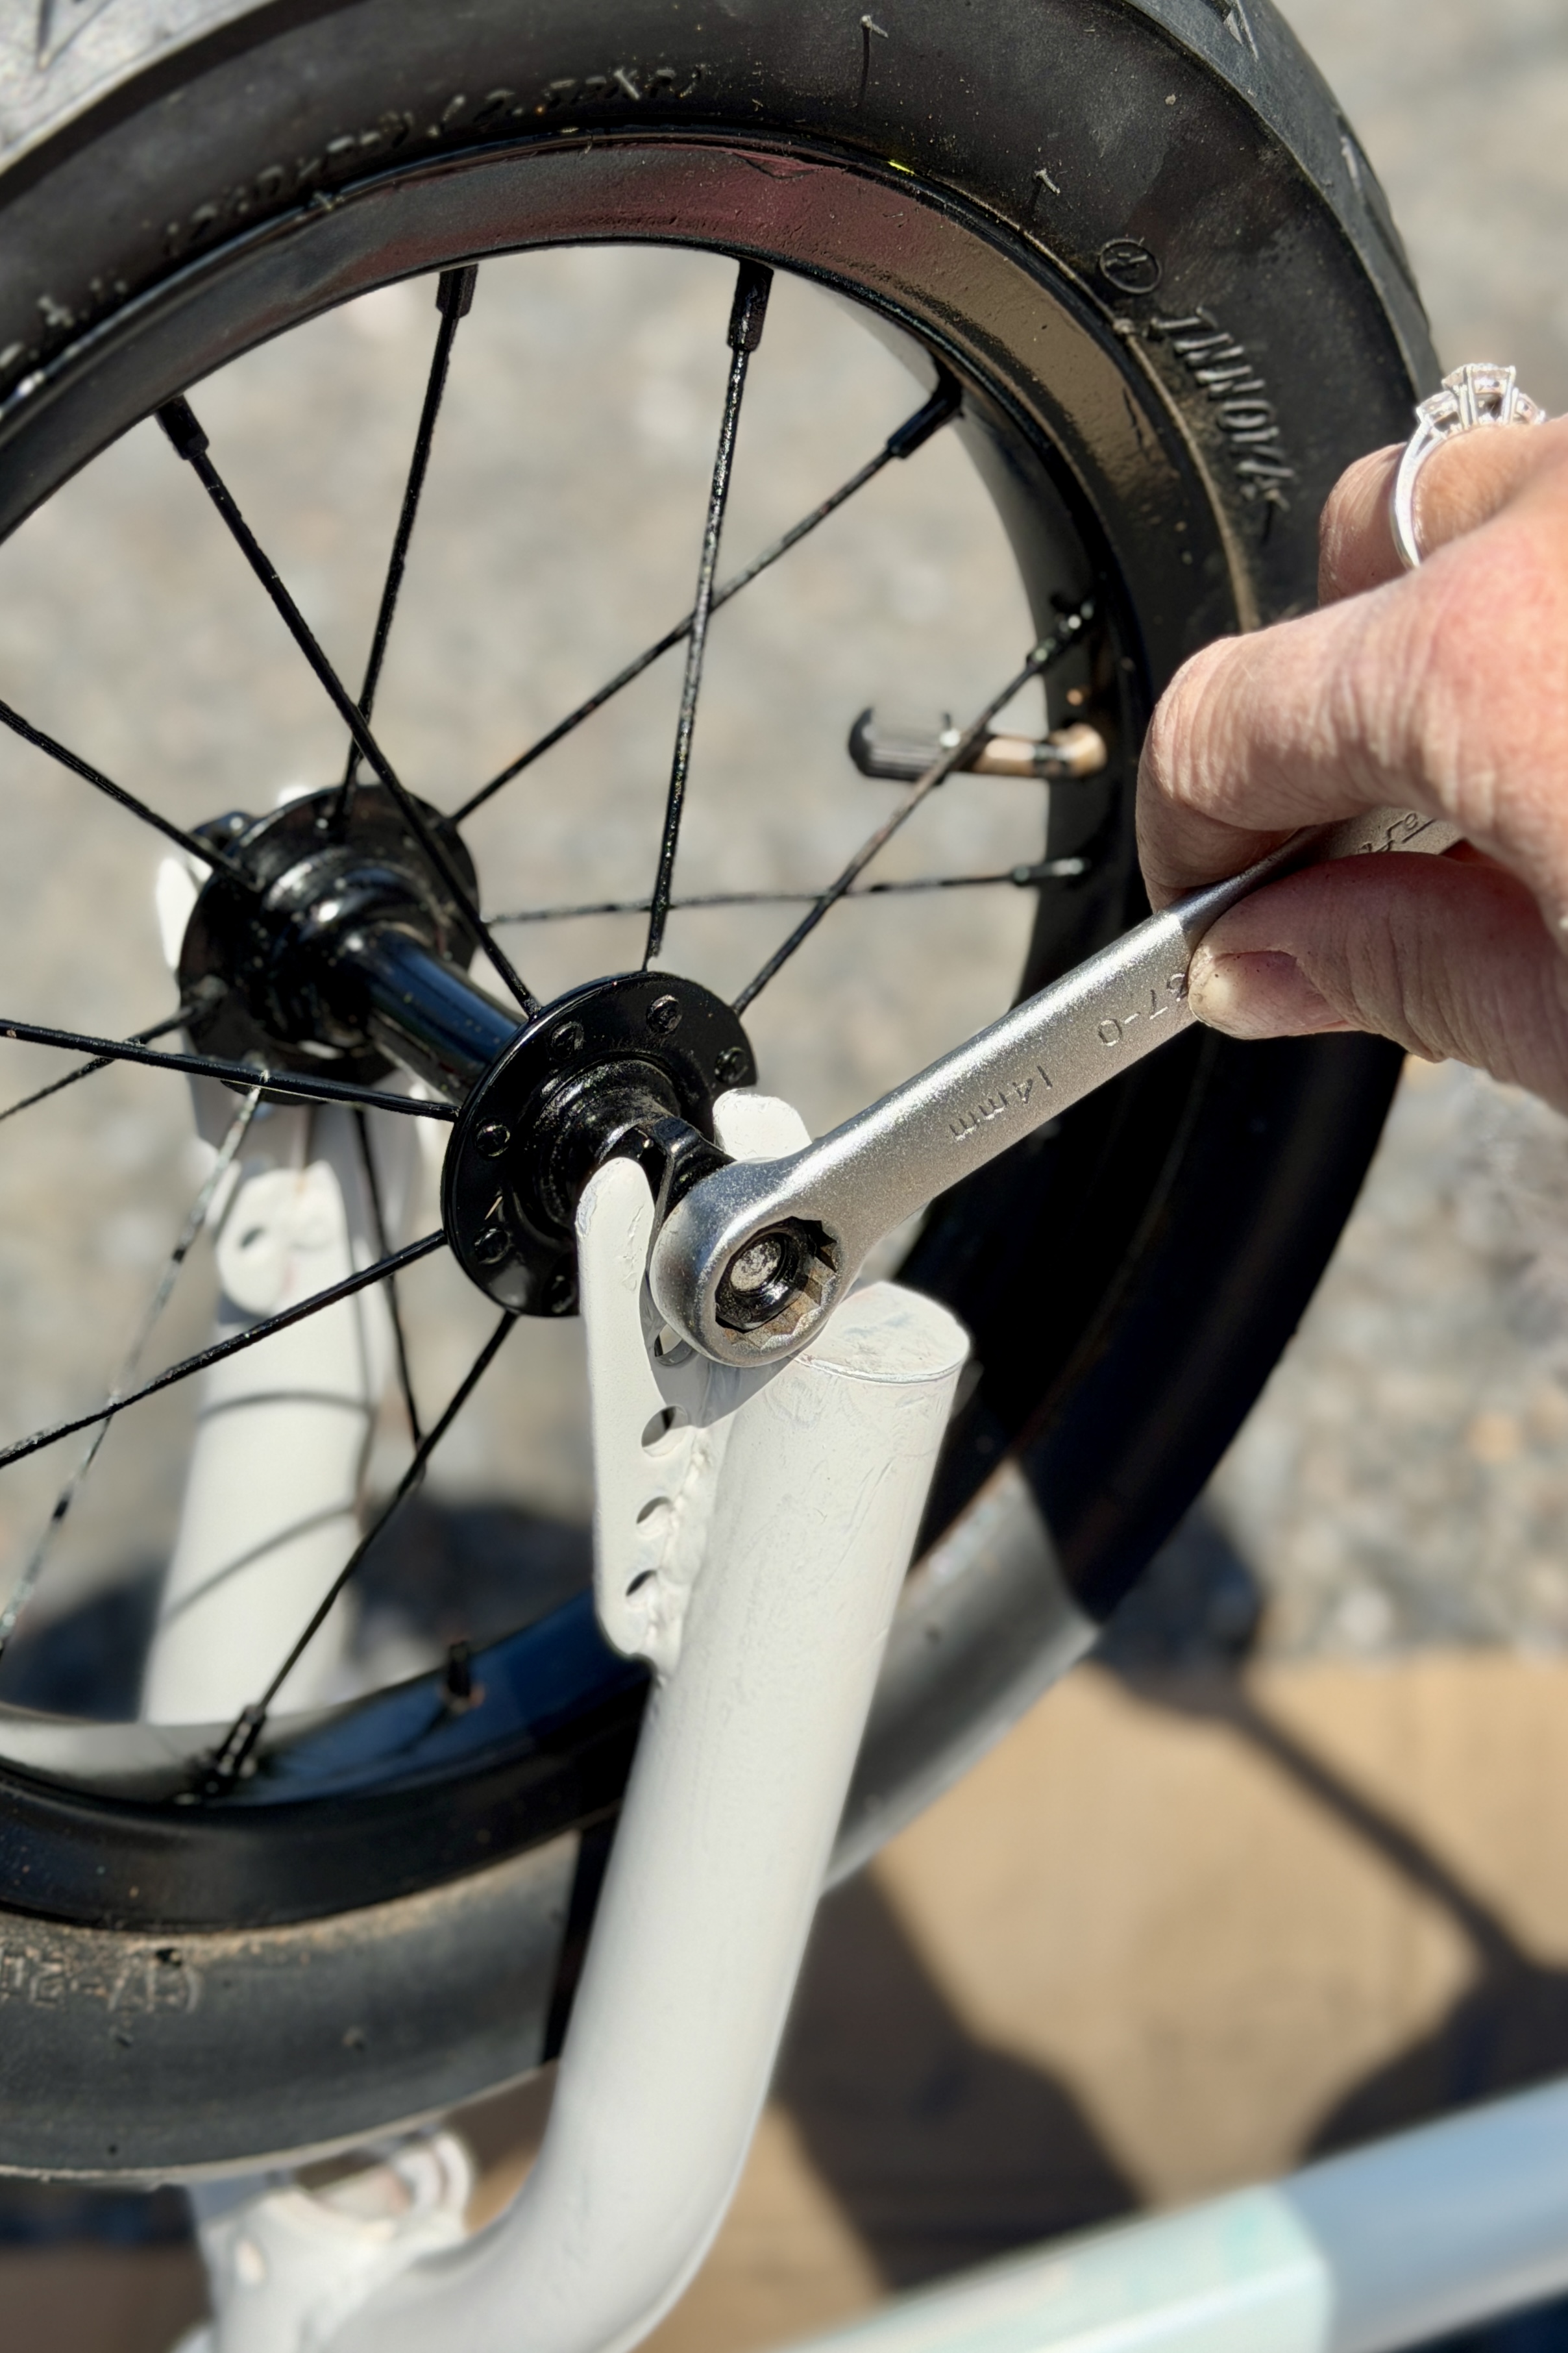
Some of the nuts were on pretty tight! By spraying them with WD-40 and letting them sit for a while I was able to get them all off… with the exception of the pedals - I had intentions of changing them to the black ones that were on the 2nd bike but they wouldn’t budge. So pink pedals it is! (I knew it wouldn't be wise to paint them where it would wear off quickly in that spot). In hindsight it would have been better to use the straw on the nozzle for better accuracy LOL but despite that, it still did the trick.
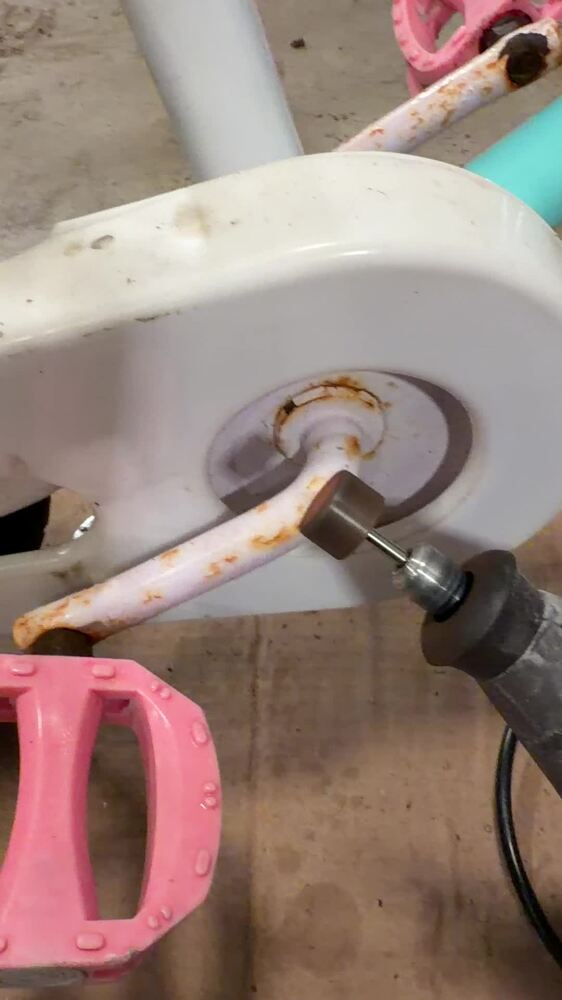
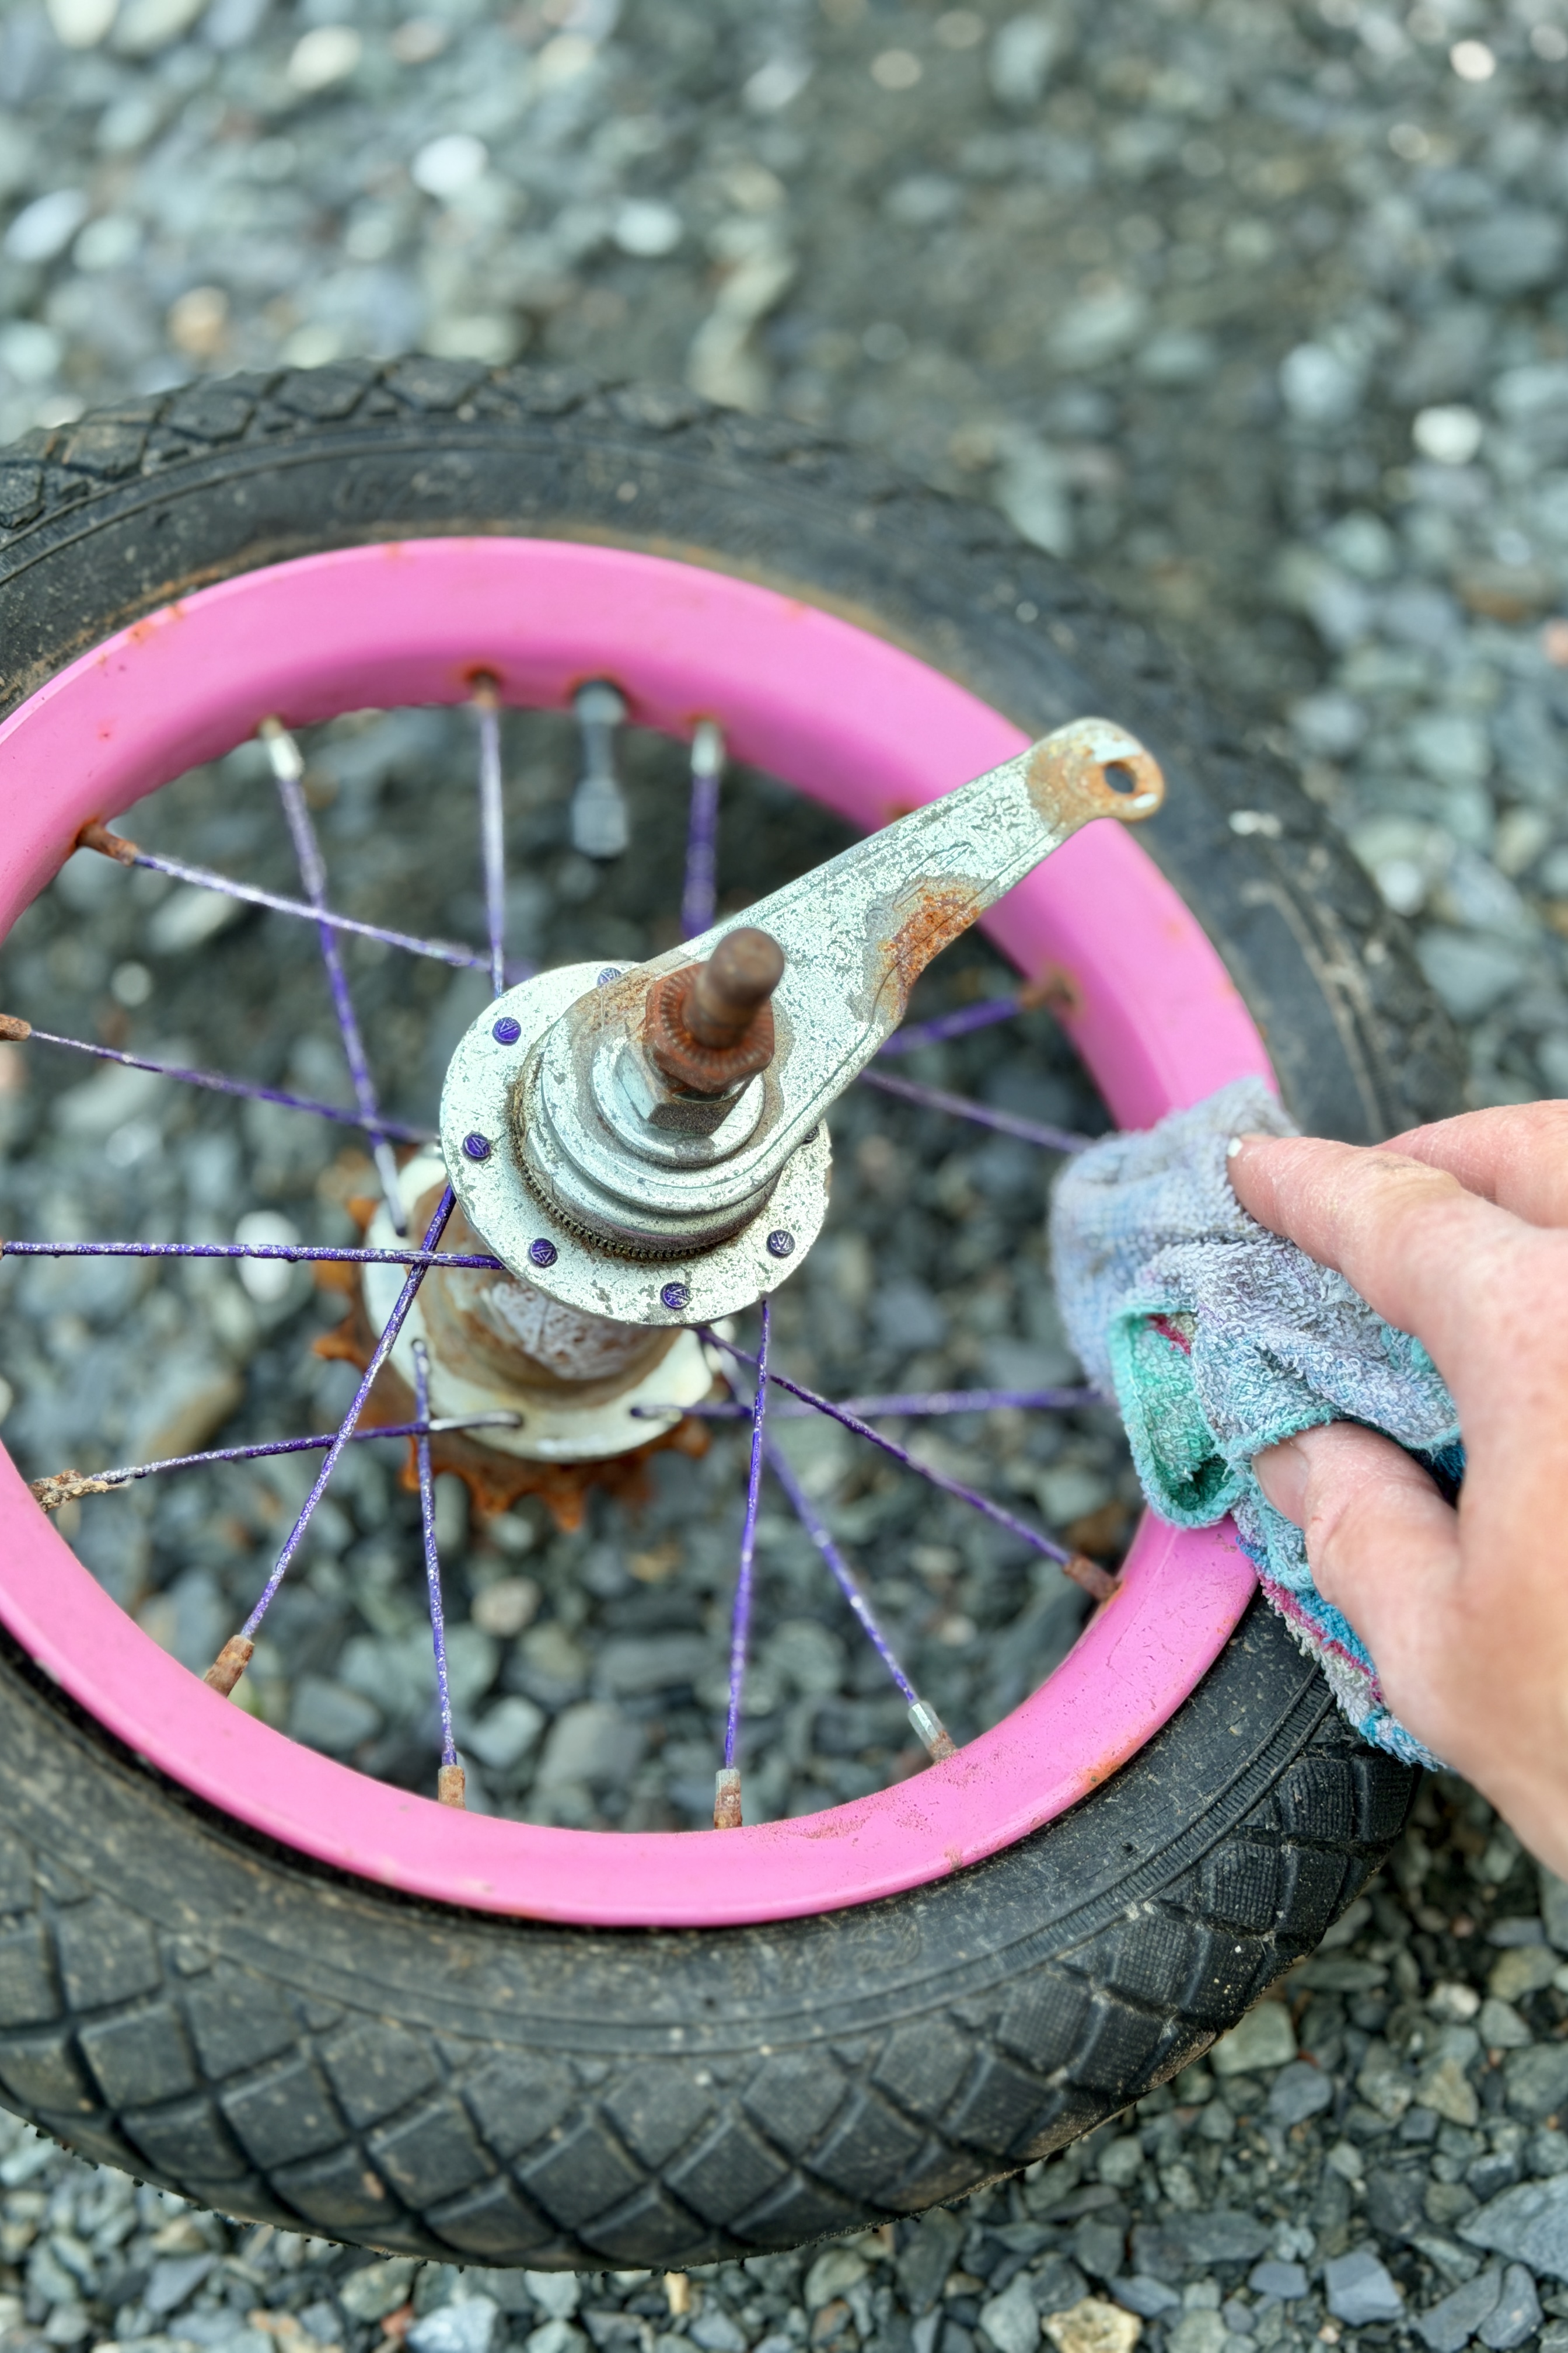
I treated the many rust spots with WD-40 as well, letting the oil penetrate the rust before sanding it.
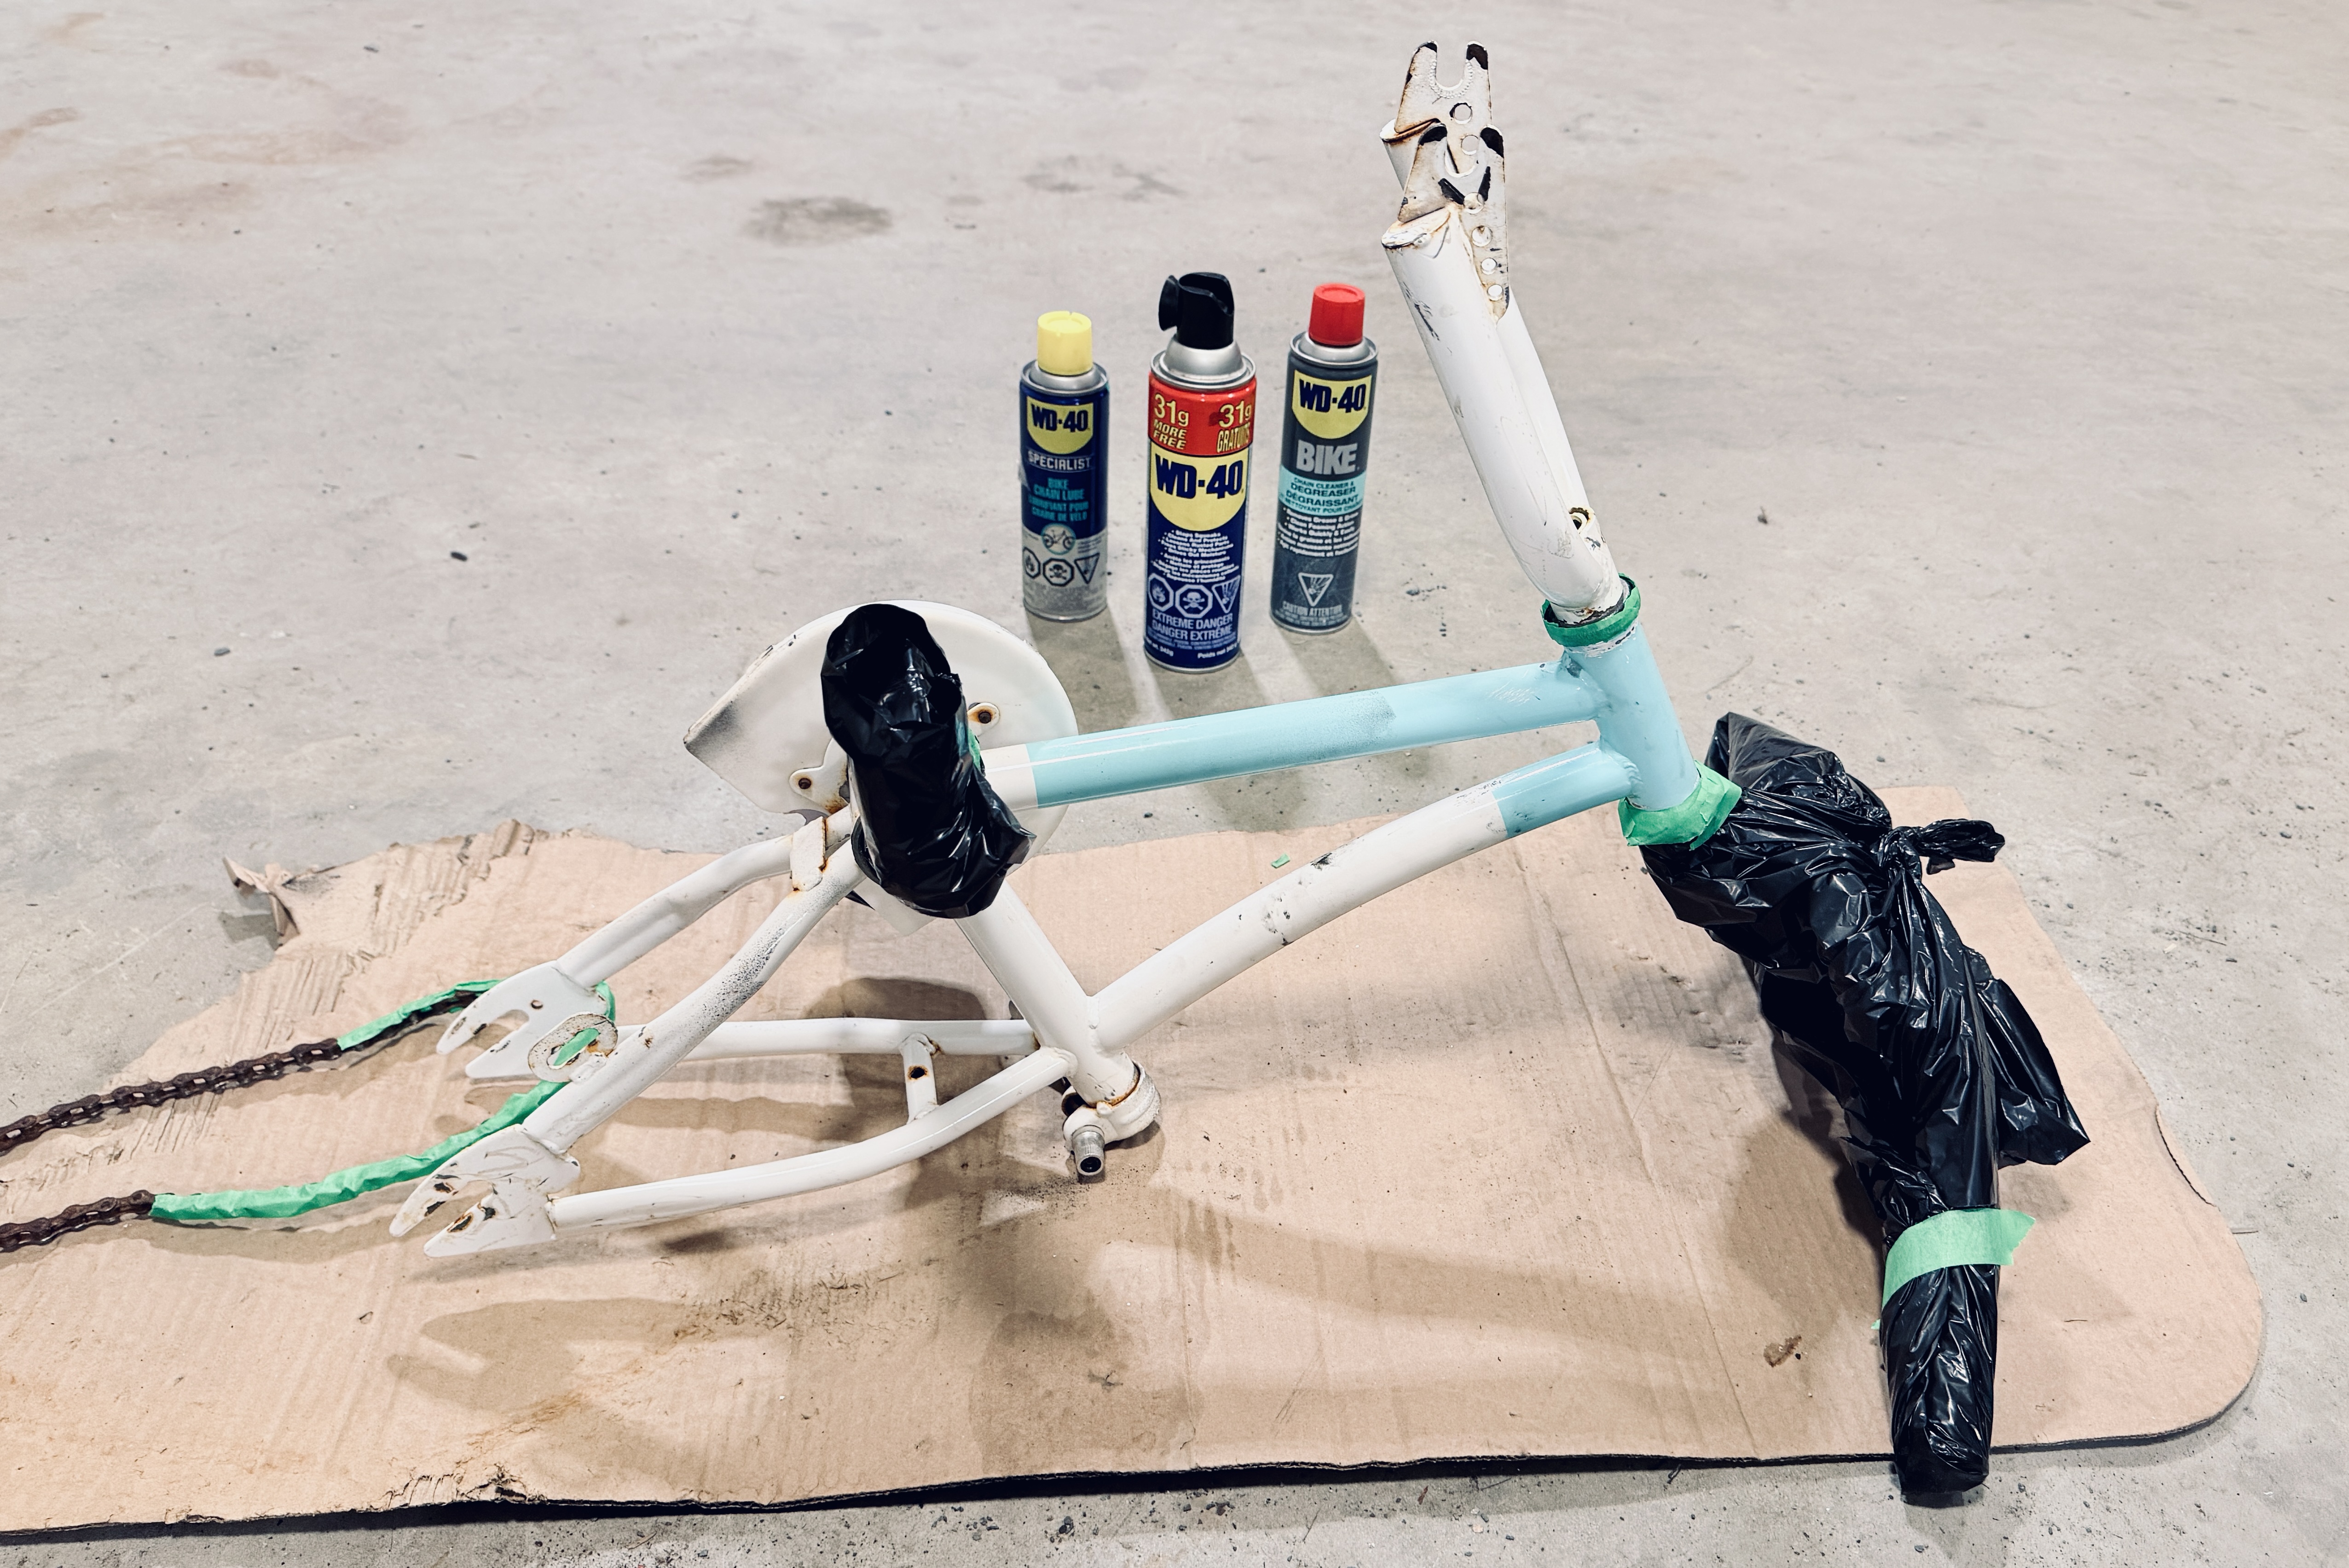
Step 4: Down to the bare bones


Plus 7 more


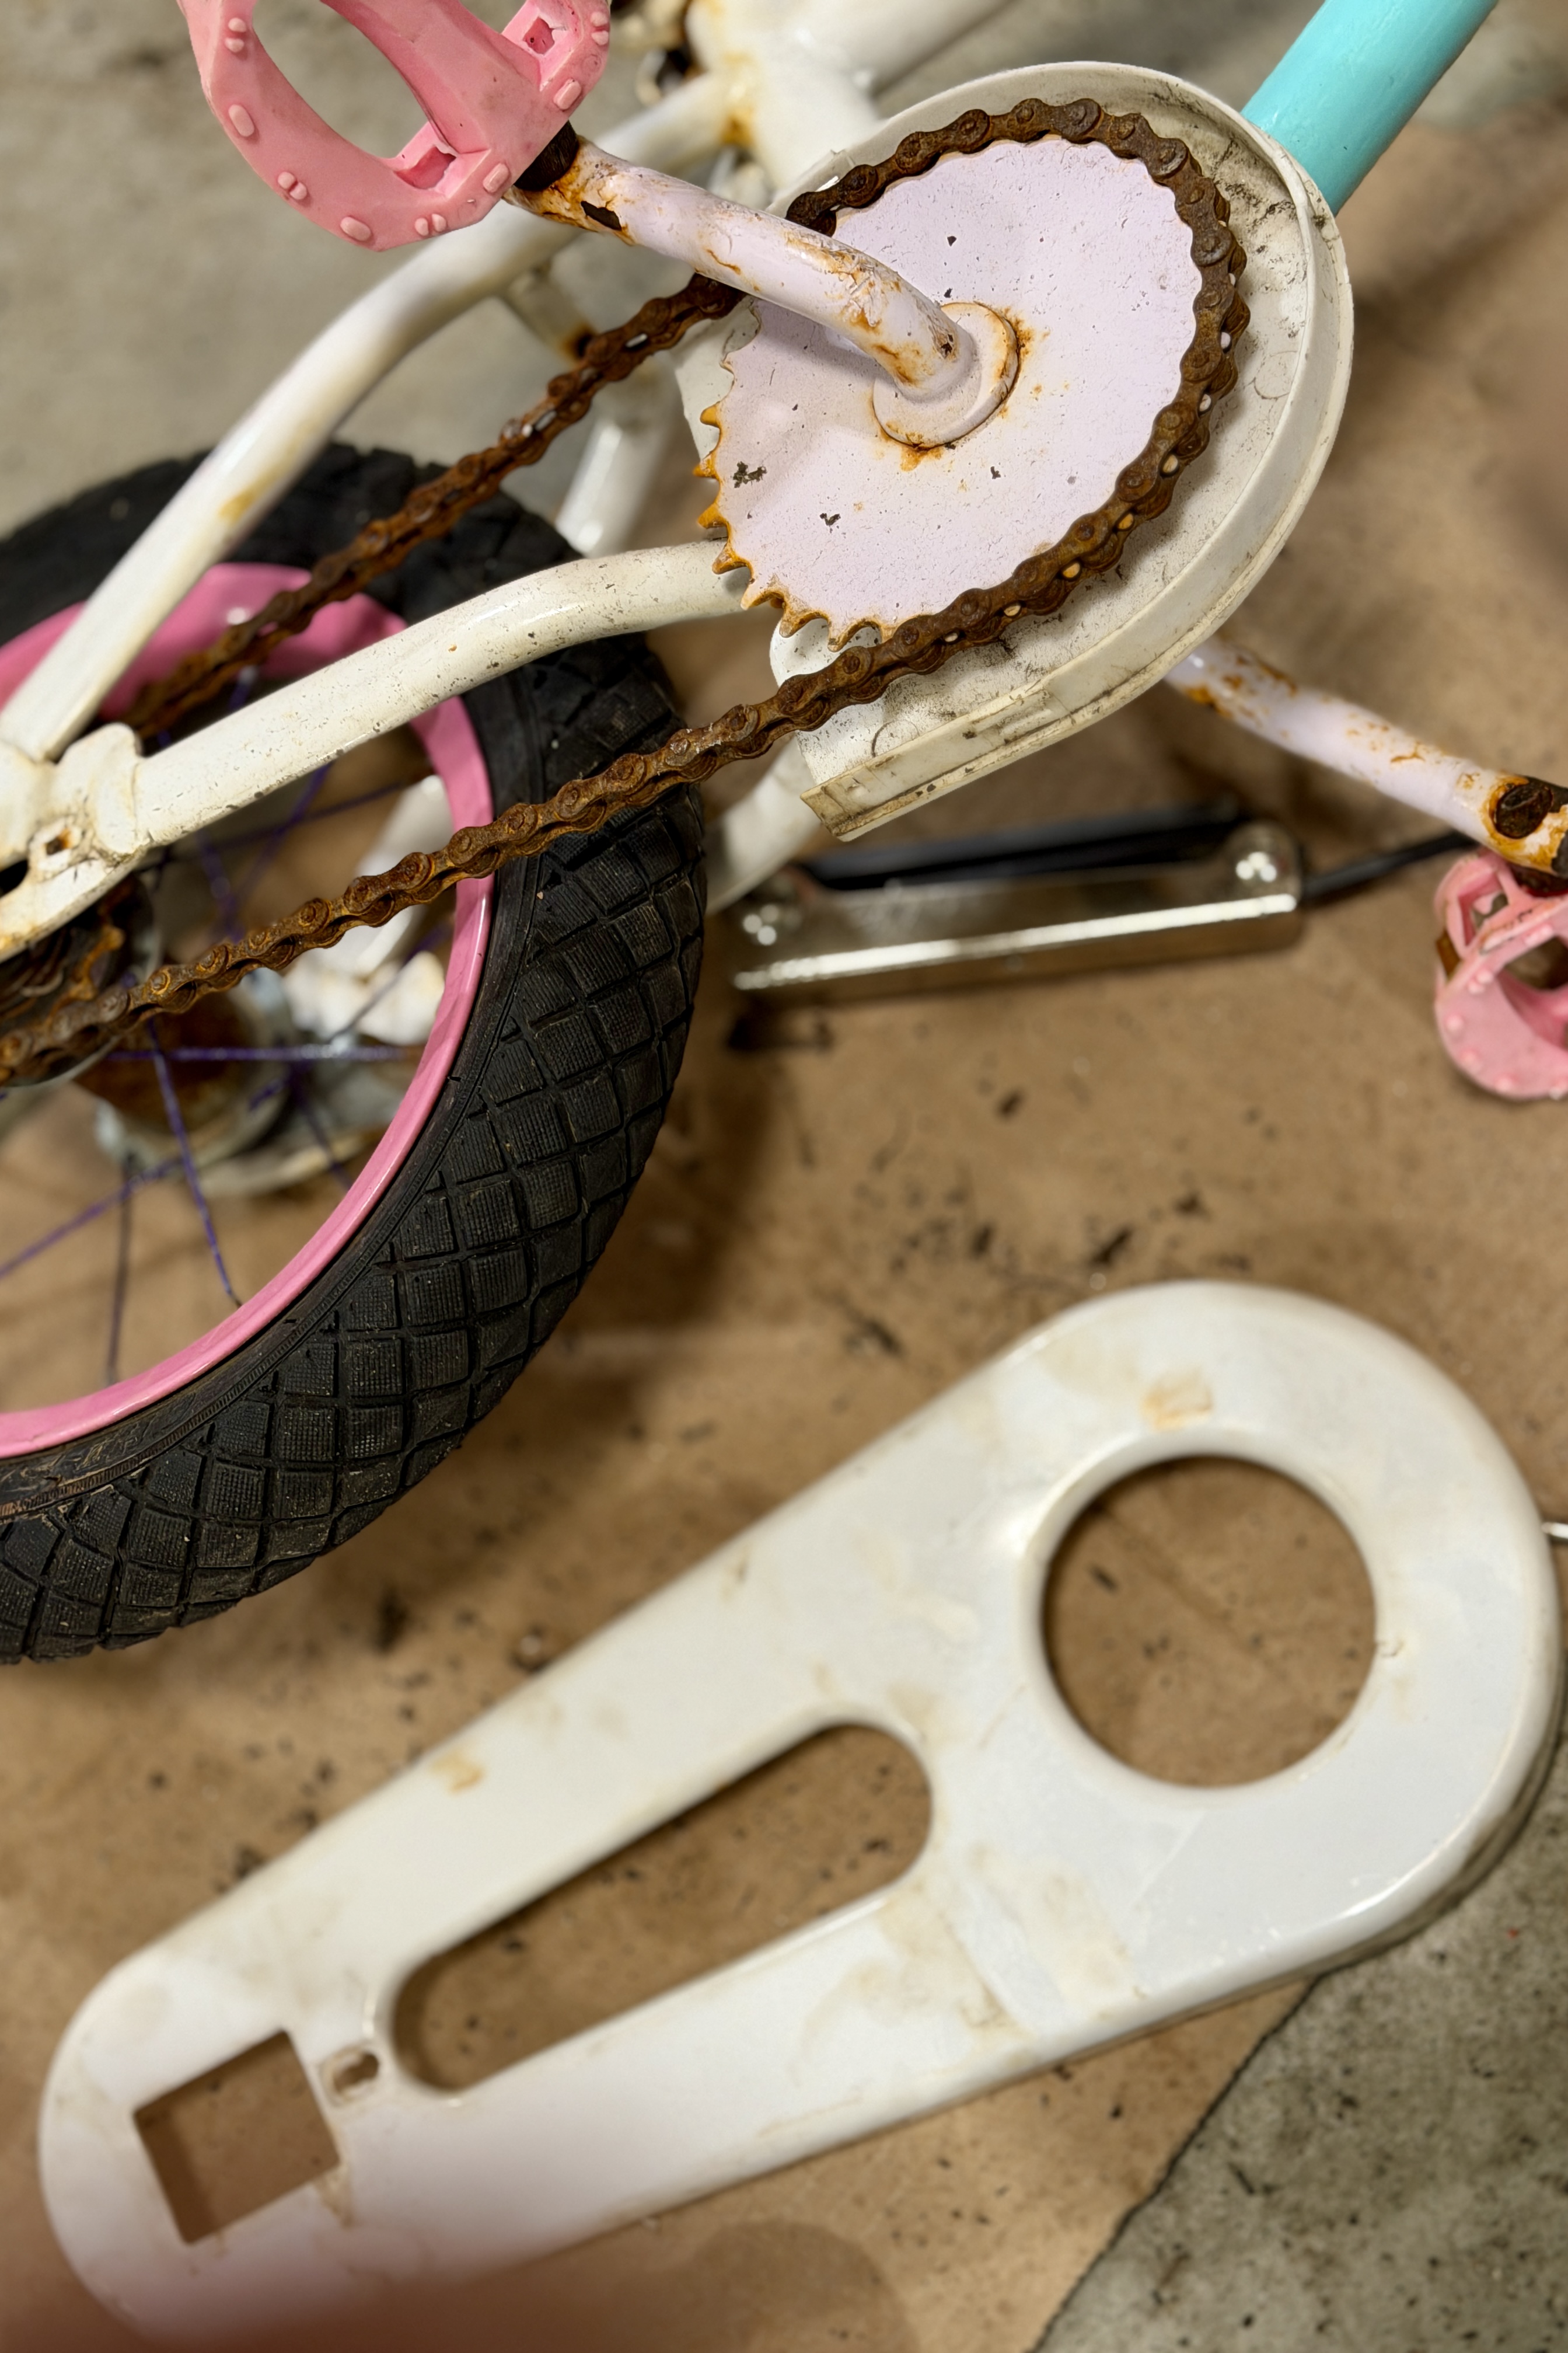
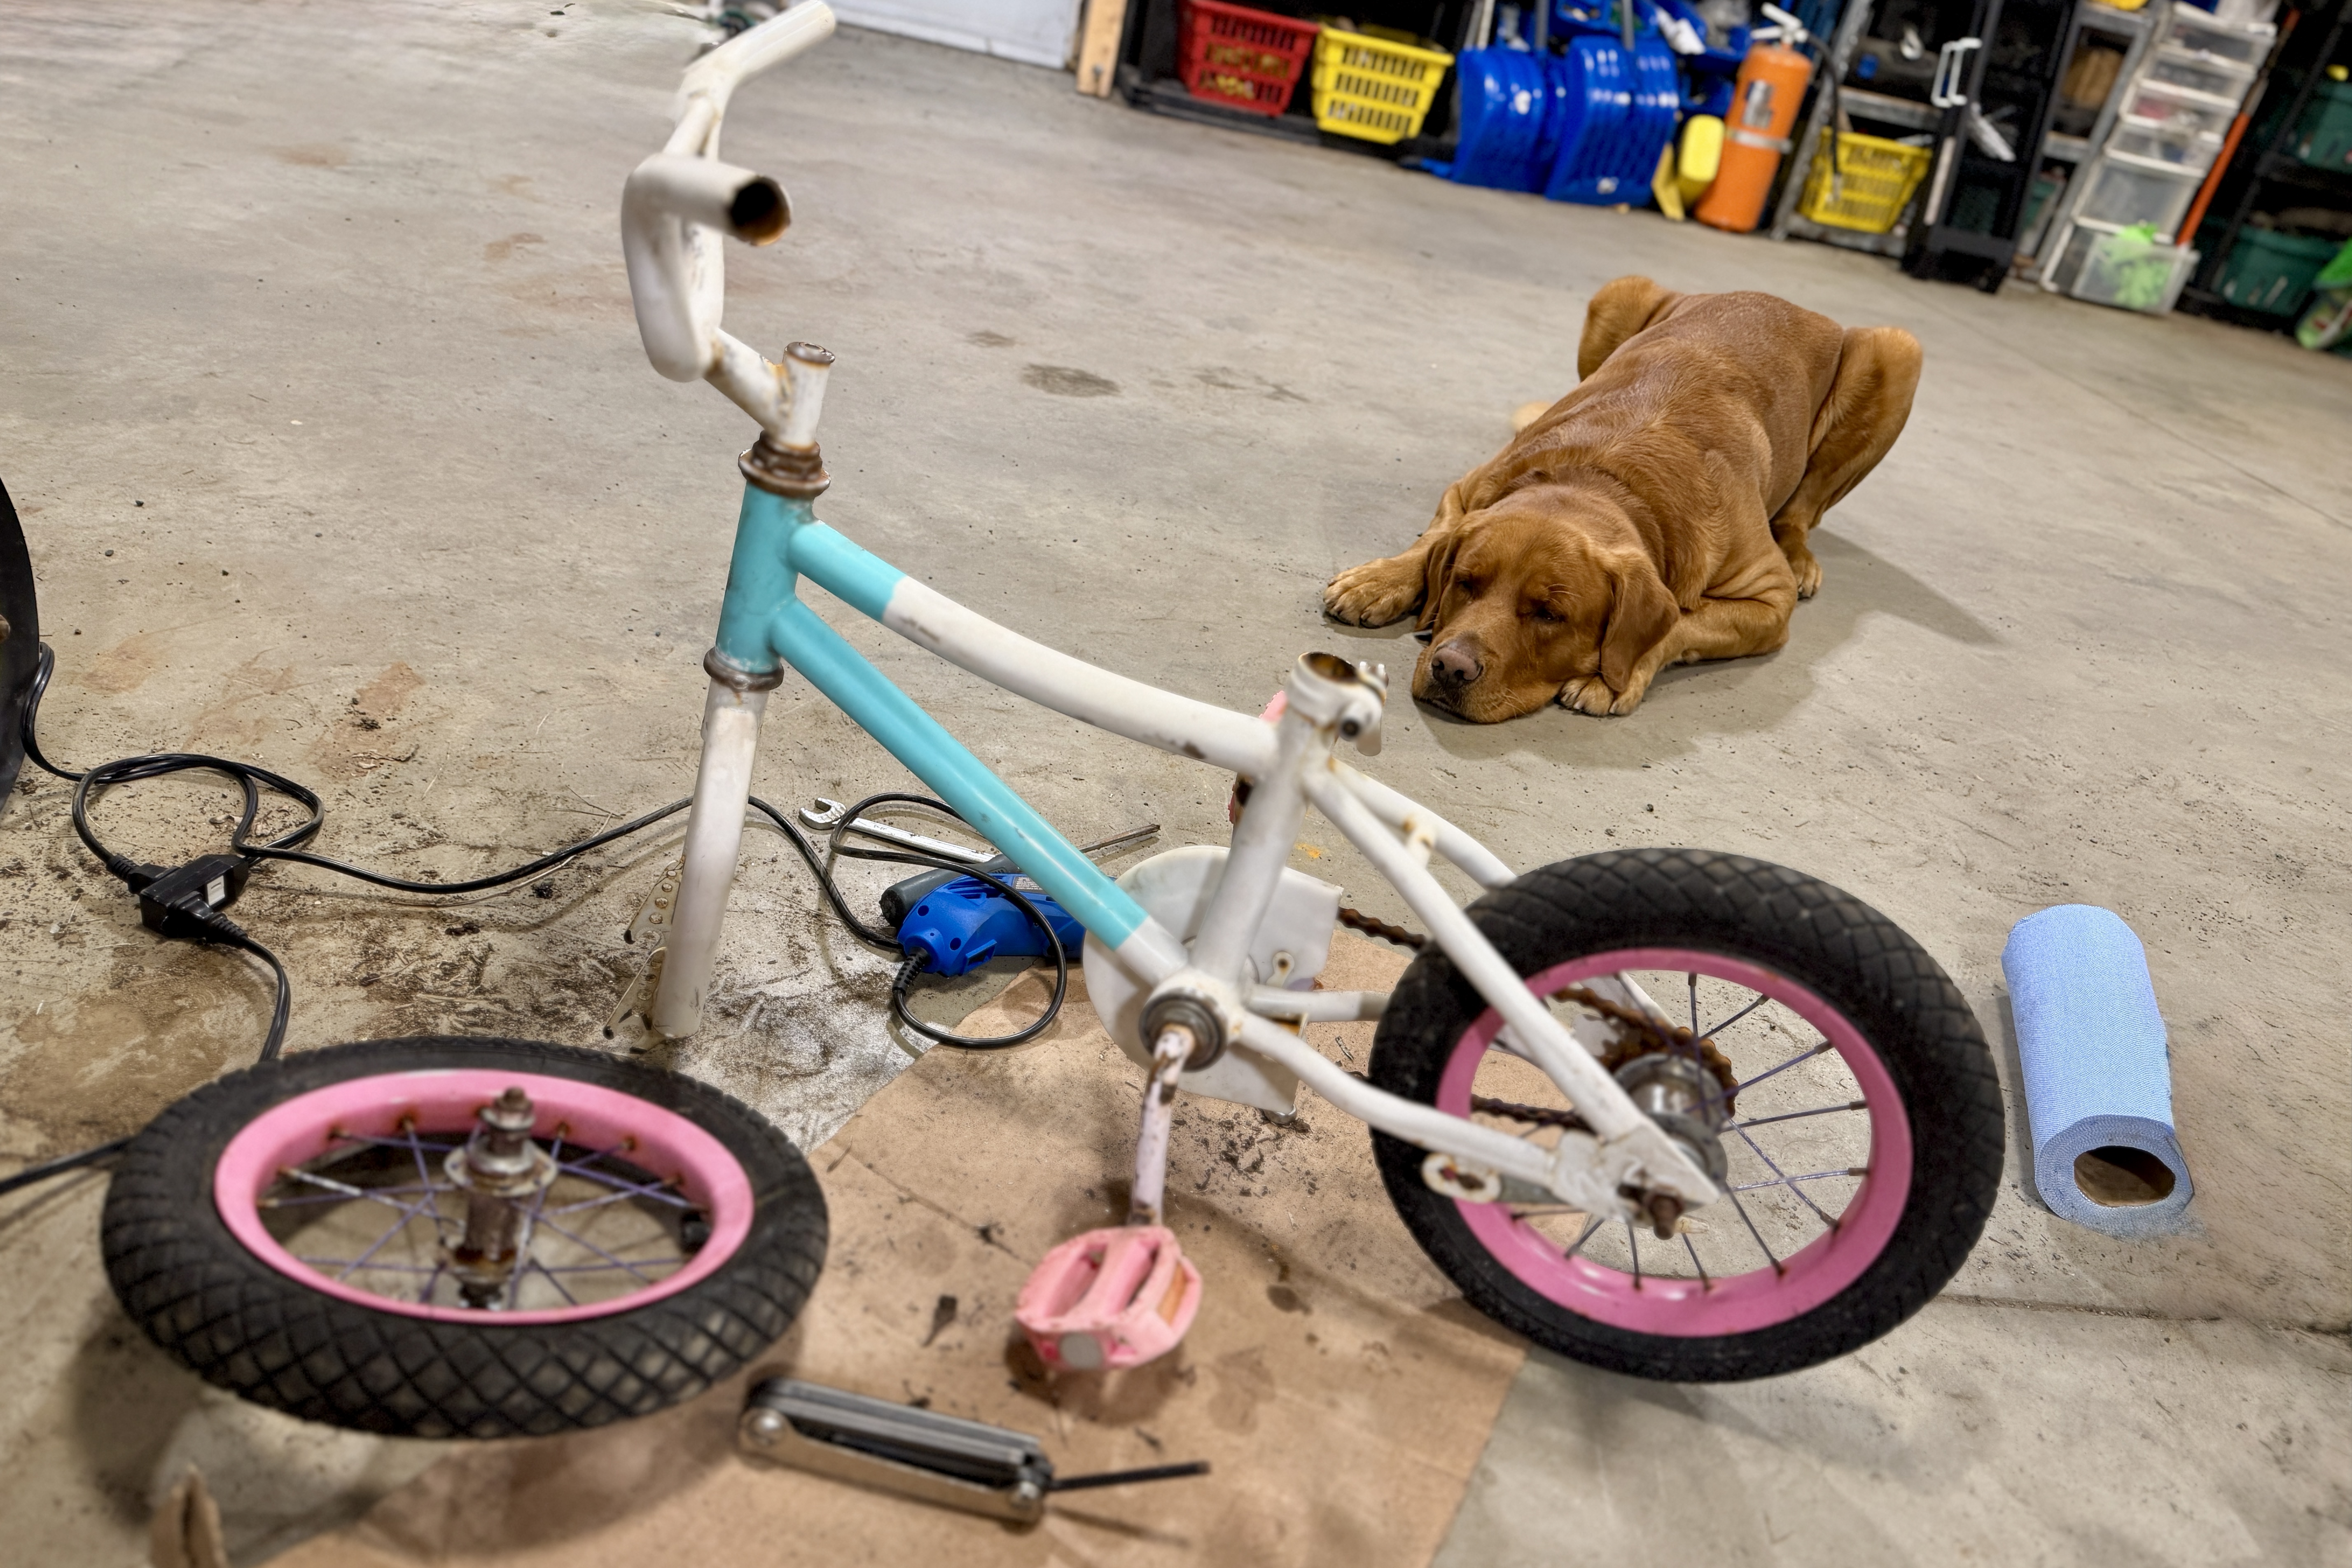
Now that the WD-40 had set enough to allow the bolts and nuts to be taken off, I began disassembling the bicycle, piece by piece. To remember where stuff went I took photos of each section so I’d be sure to put it back together properly.
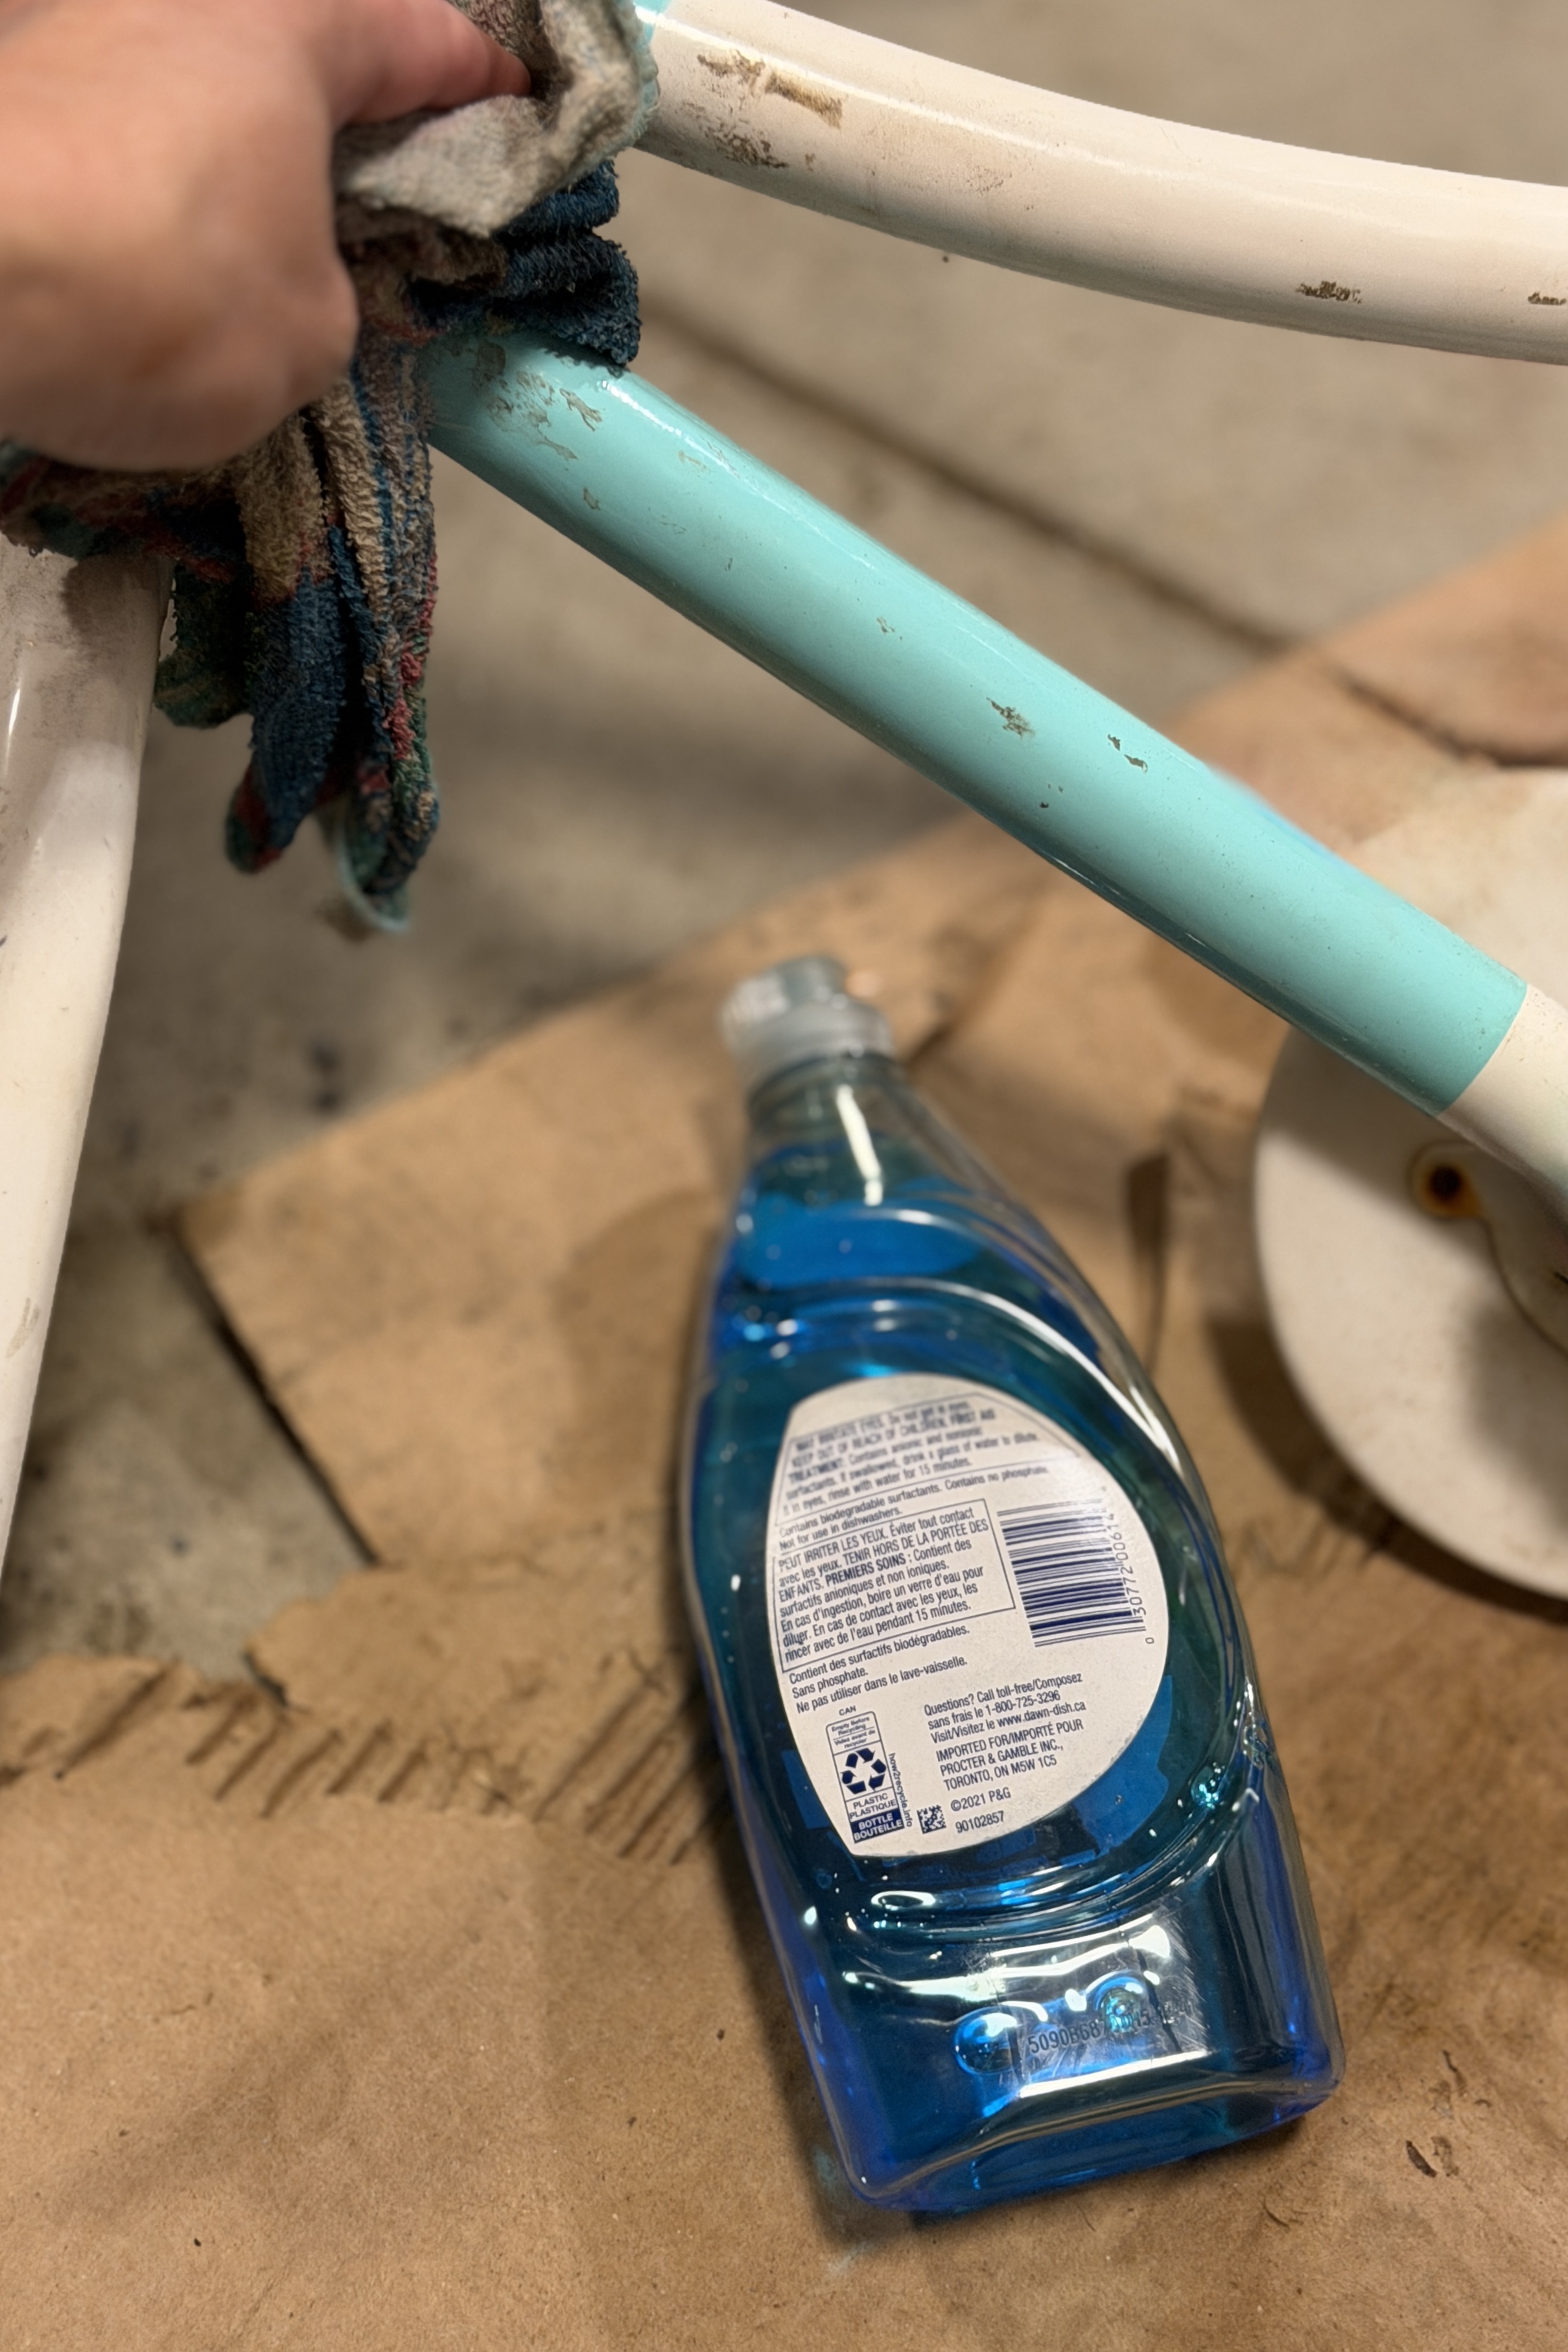
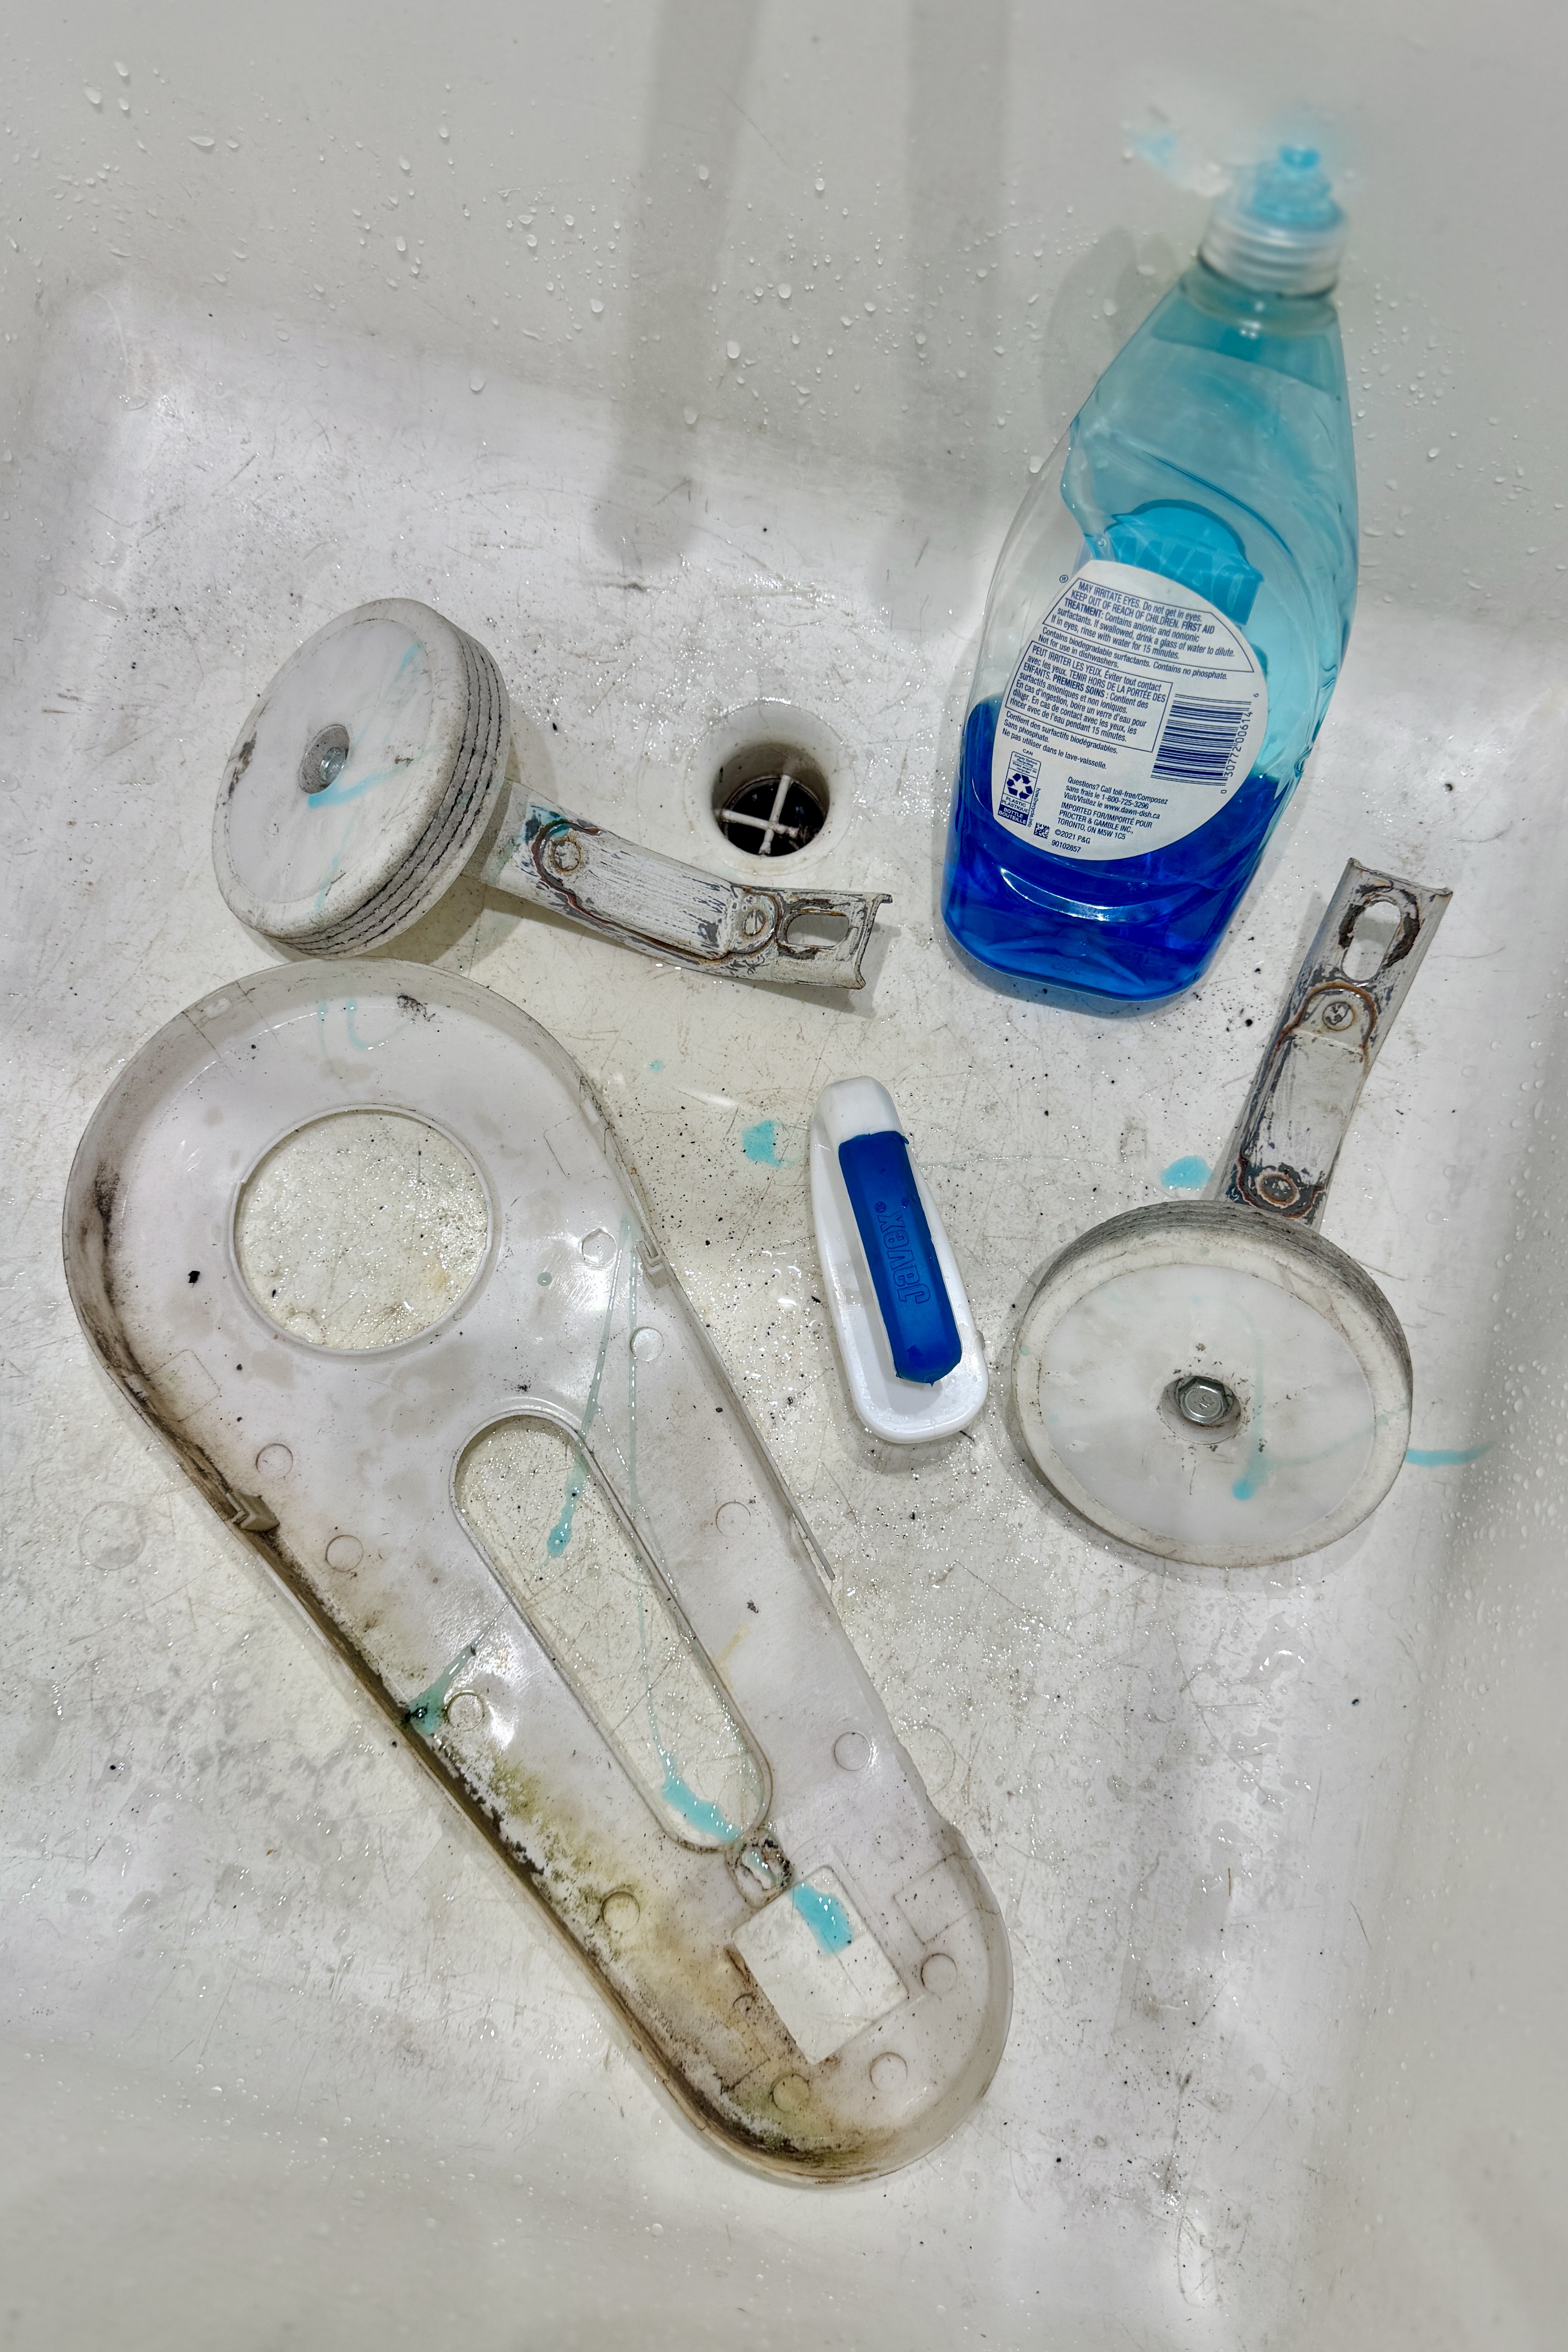
I used a good dish detergent with degreaser and carefully wiped down everything, doing my best to not leave any oil on the surfaces which would make it difficult for the paint to stick.
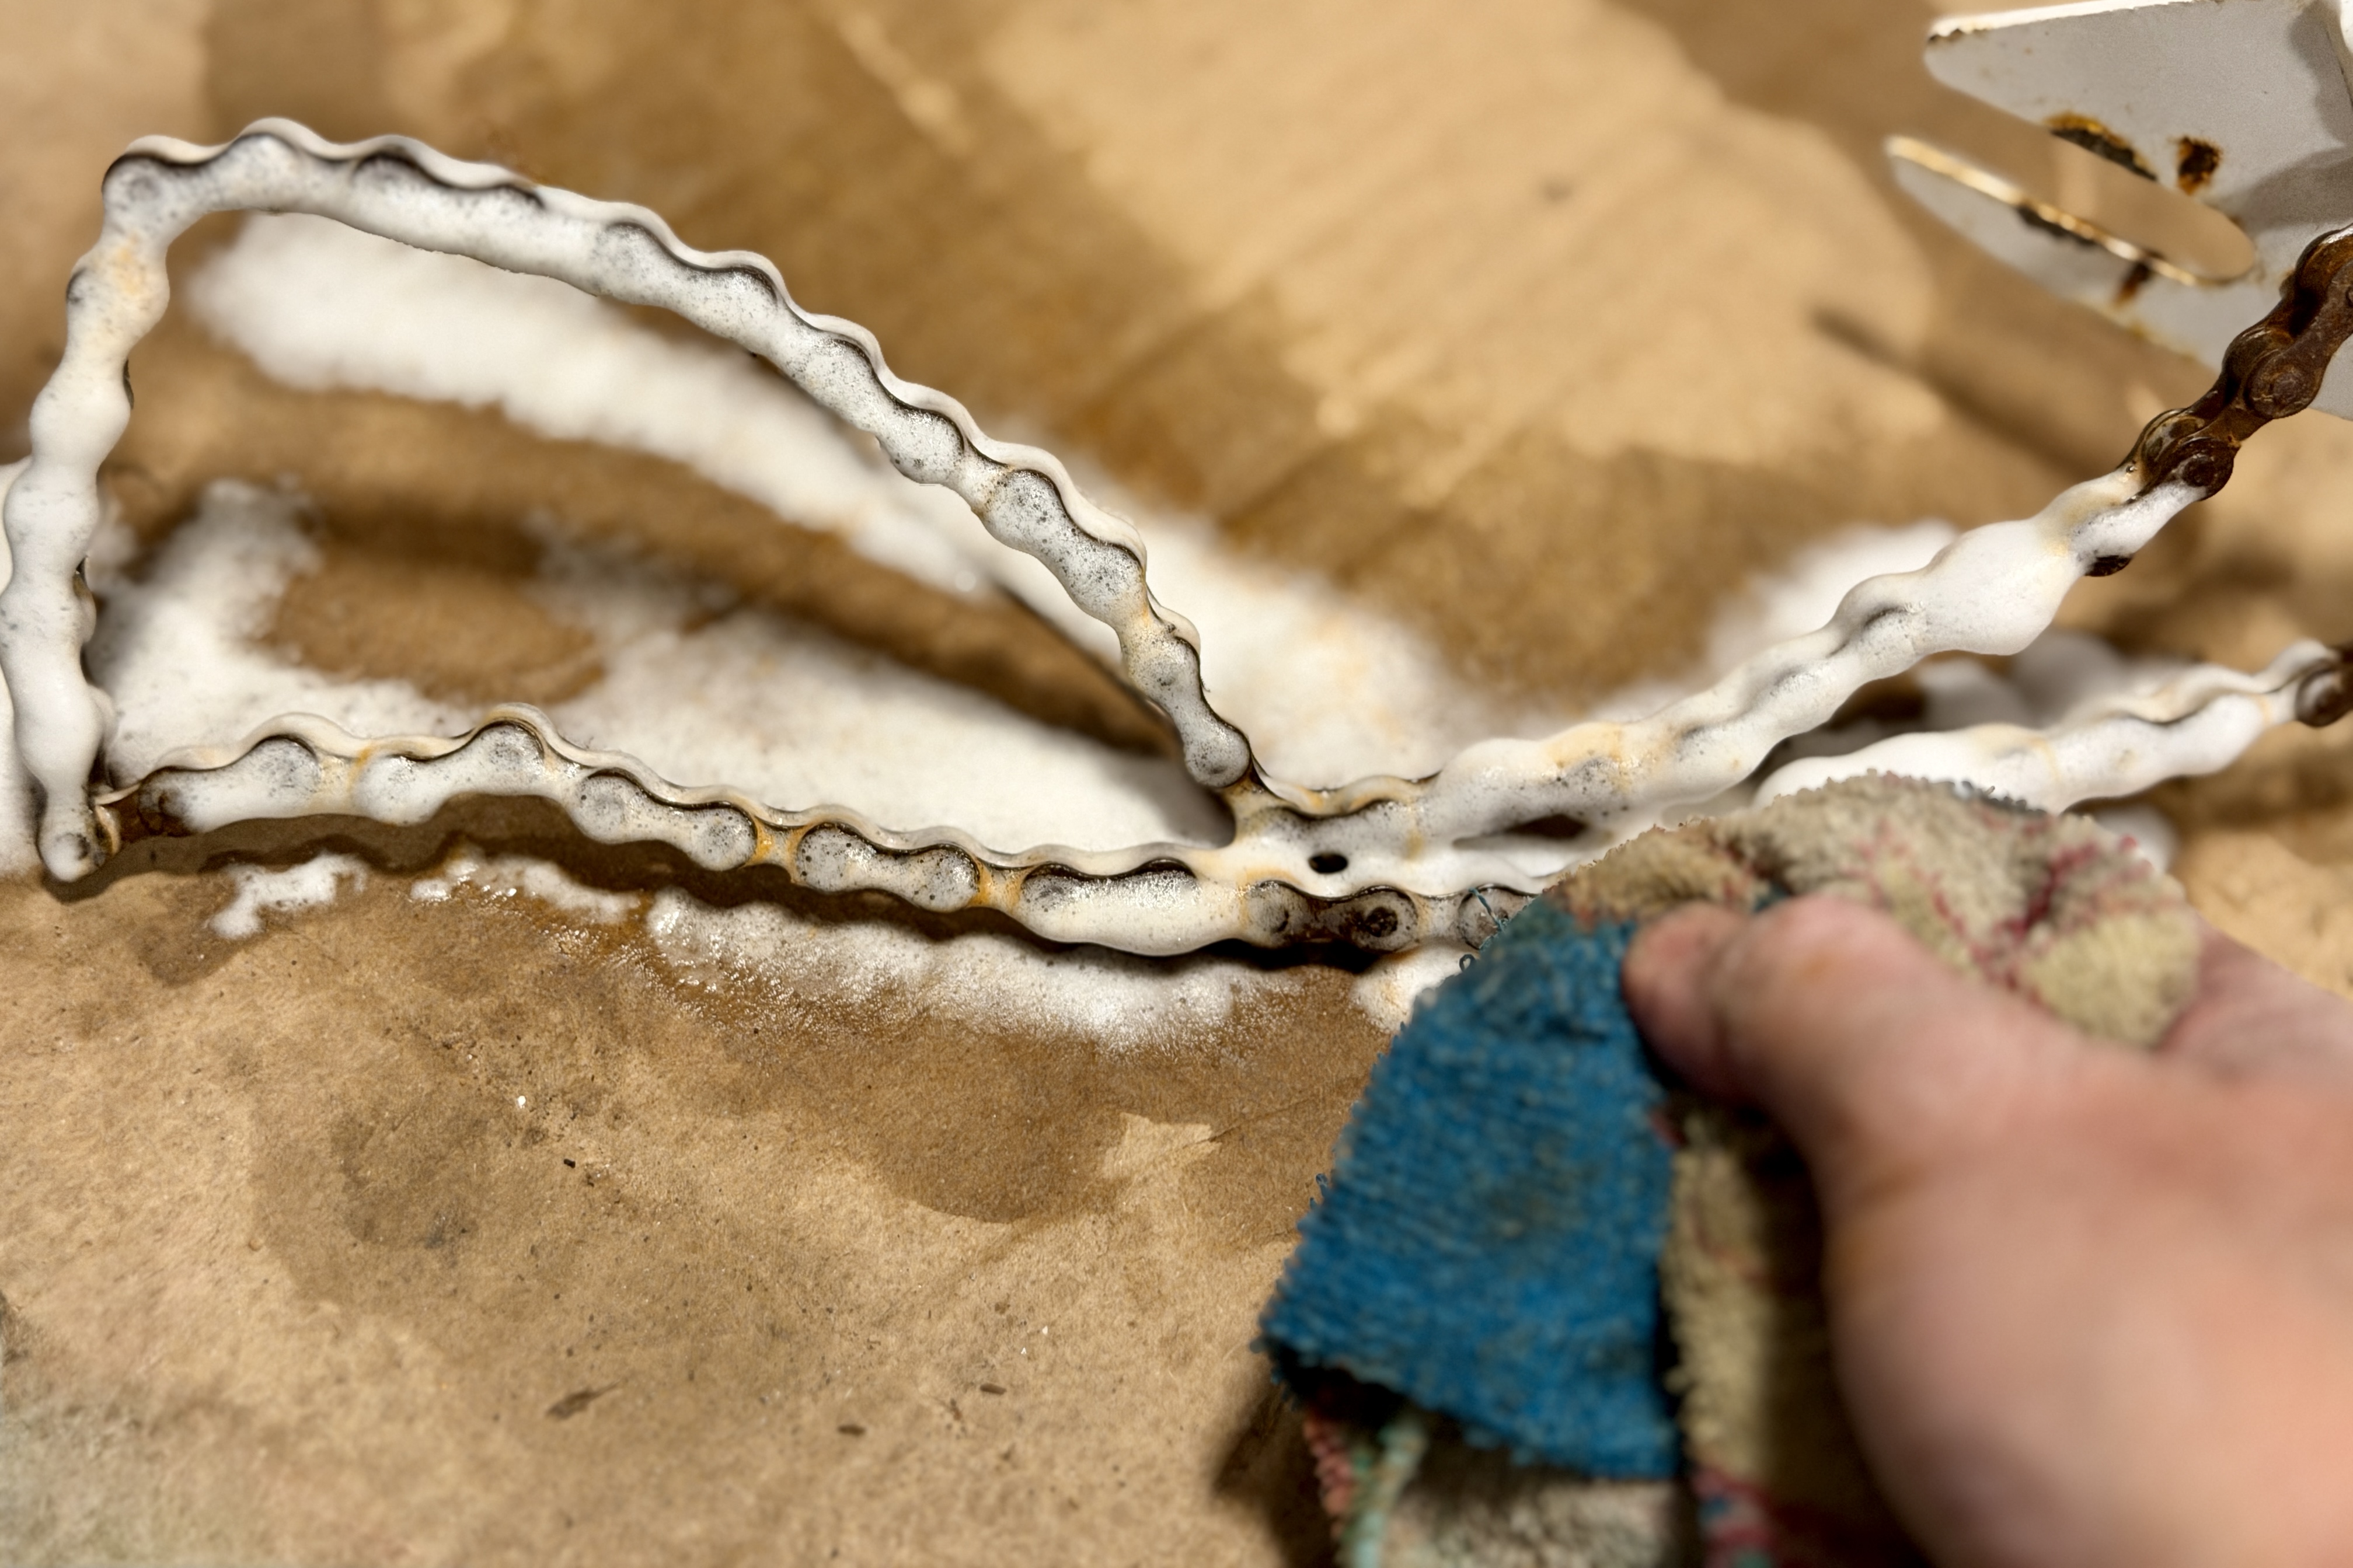
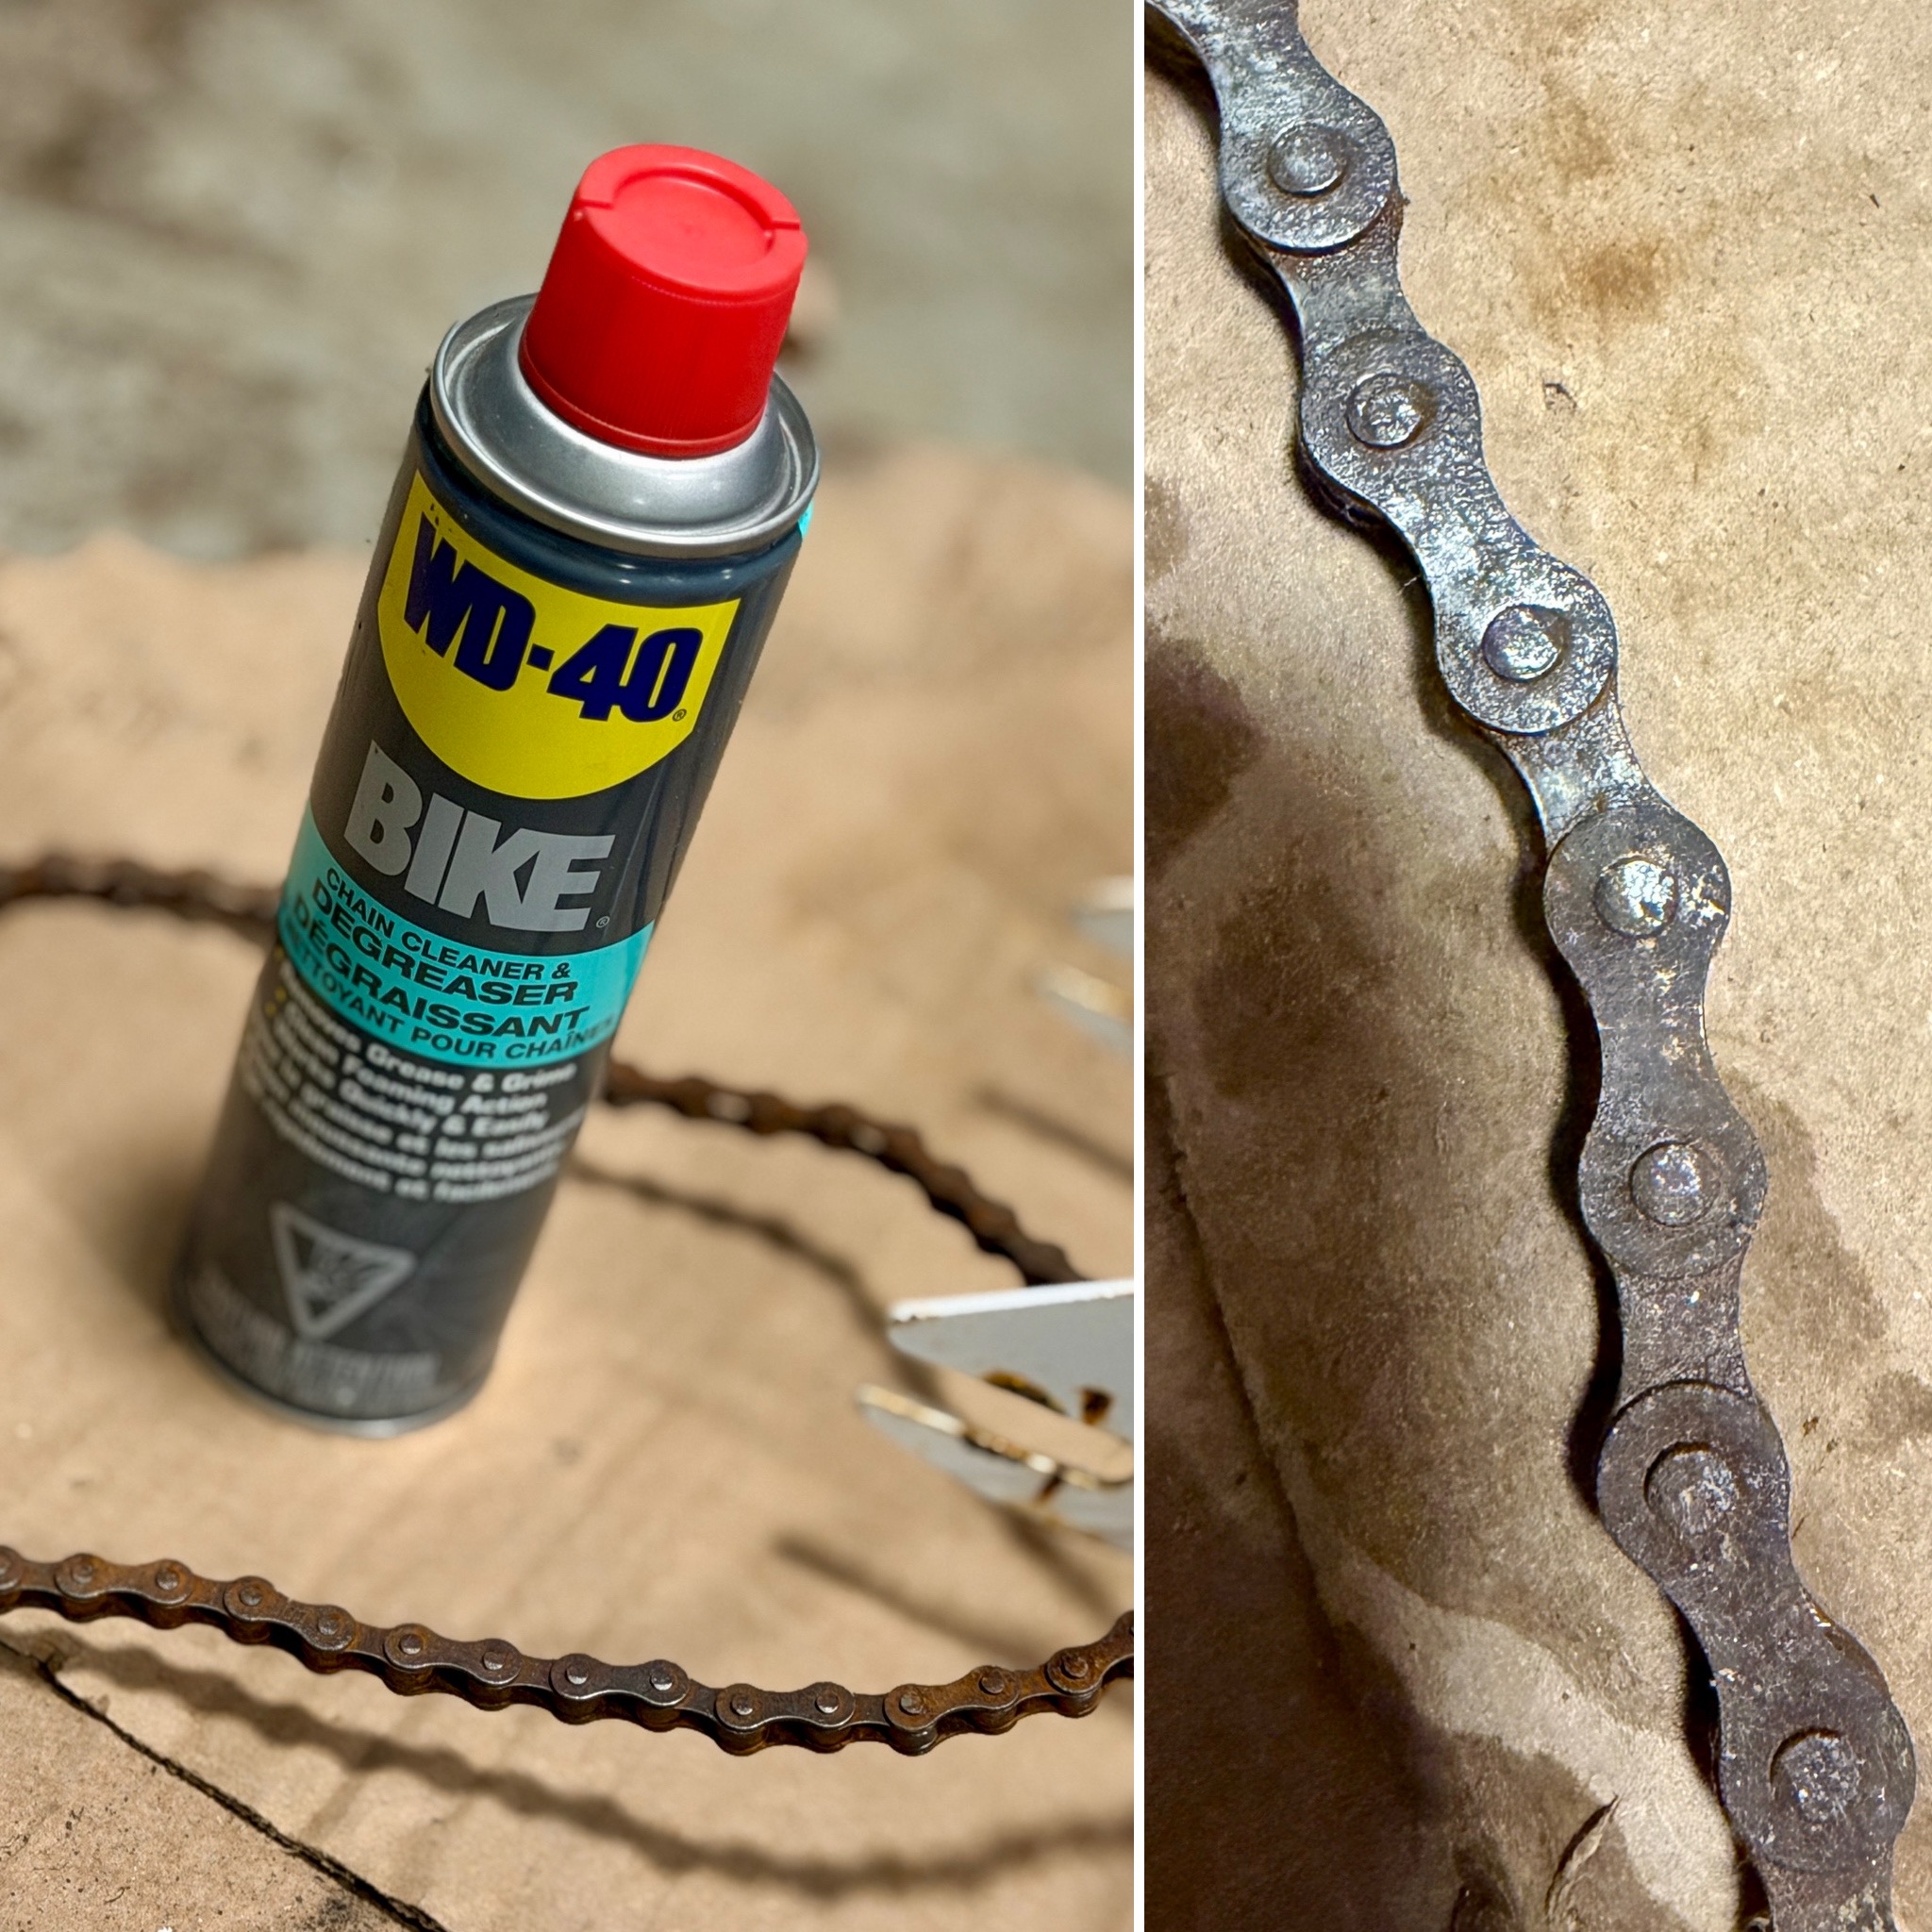
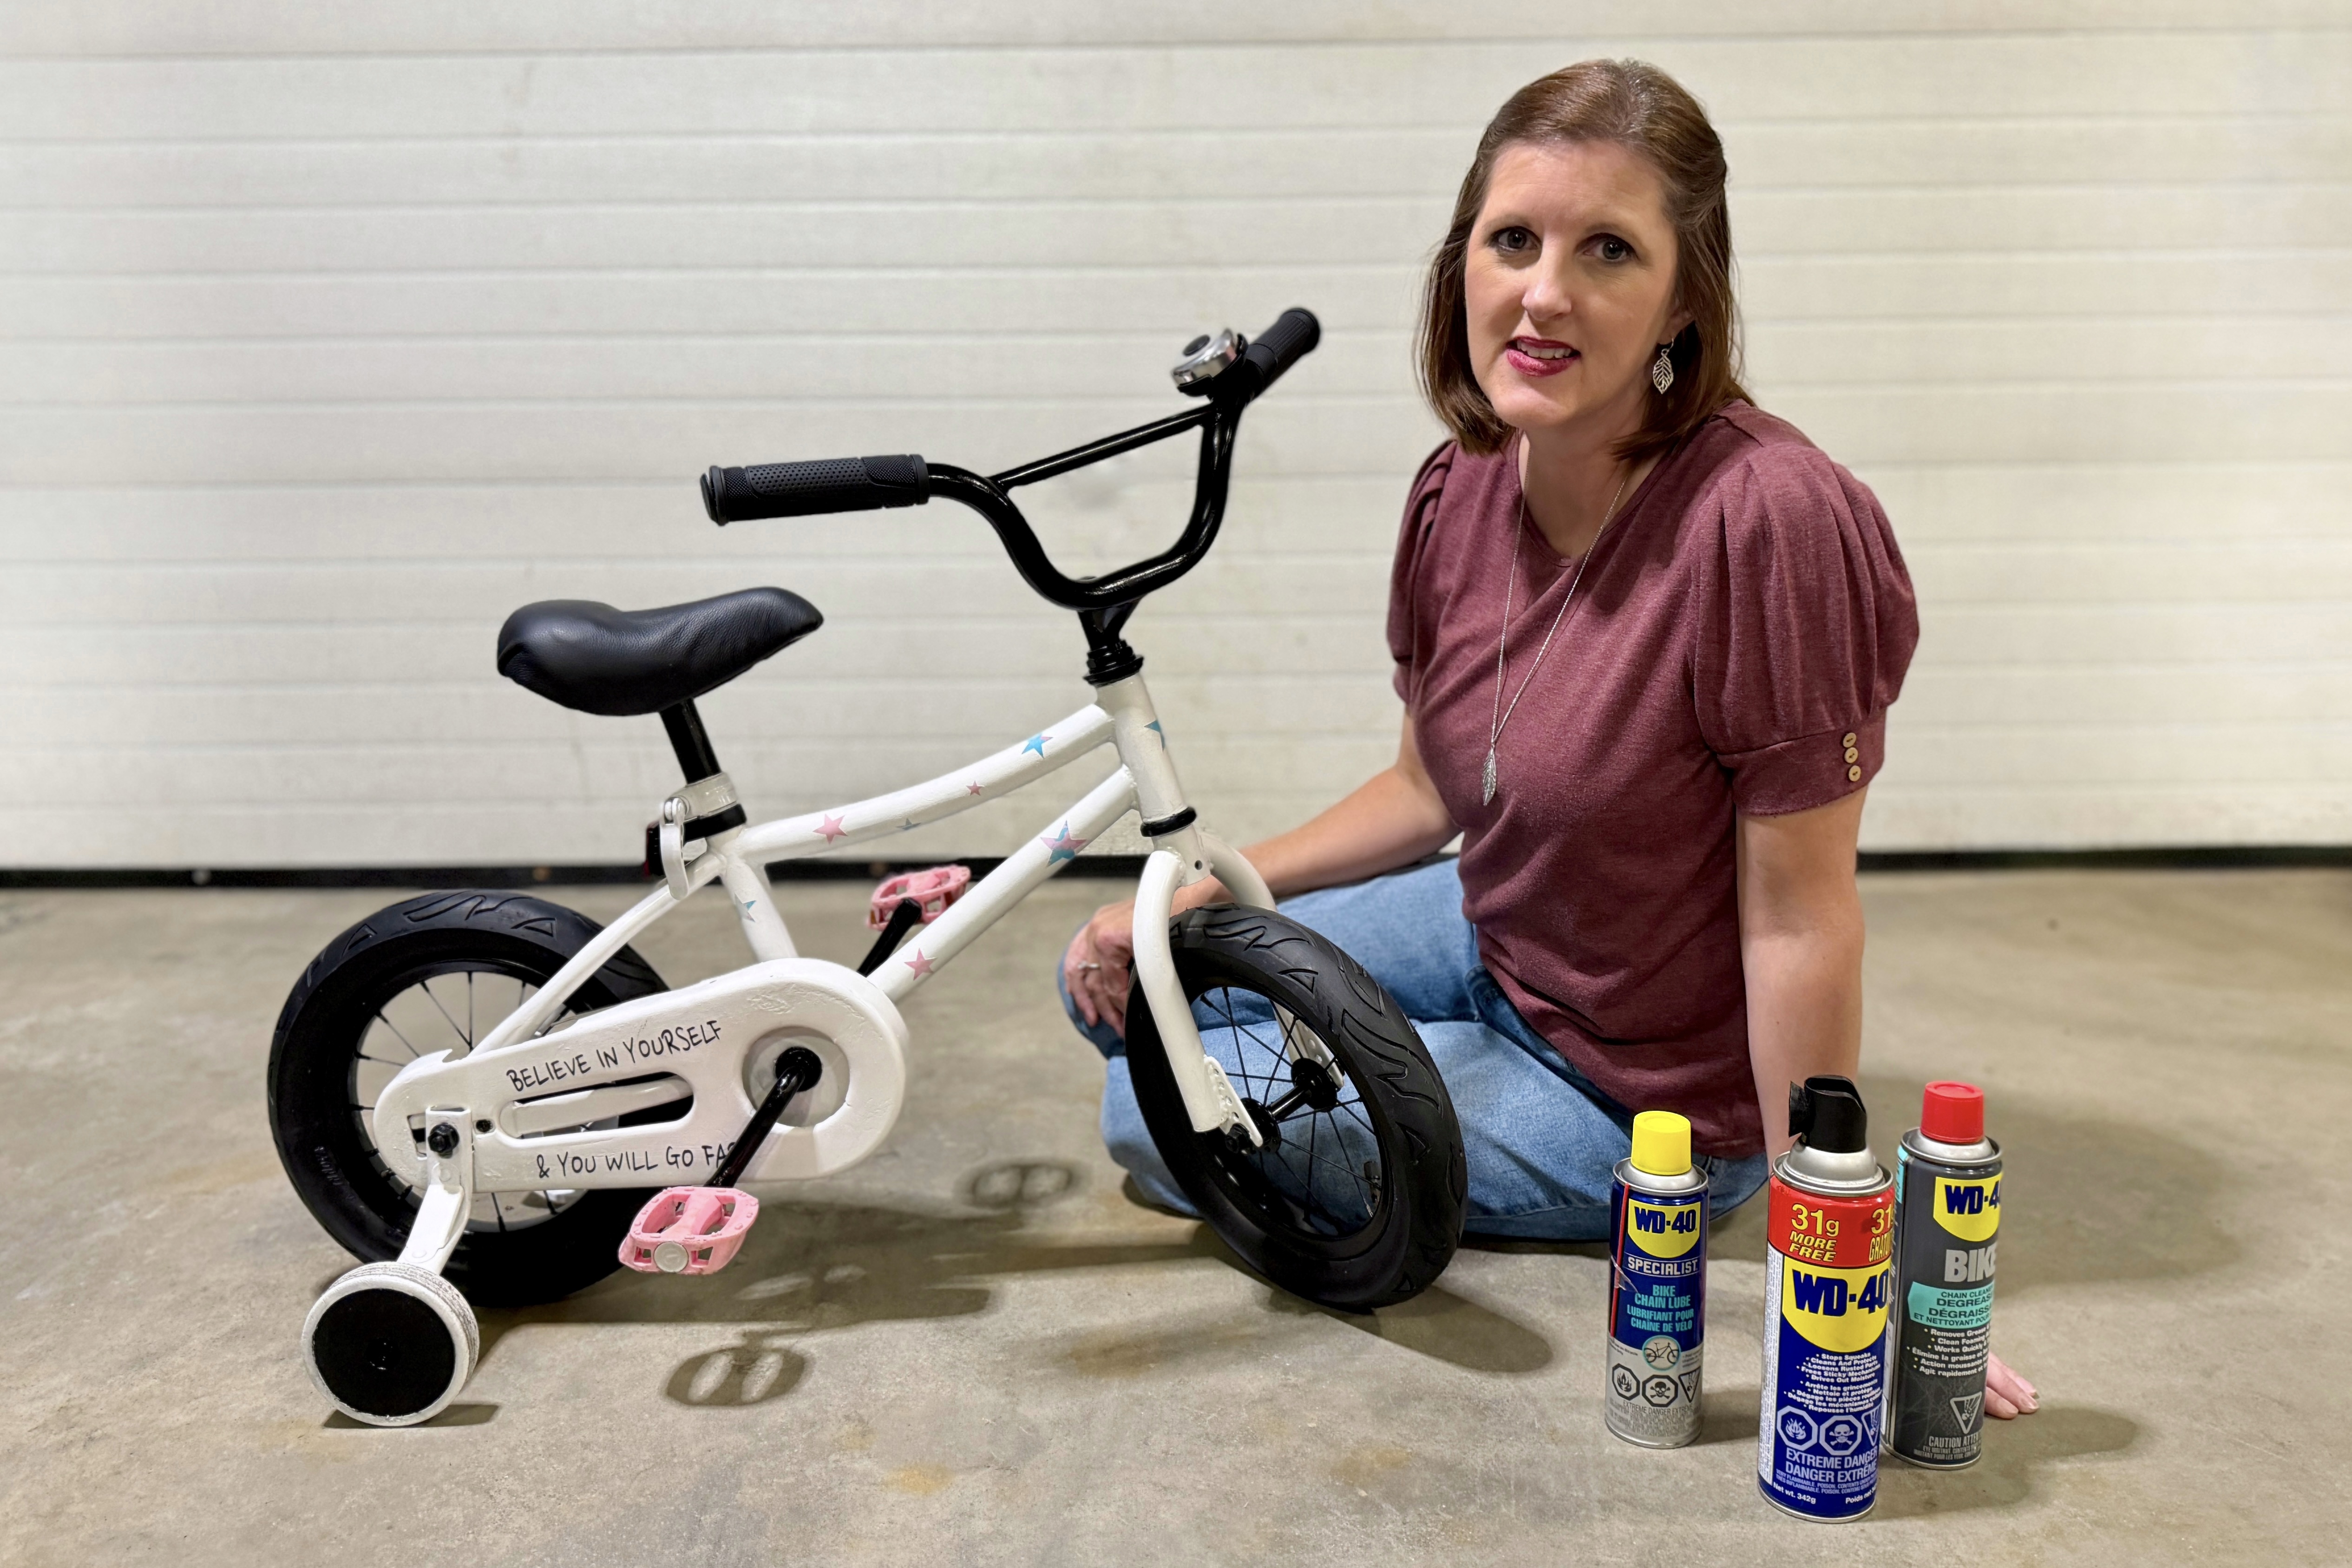
Once the chain was out in the open I got to work on it using WD-40 Bike Chain Cleaner & Degreaser. After shaking it well I sprayed it onto the chain, waited 2 minutes, then gently wiped it down with a cloth to remove all the excess dirt and grime. There was a pretty noticeable difference in the mobility of the chain after repeating this process a few times. It was pretty stiff at the start.
Step 5: Lesson learned


Plus 7 more

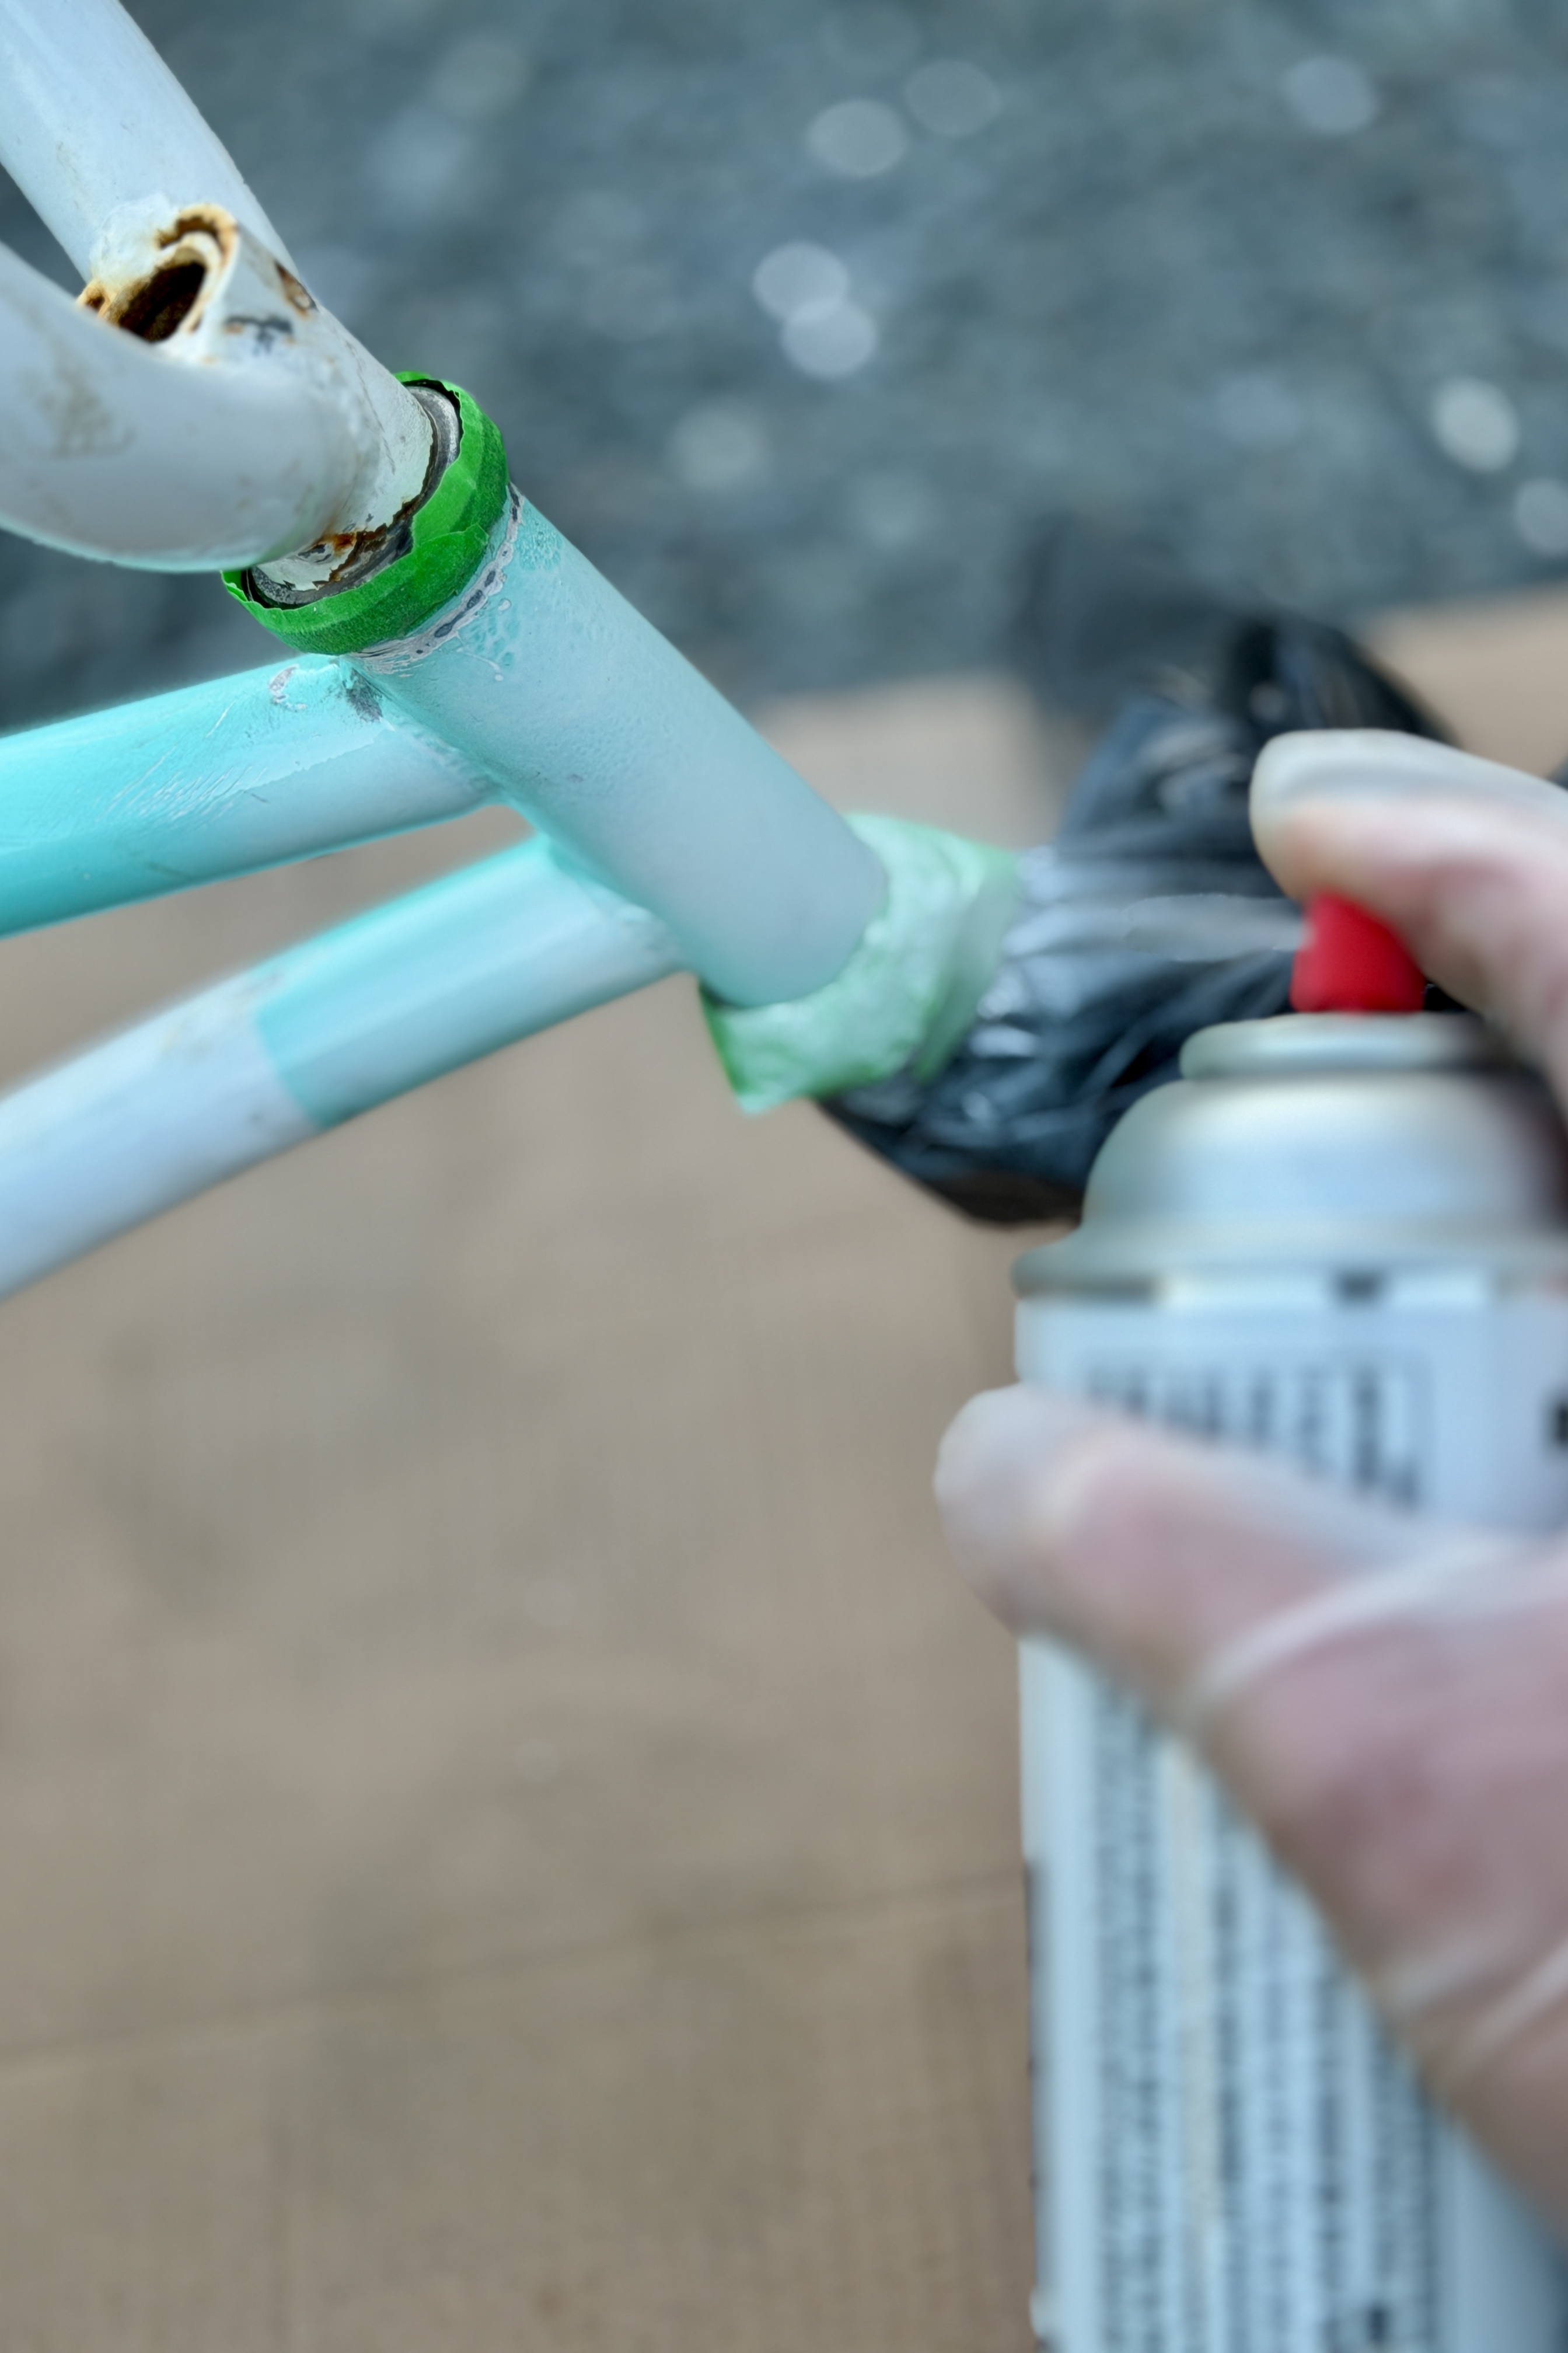
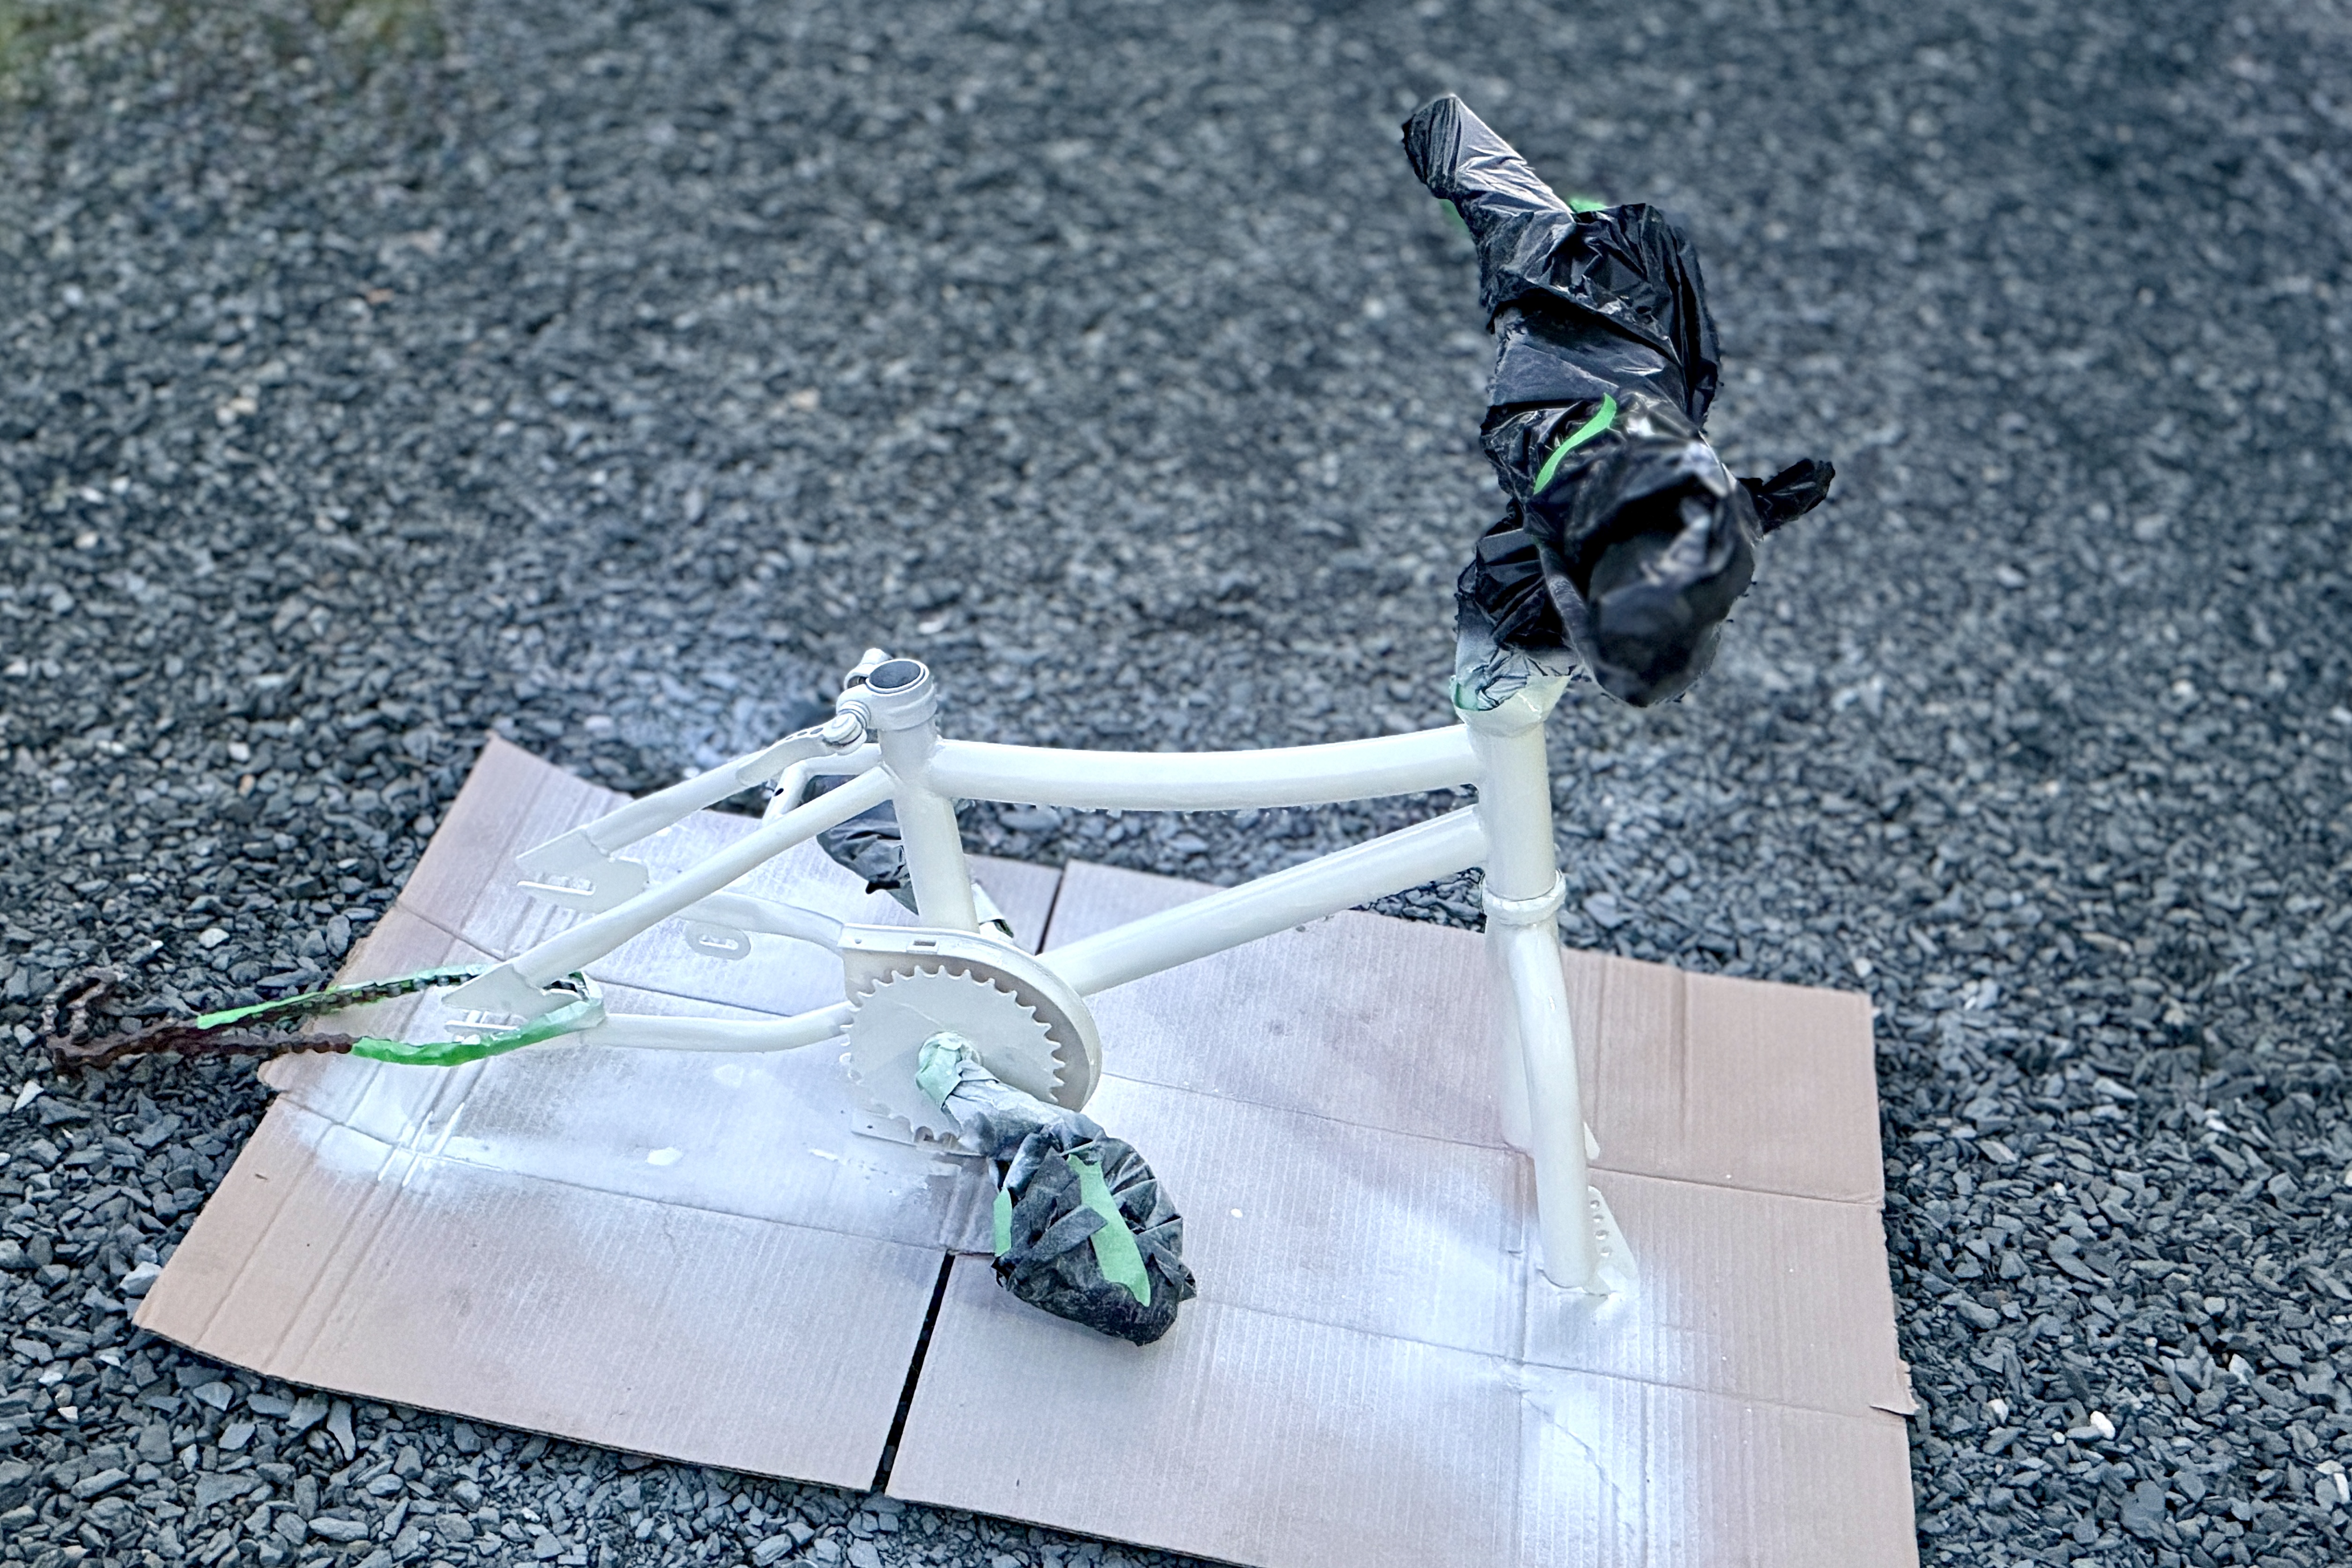
Time to start the colour transformation!!
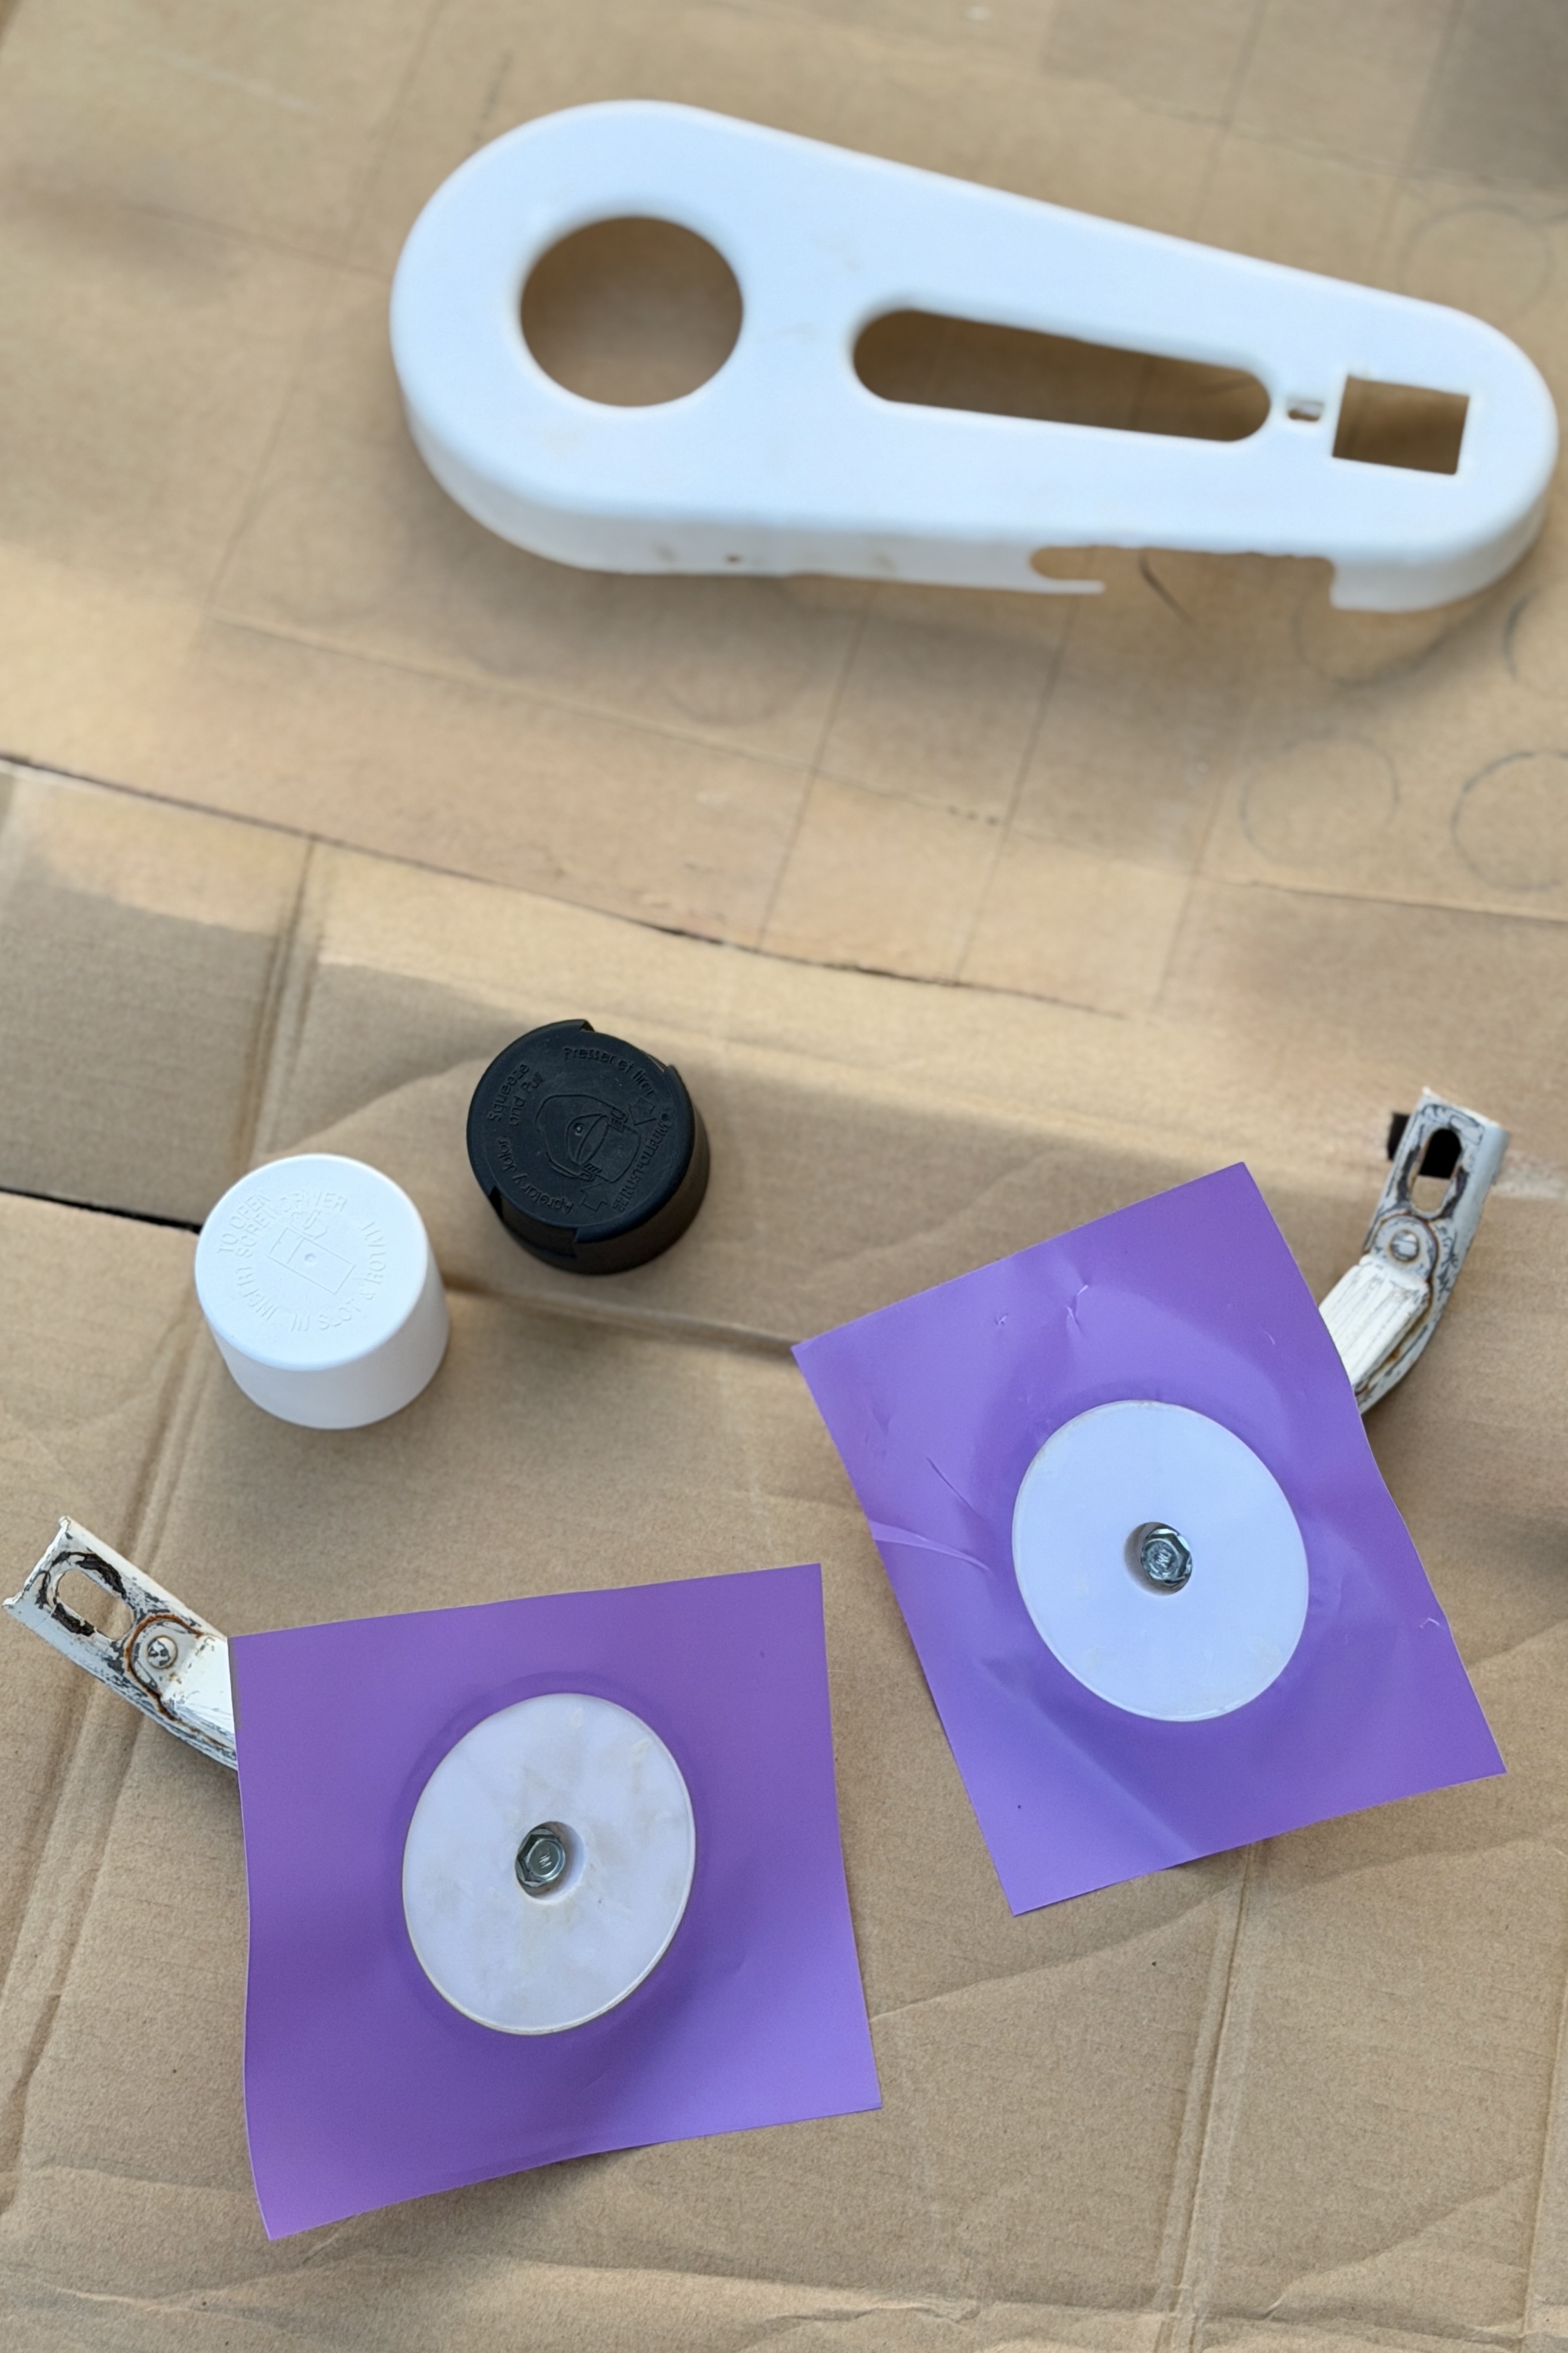
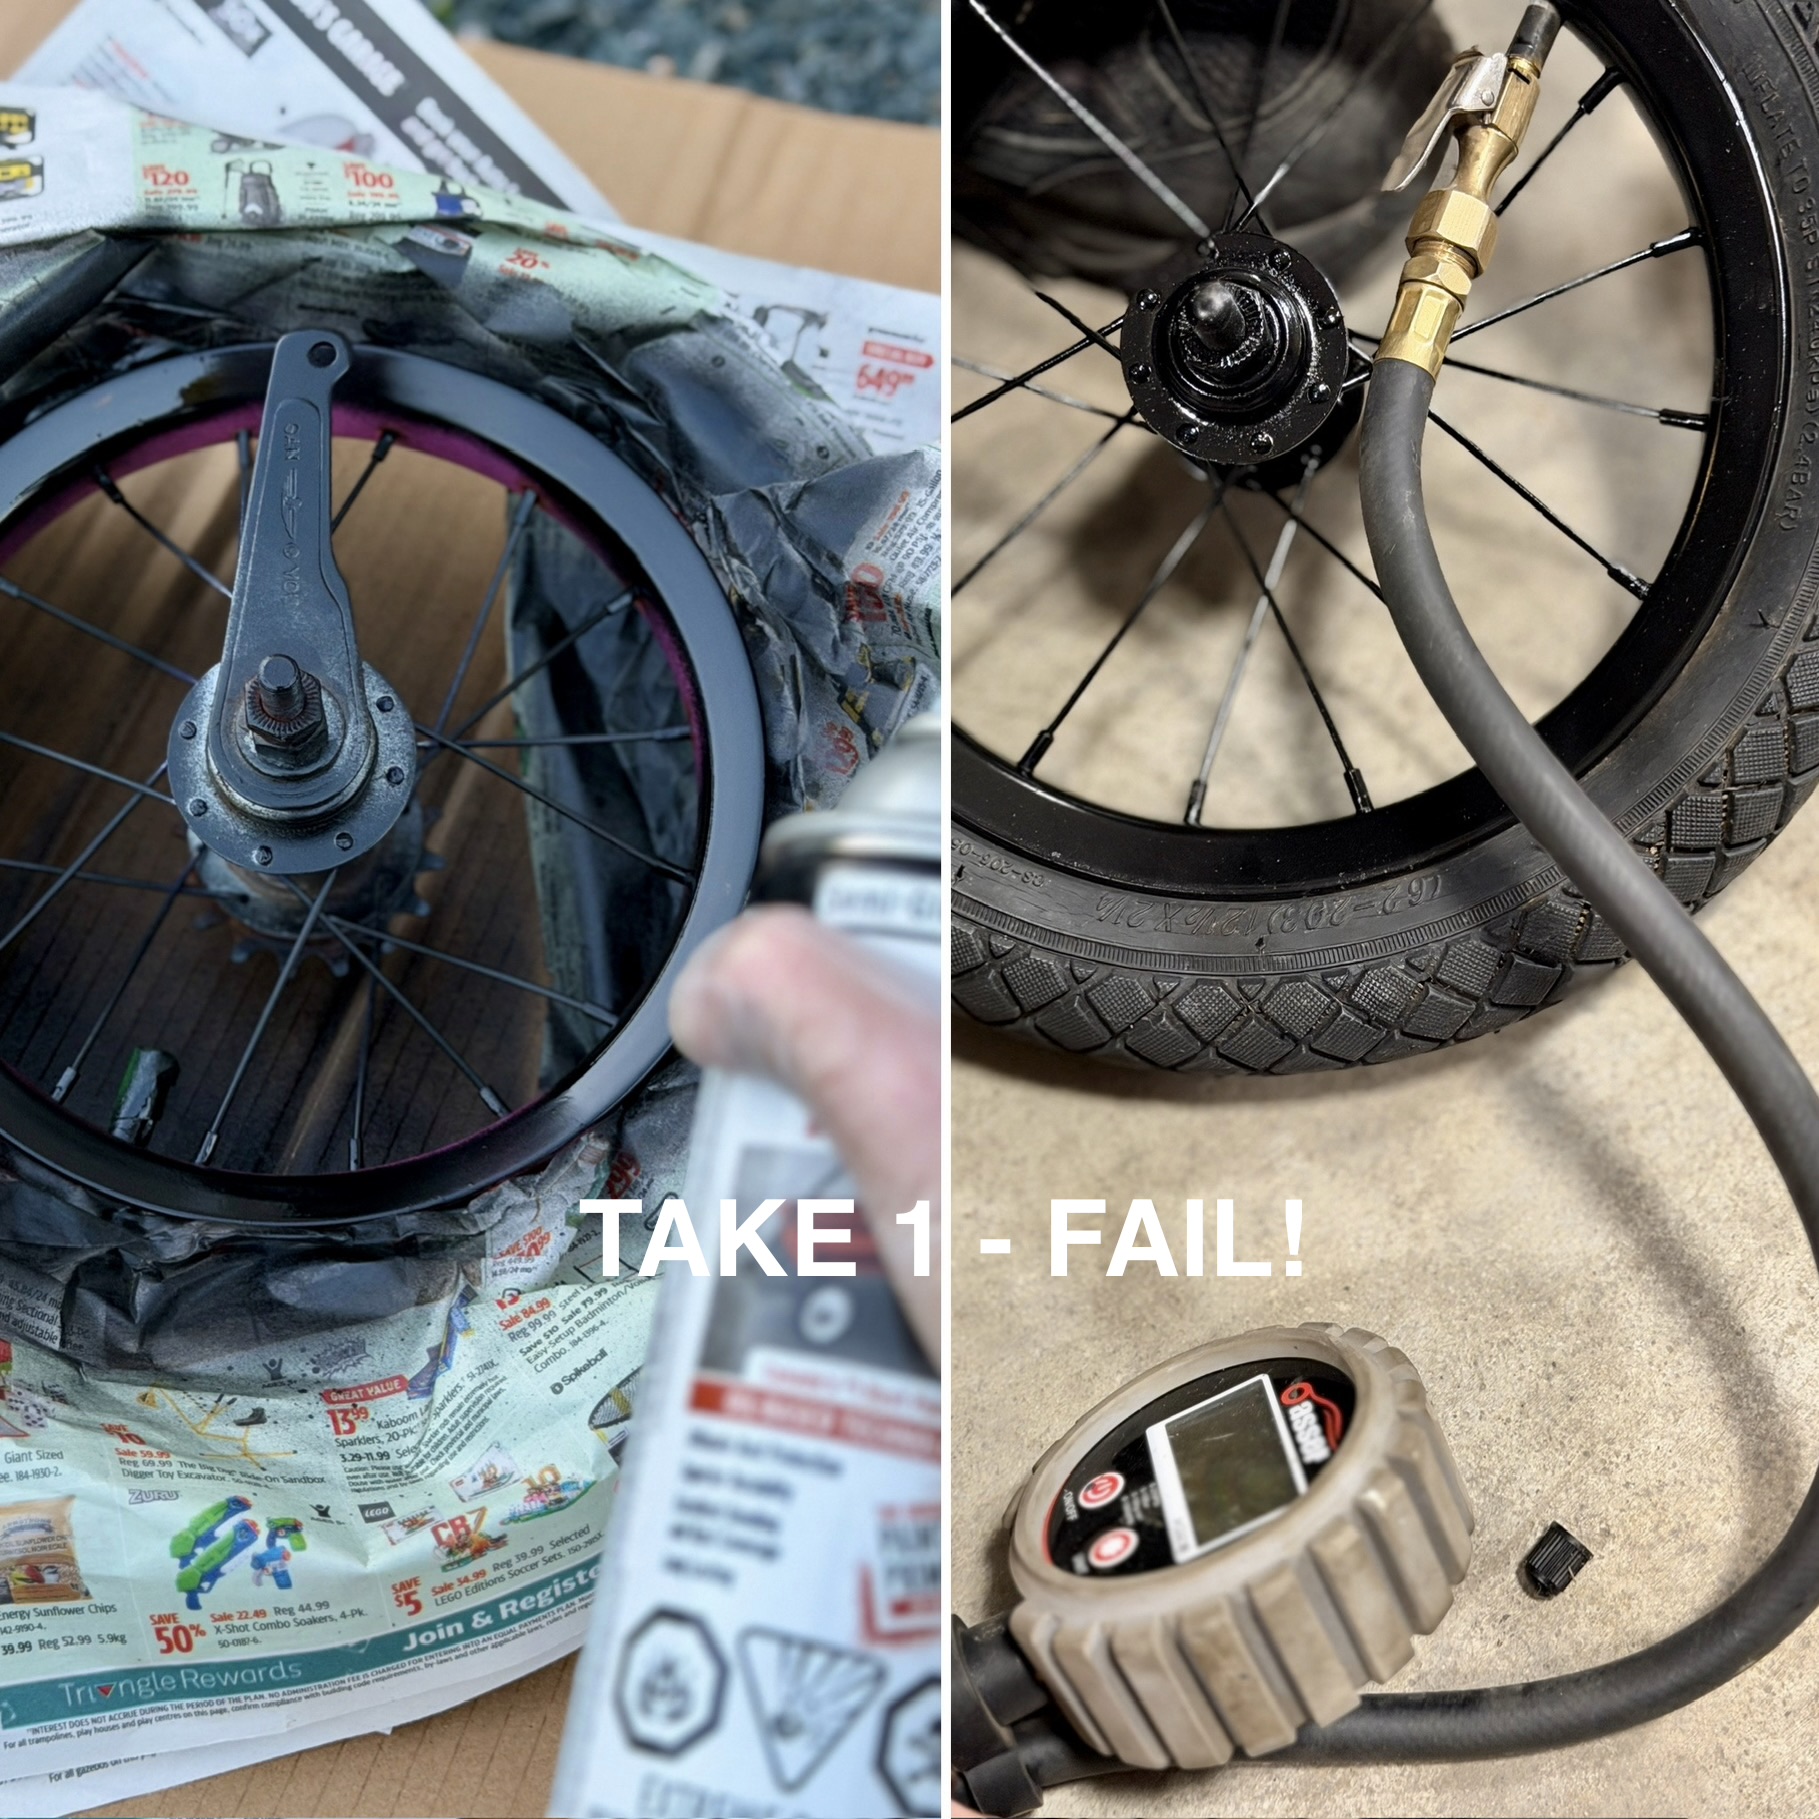
I taped off several areas so I could begin working on the training wheels, the chain guard, handlebars, crank arms (had to google what the part was called that is attached to the pedals) and the rims. Note: I call this Take 1 - you will see why soon.
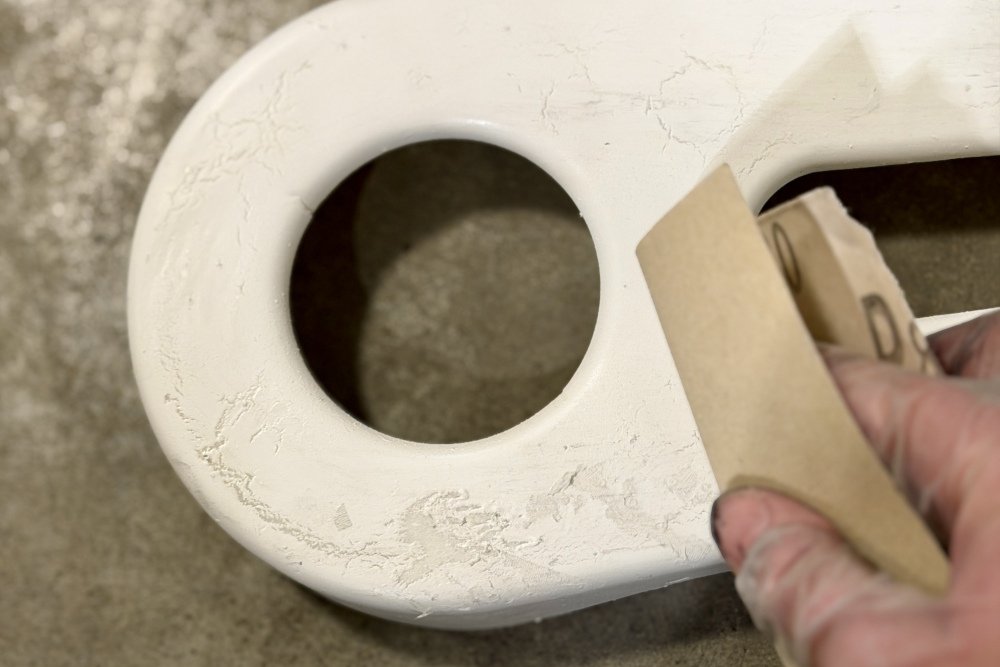
I can’t say that it went as smoothly as I would have liked it to as you can see the look of defeat on my face when I painted the chain guard. I had started off with an older can of paint and it didn’t go on very well. It had almost a crackle like texture on the surface of the plastic by the time it had dried. I ended up sanding the majority of it off then I redid it with the newer can of paint in my possession. It was much more successful at going on the second time around although it was still a bit rough.
Over the course of a few days, using a rust paint that was good on both metal and plastic, I worked away at the different parts until everything was done.
I hit another roadblock though when I attempted to inflate the tires… AFTER I had already painted the rims. Turns out both tubes were garbage - the stems were partially broken off causing the air to leak out. I should have known to check that first, considering the tires were flat when I got it. It was easier to paint the rims with them deflated and I had assumed that they would pump up fine. That just wasn’t the case this time around.
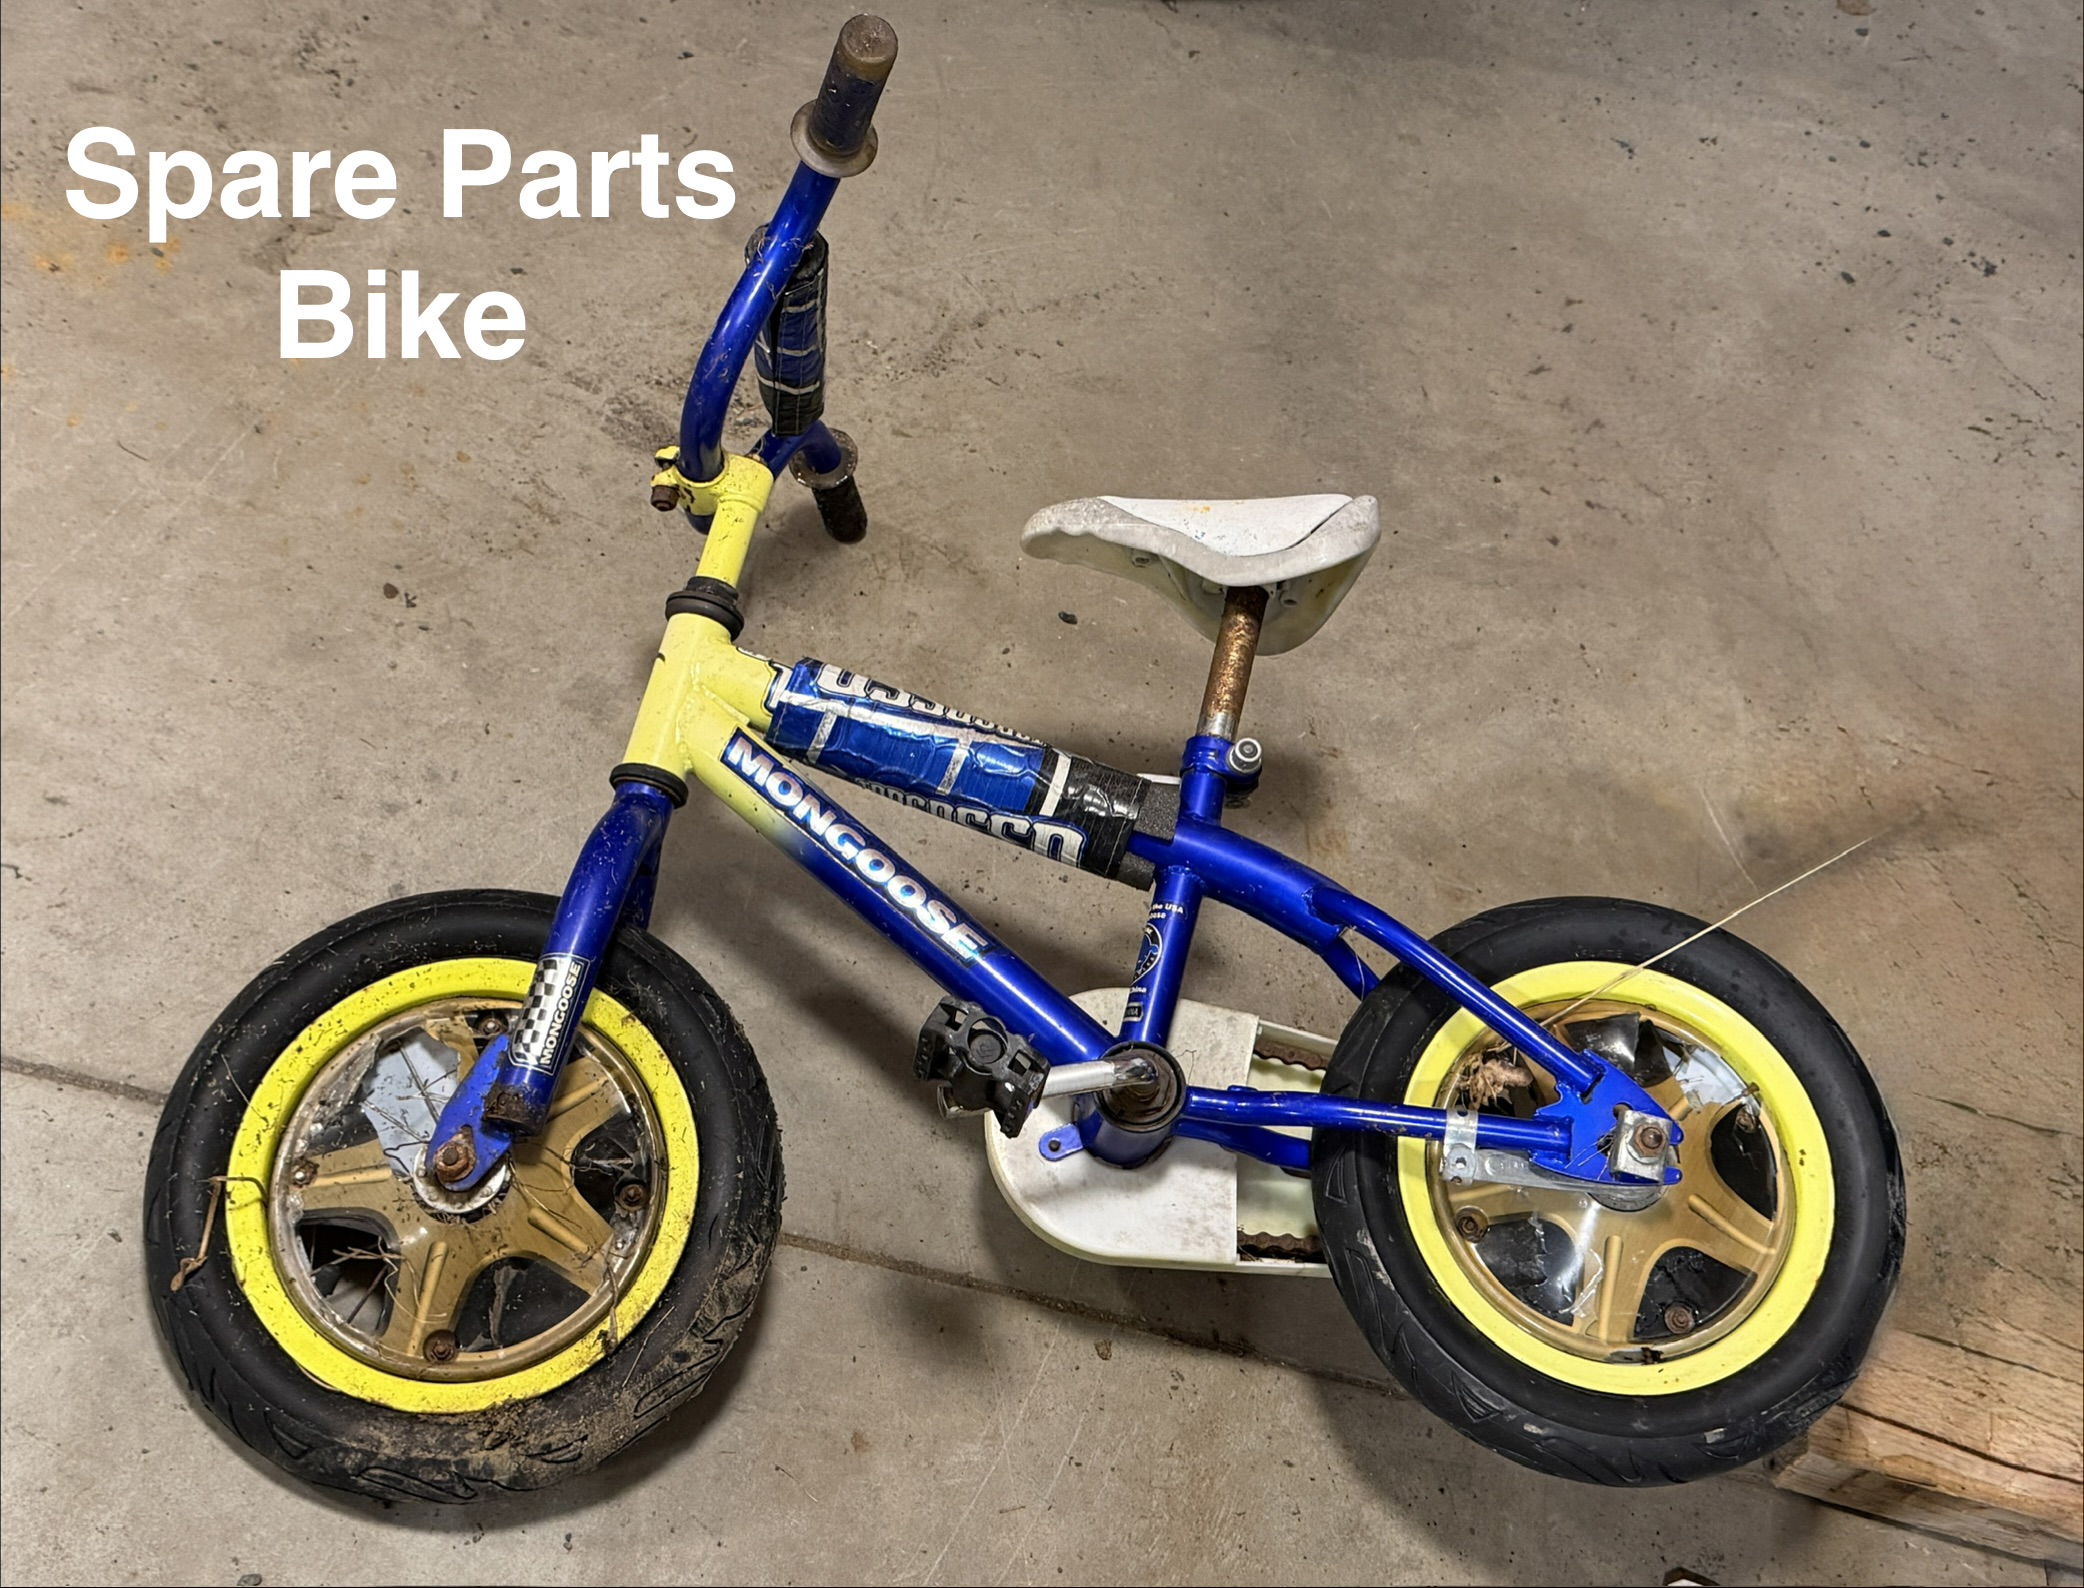
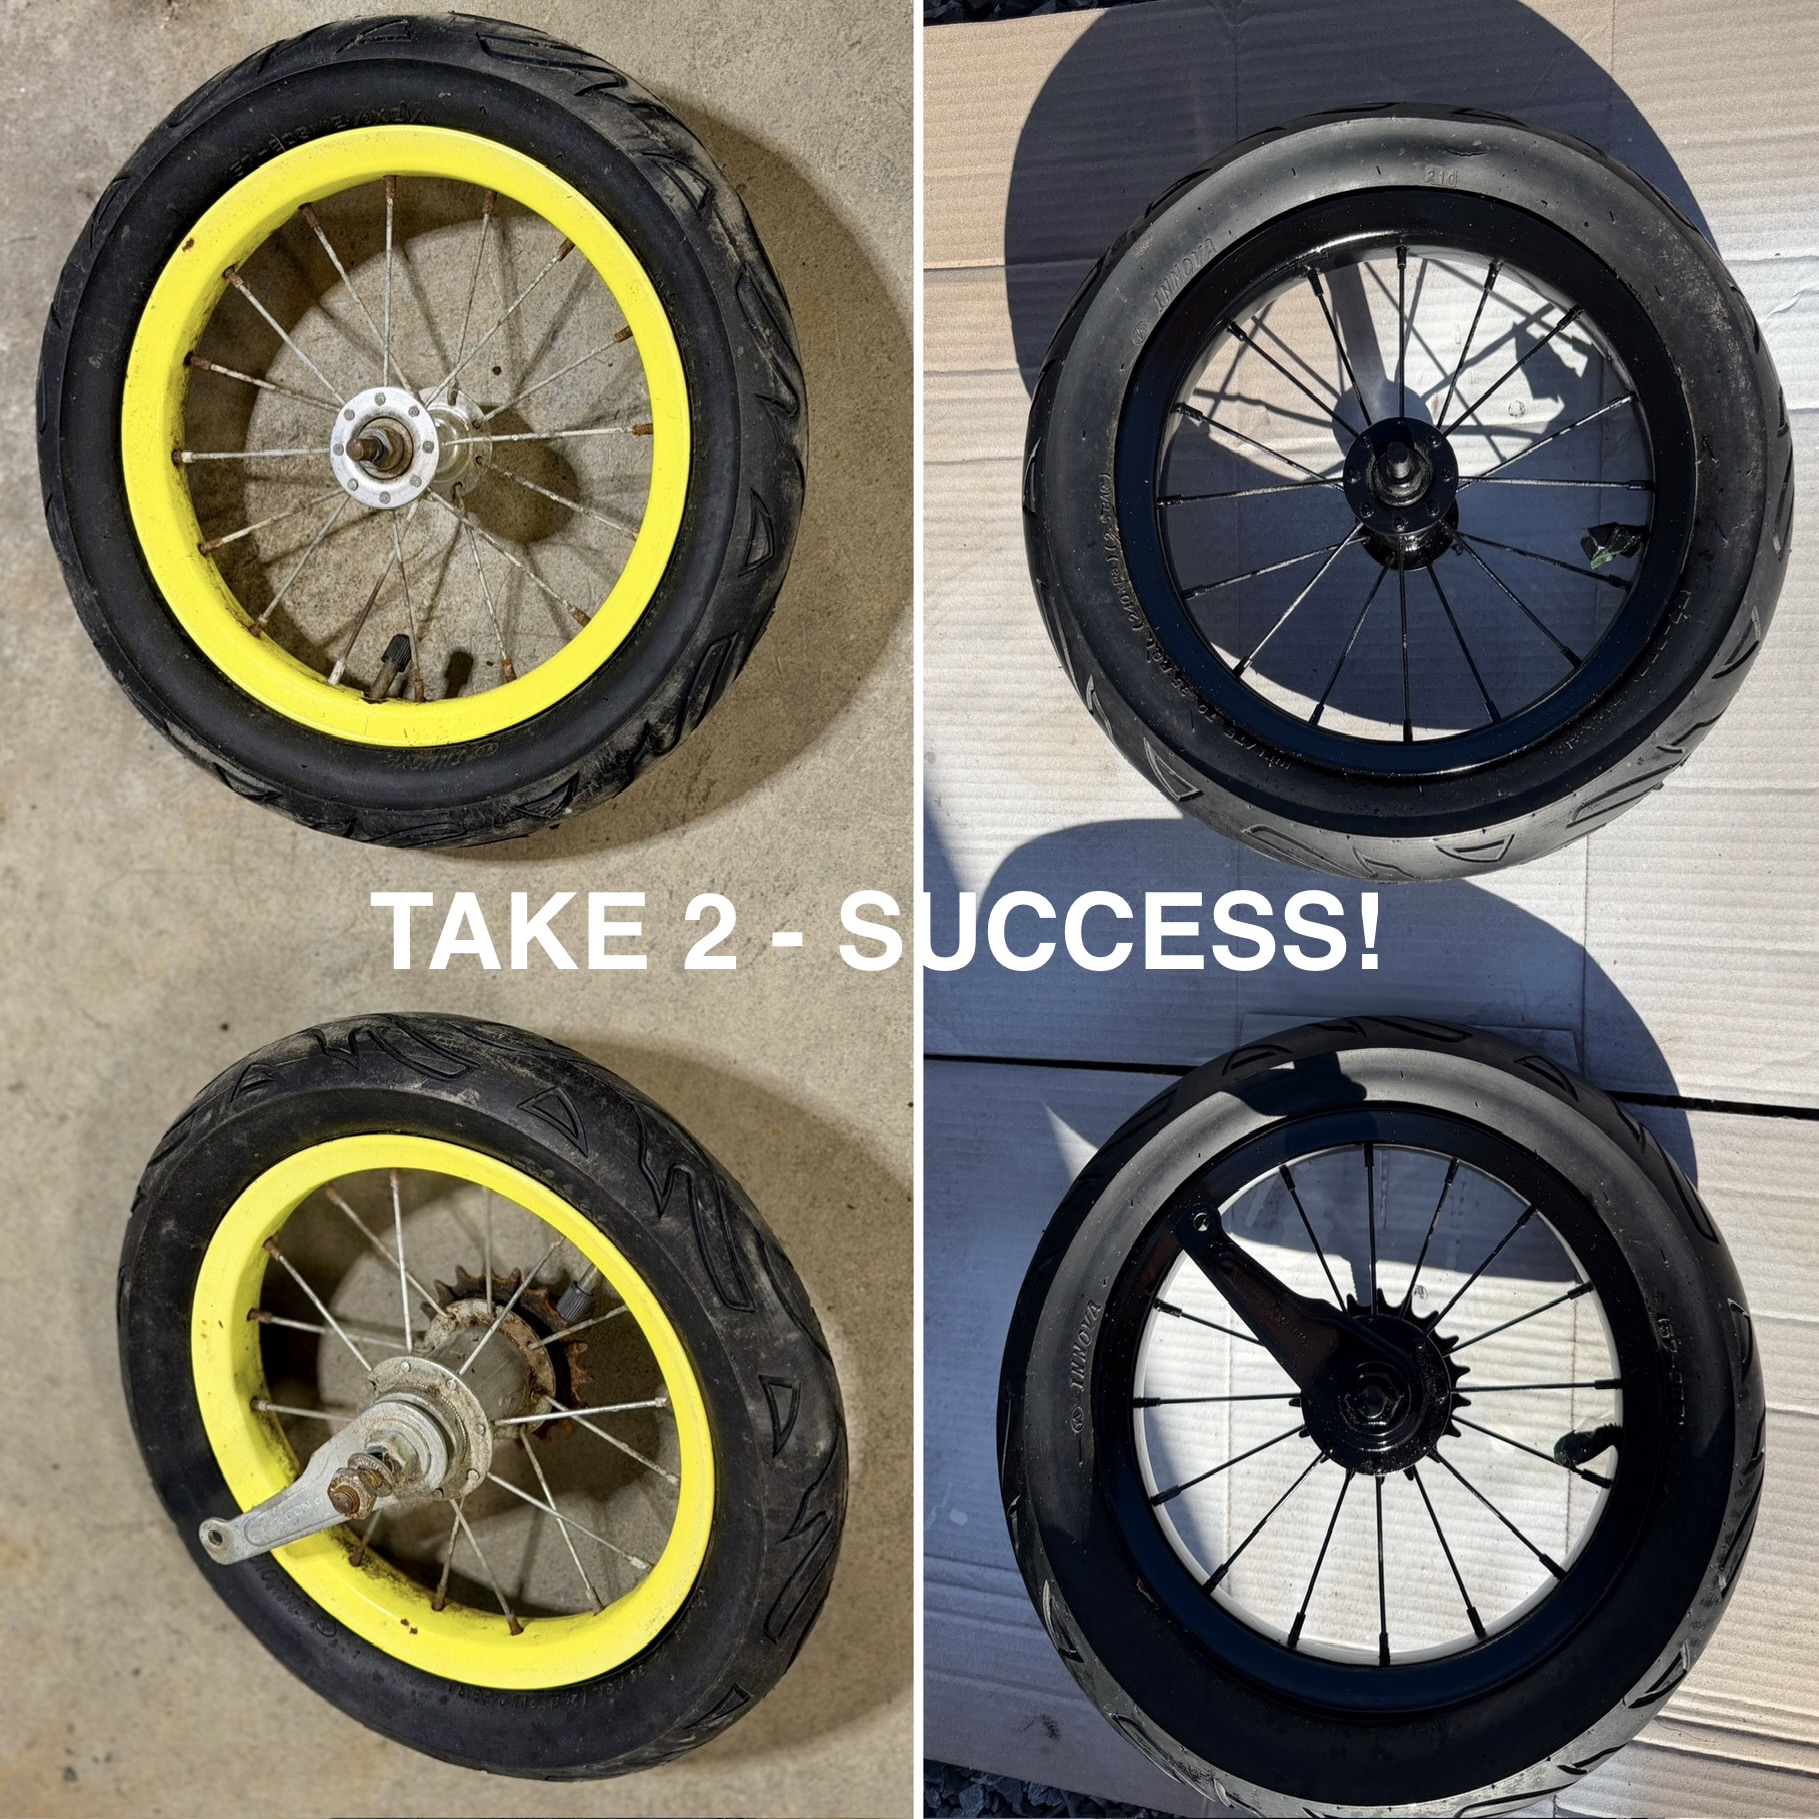
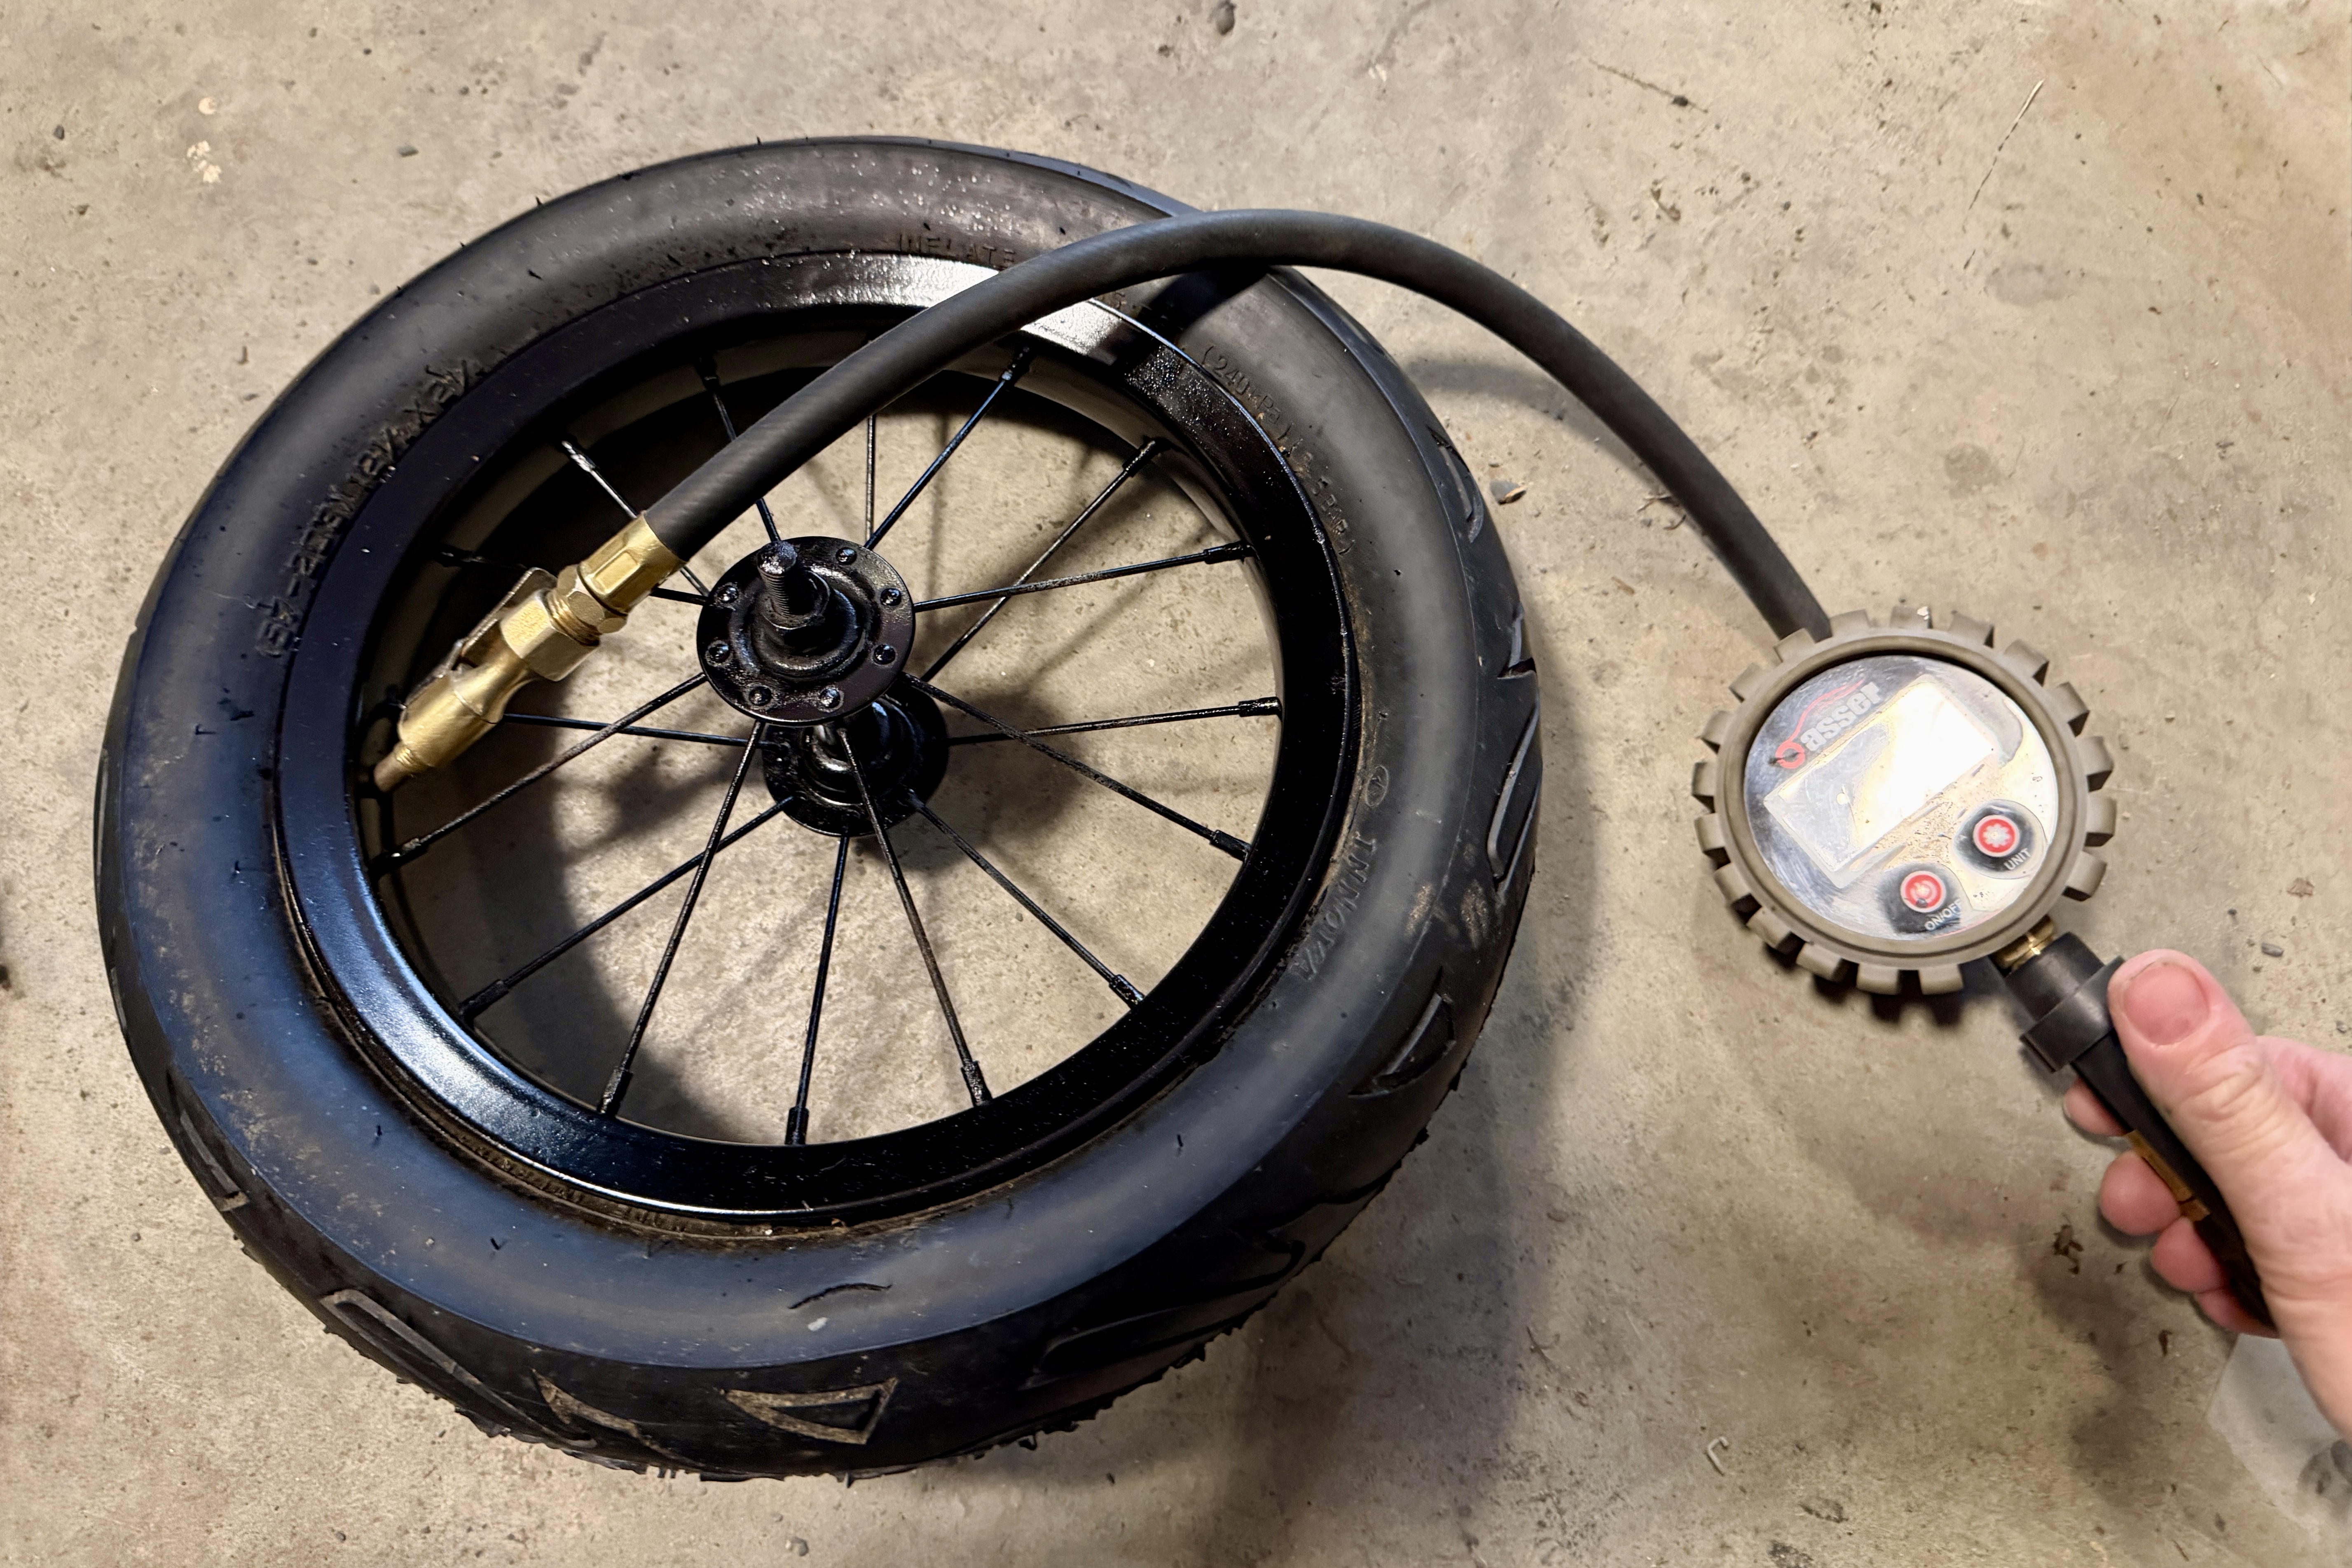
Thankfully I looked over at the spare parts bicycle I had and the tires were a perfect fit! I tried filling them with air and they pumped up just as they should. This time I knew I’d better test them first before starting the task of painting them (Take 2). Lesson learned!
Step 6: The GLOW-UP

Plus 4 more


I pulled up the photos I took earlier to confirm I was putting the bolts/nuts back on in the right place…
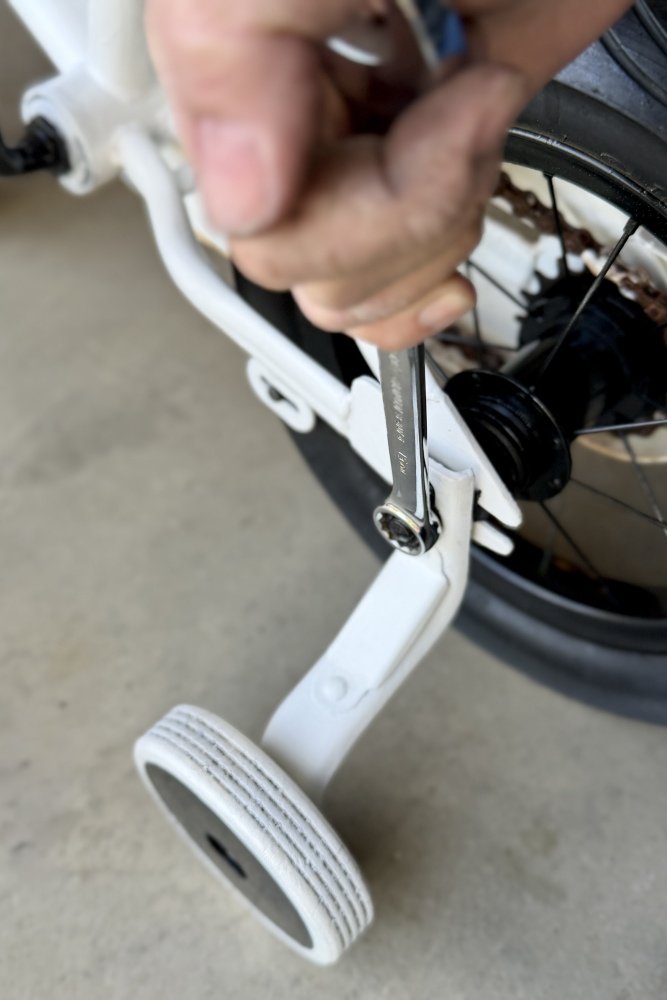
I have to give a shout to my husband for his assistance with getting the back tire on. I was able to successfully get the chain back on the sprockets and the tire back into position but I just couldn't seem to get it lined up properly to tighten up the chain and get the nuts back on. He used a pry bar to hold it in spot and I put the nuts back on. Teamwork!
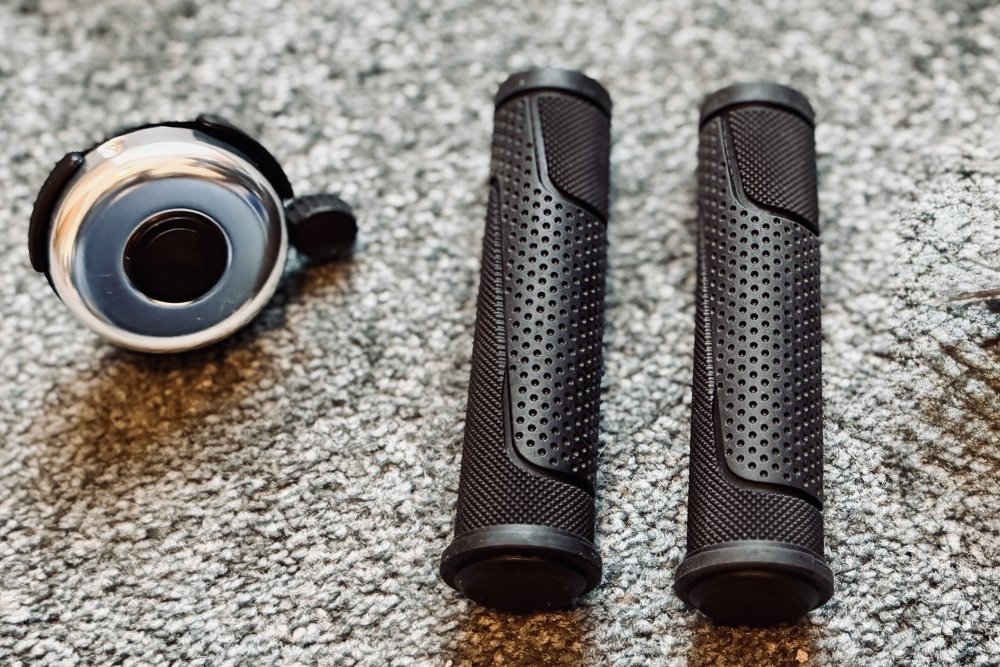
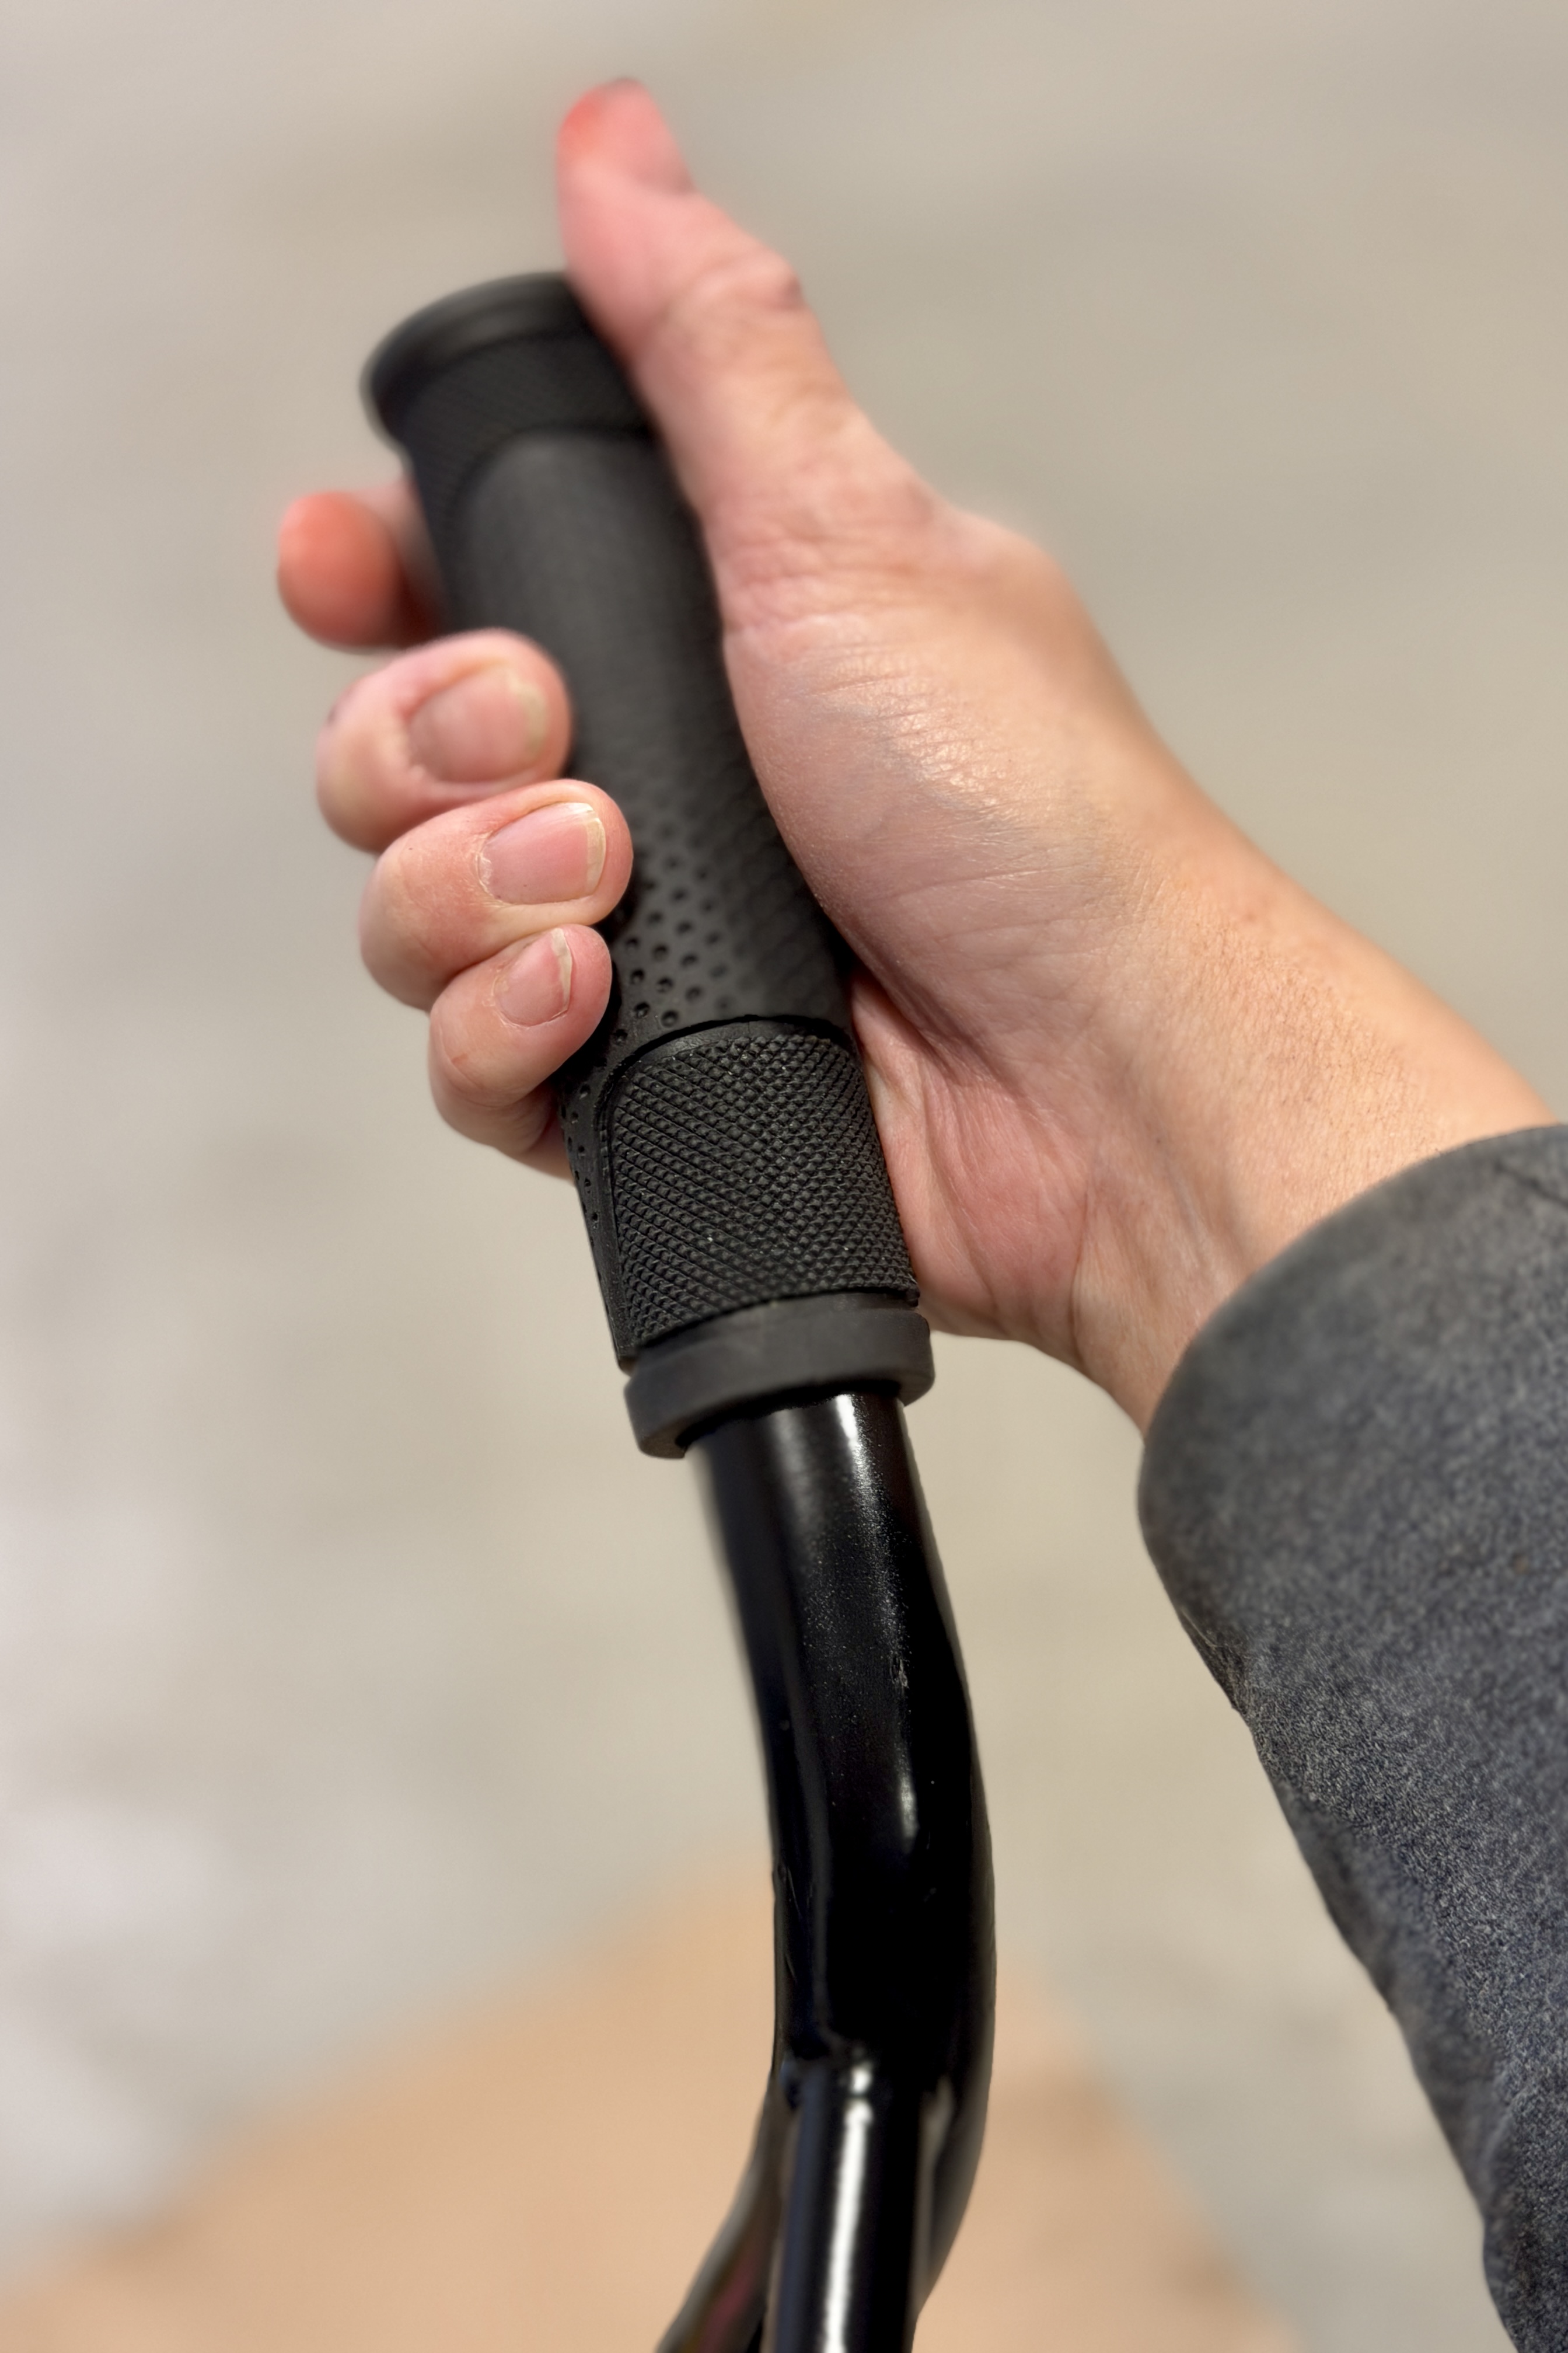
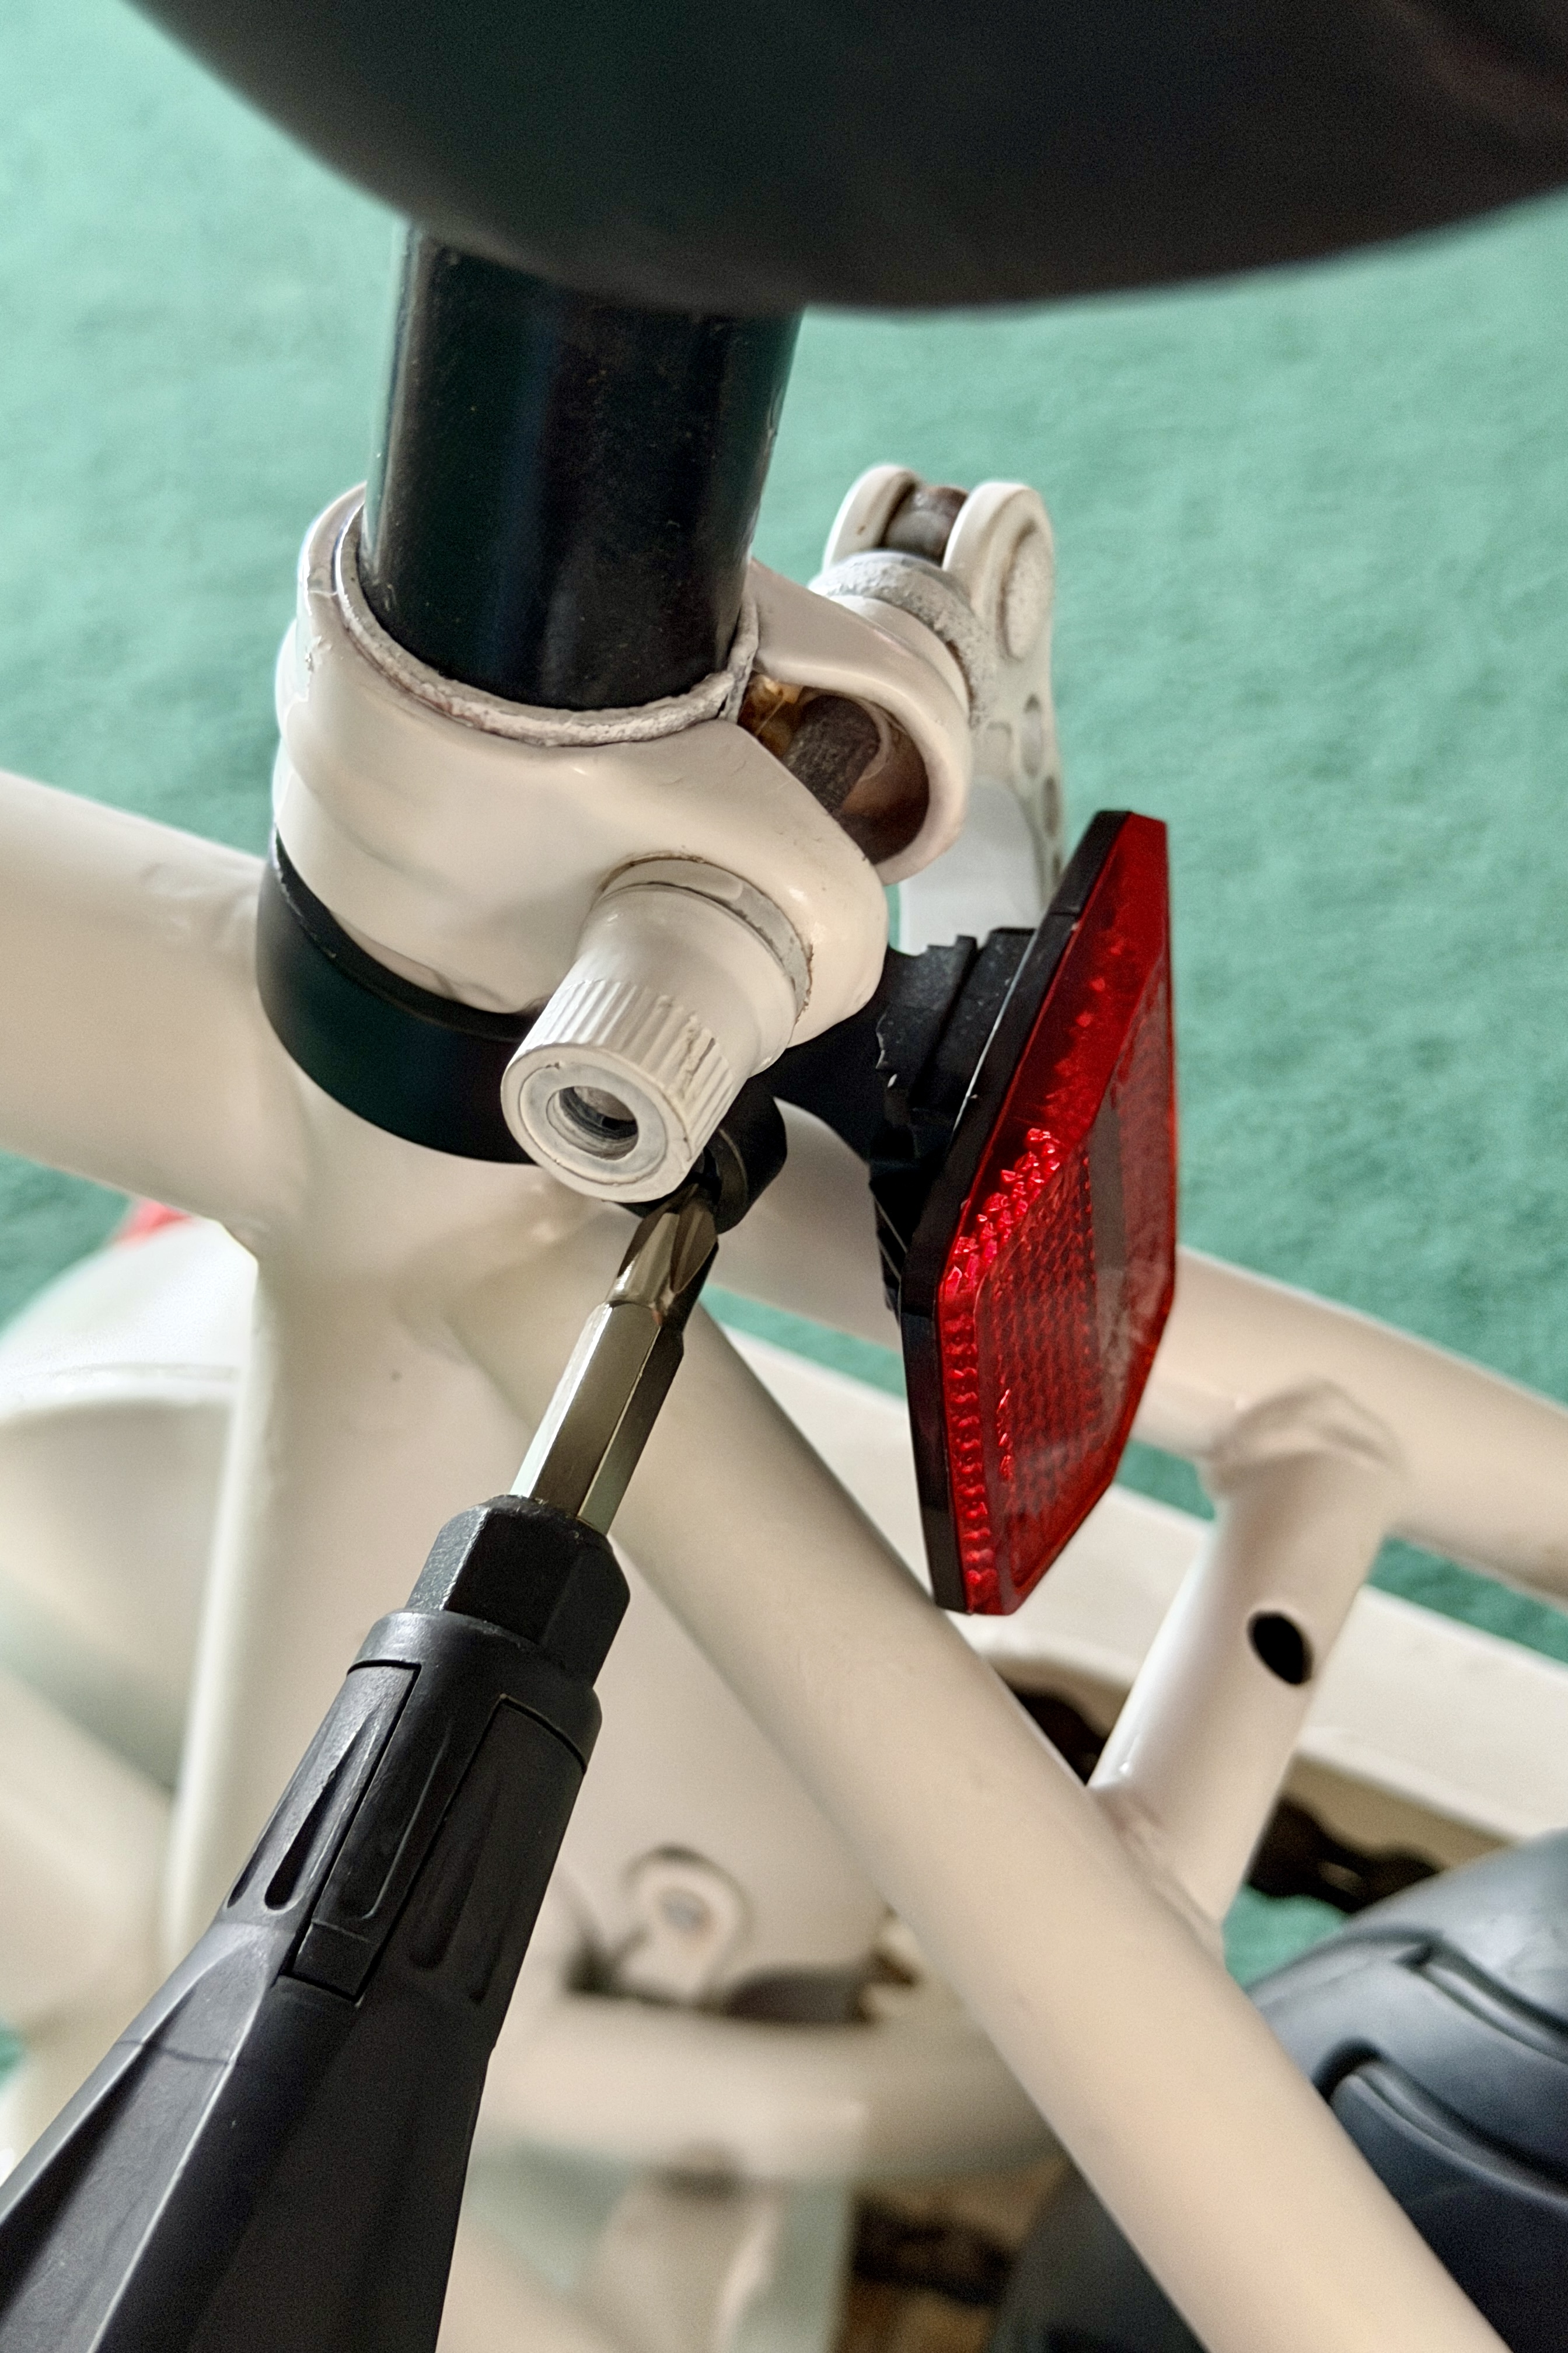
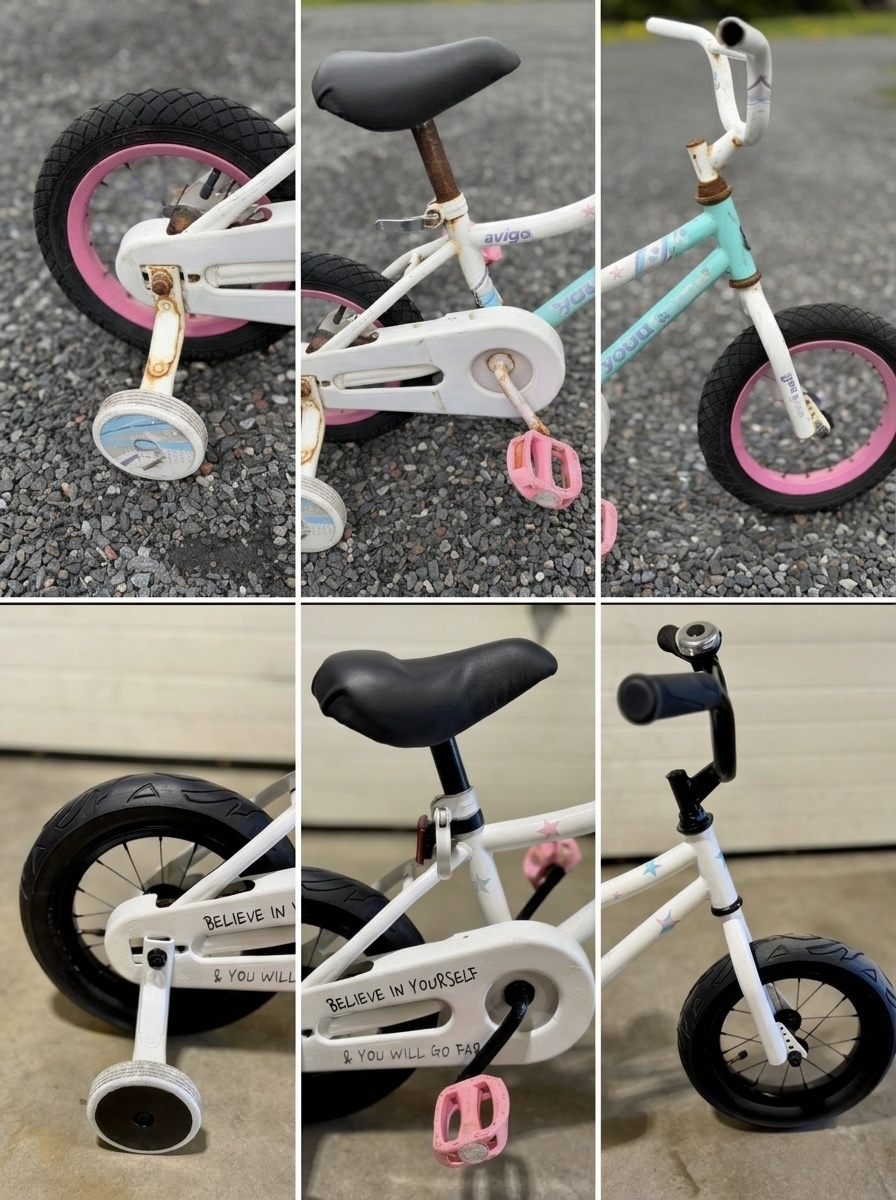
The bike didn’t have any handlebar grips so I picked a set up at the local dollar store. I couldn’t resist buying a bell to go along with it. I have the same one on my own bicycle. You may notice it was originally on the right side - it didn’t feel like that was the right place for finger placement to ring it so I switched sides. I also had a back reflector from one of my old bikes that I wasn’t using that was added below the seat.
Step 7: A touch of glam


Plus 2 more

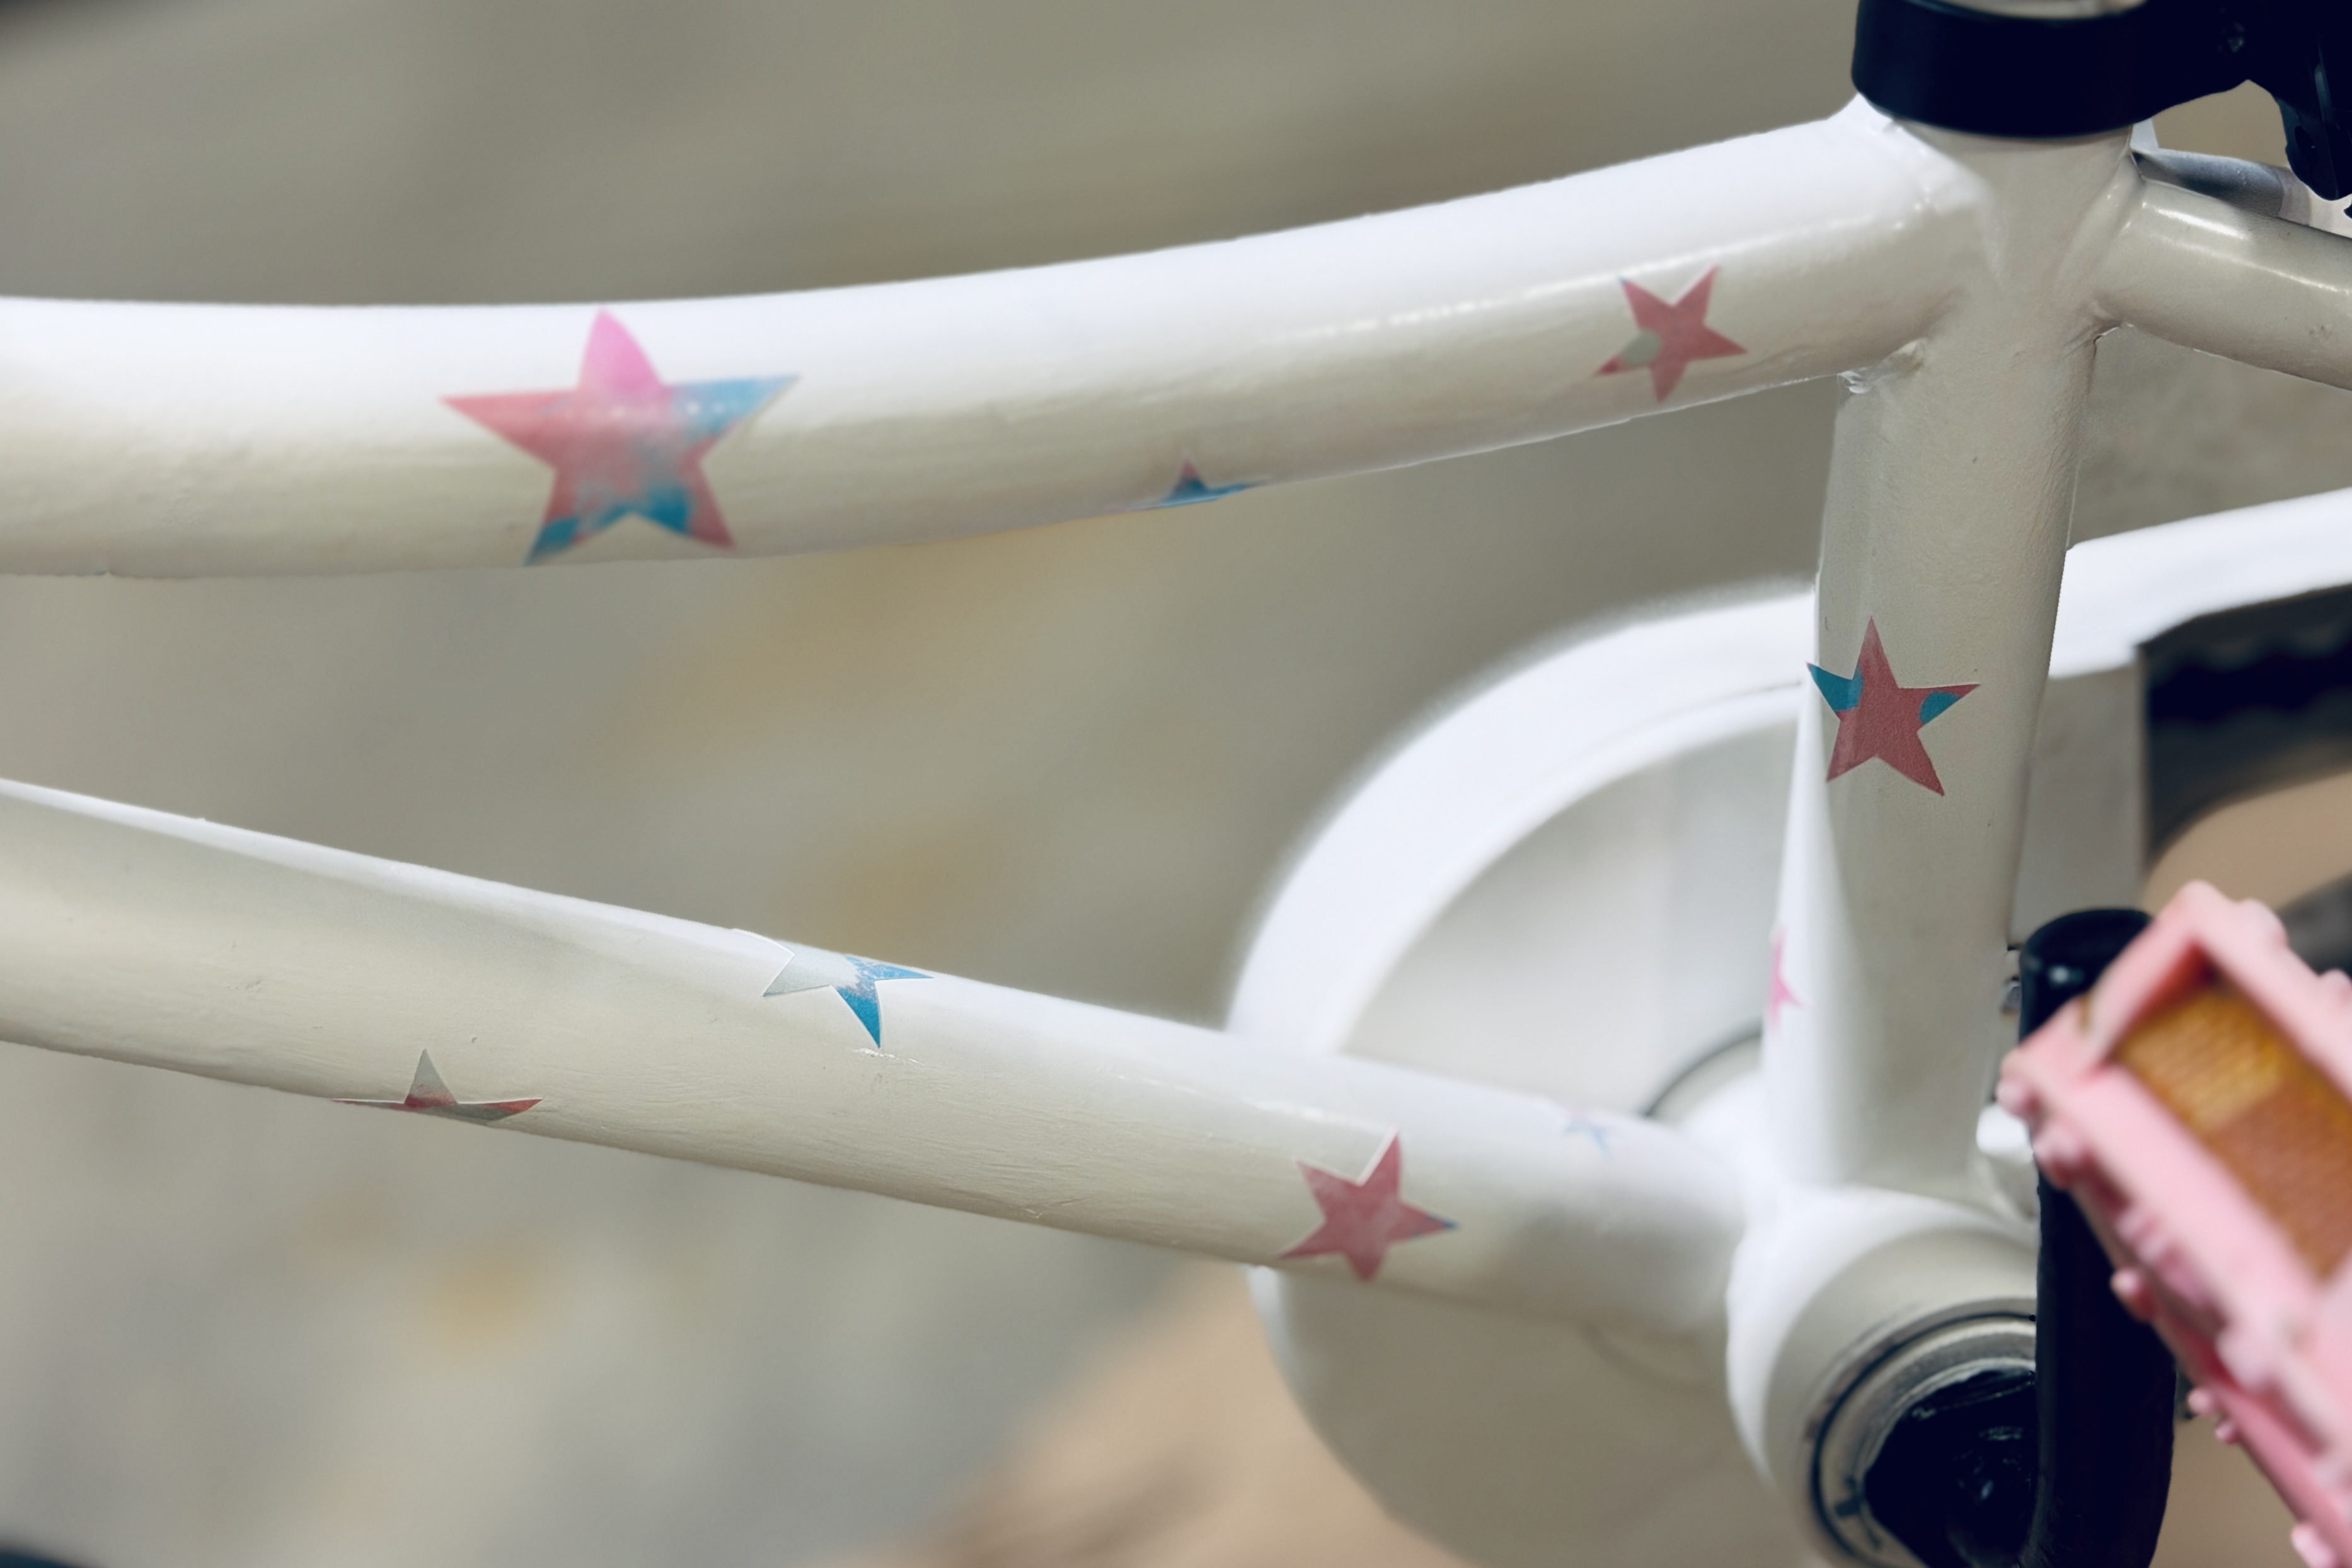
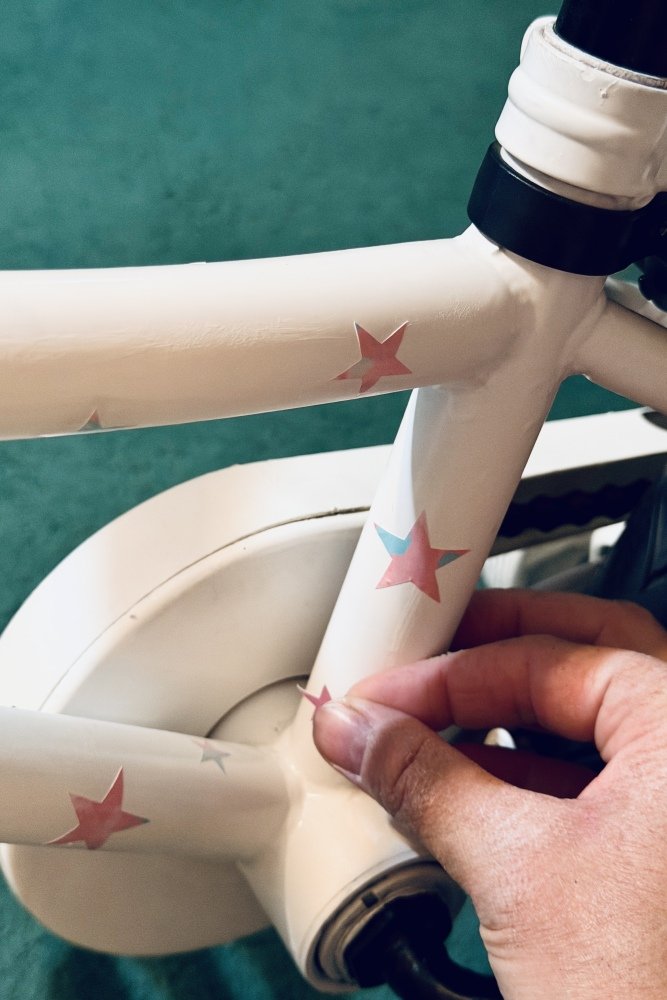
I couldn't just leave the frame looking all boring with no fun designs or anything so I dug out my vinyl cutter.
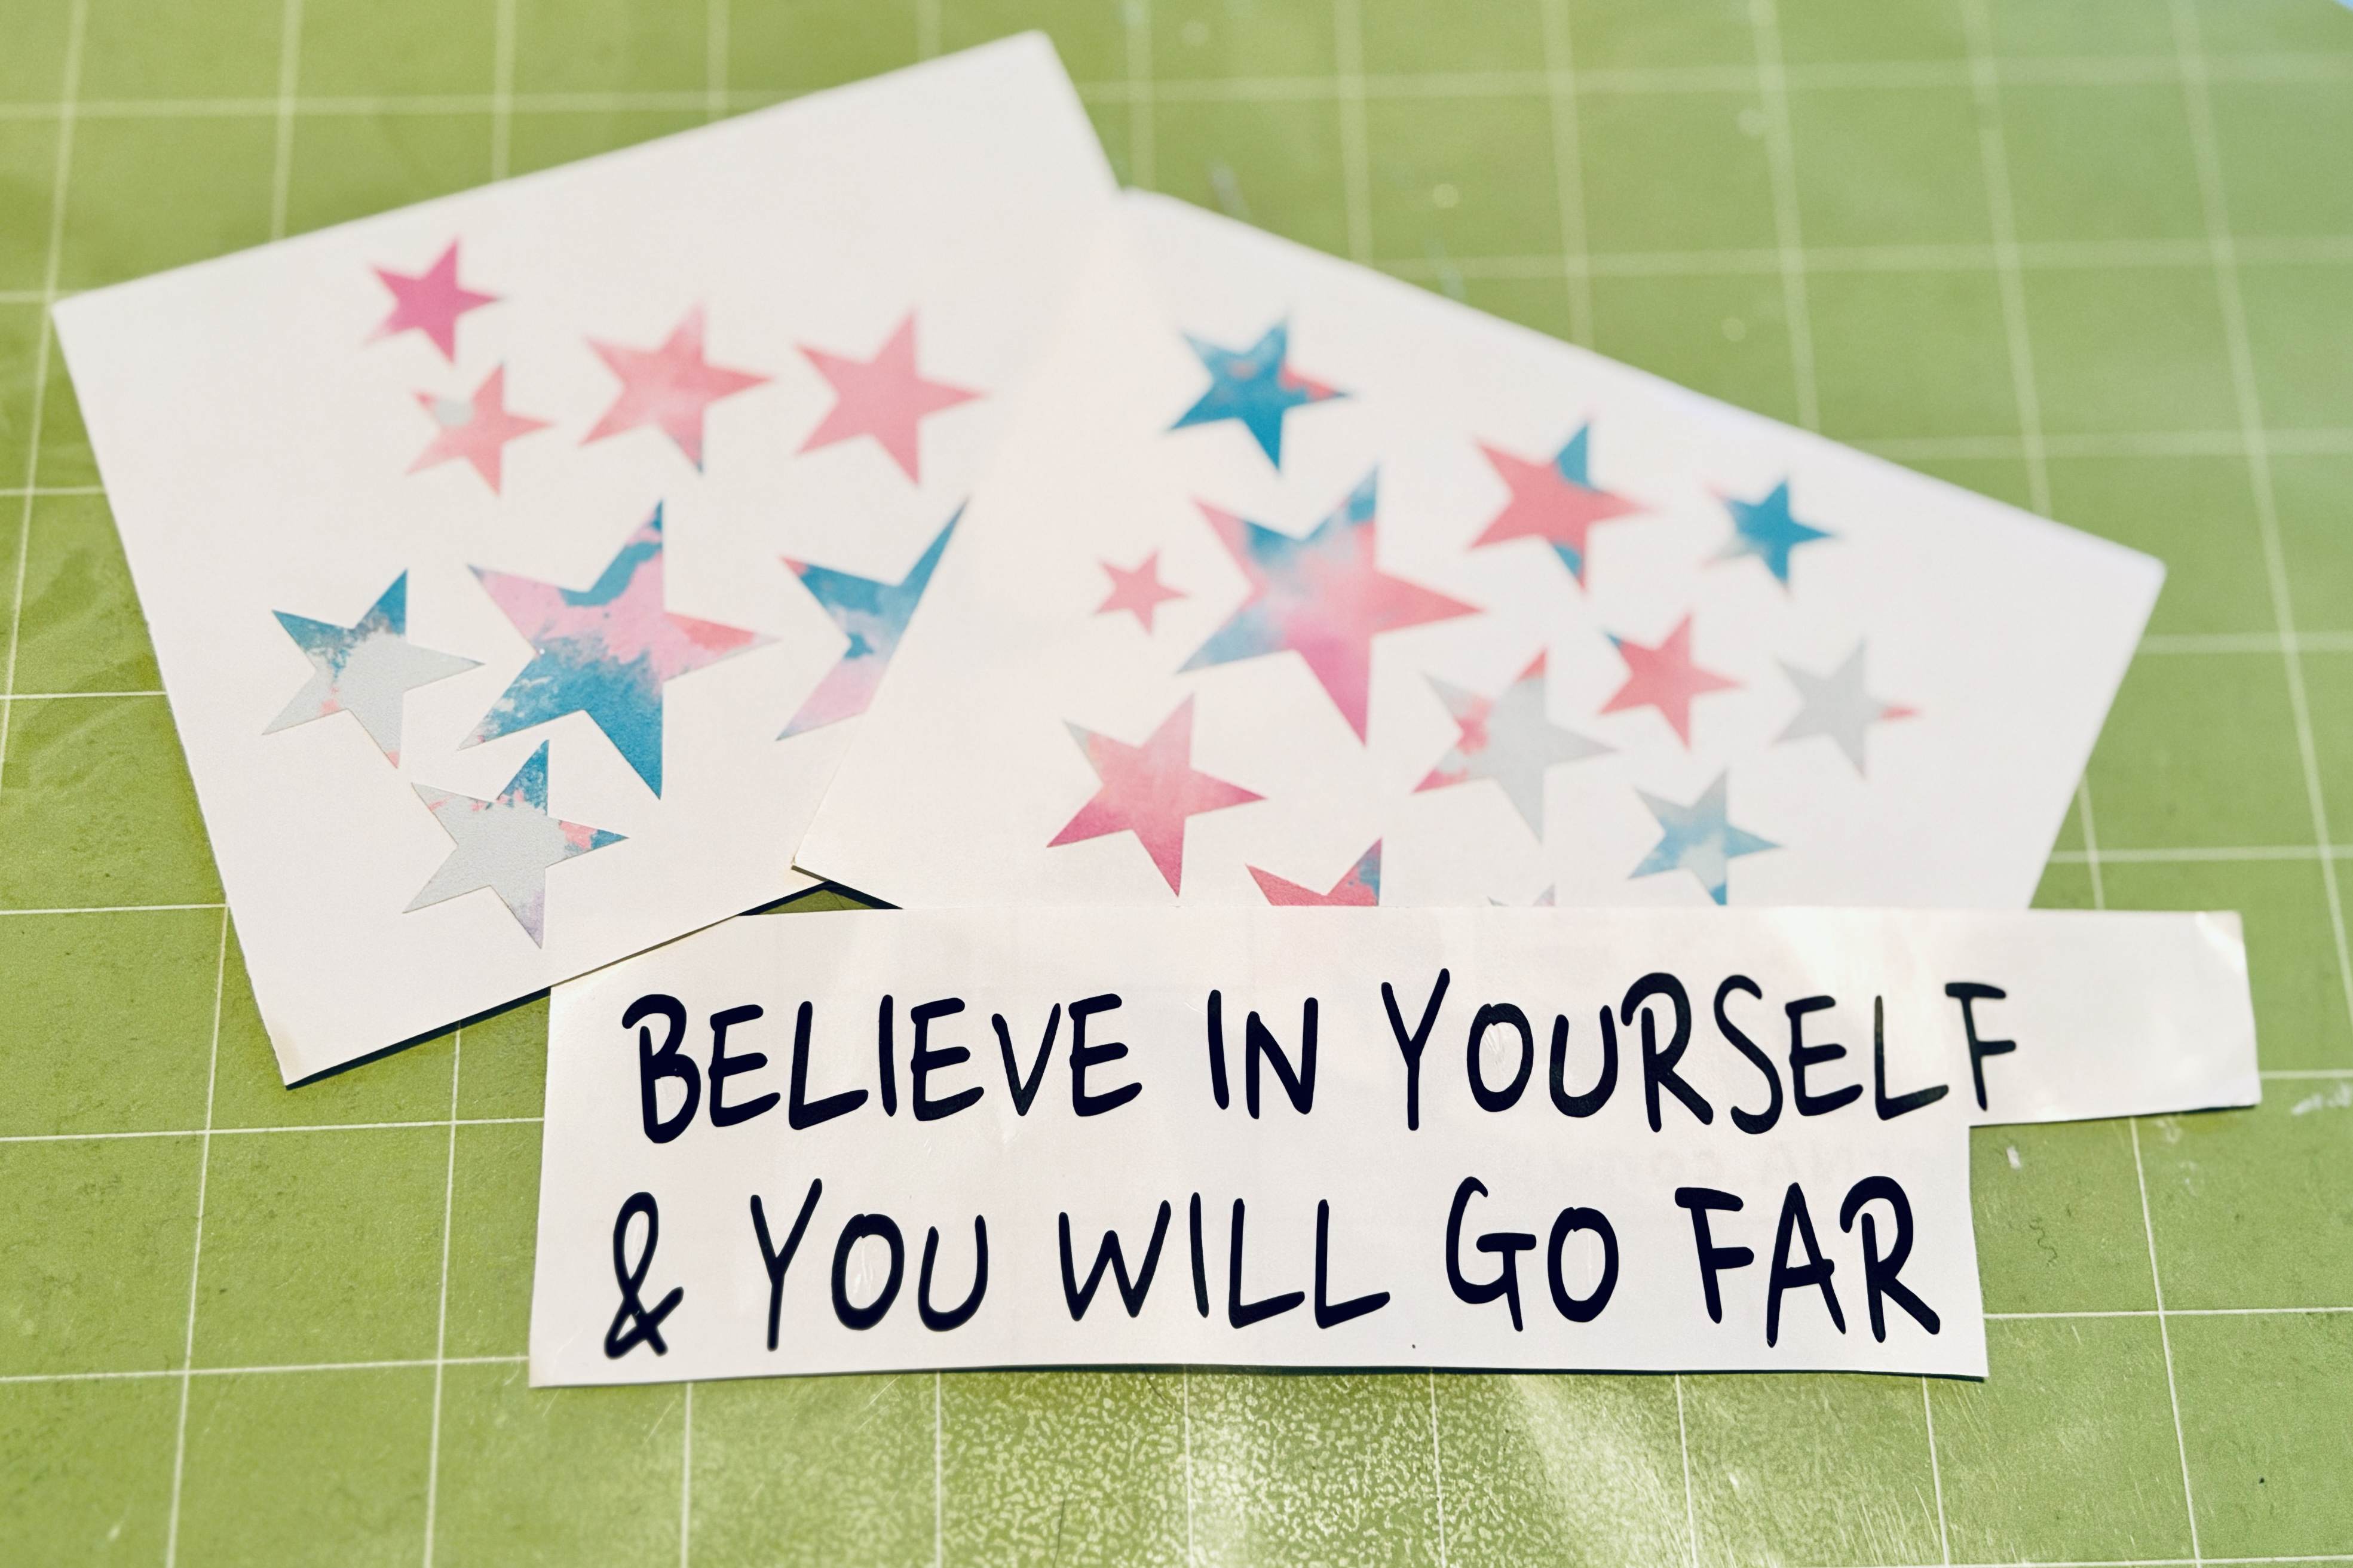
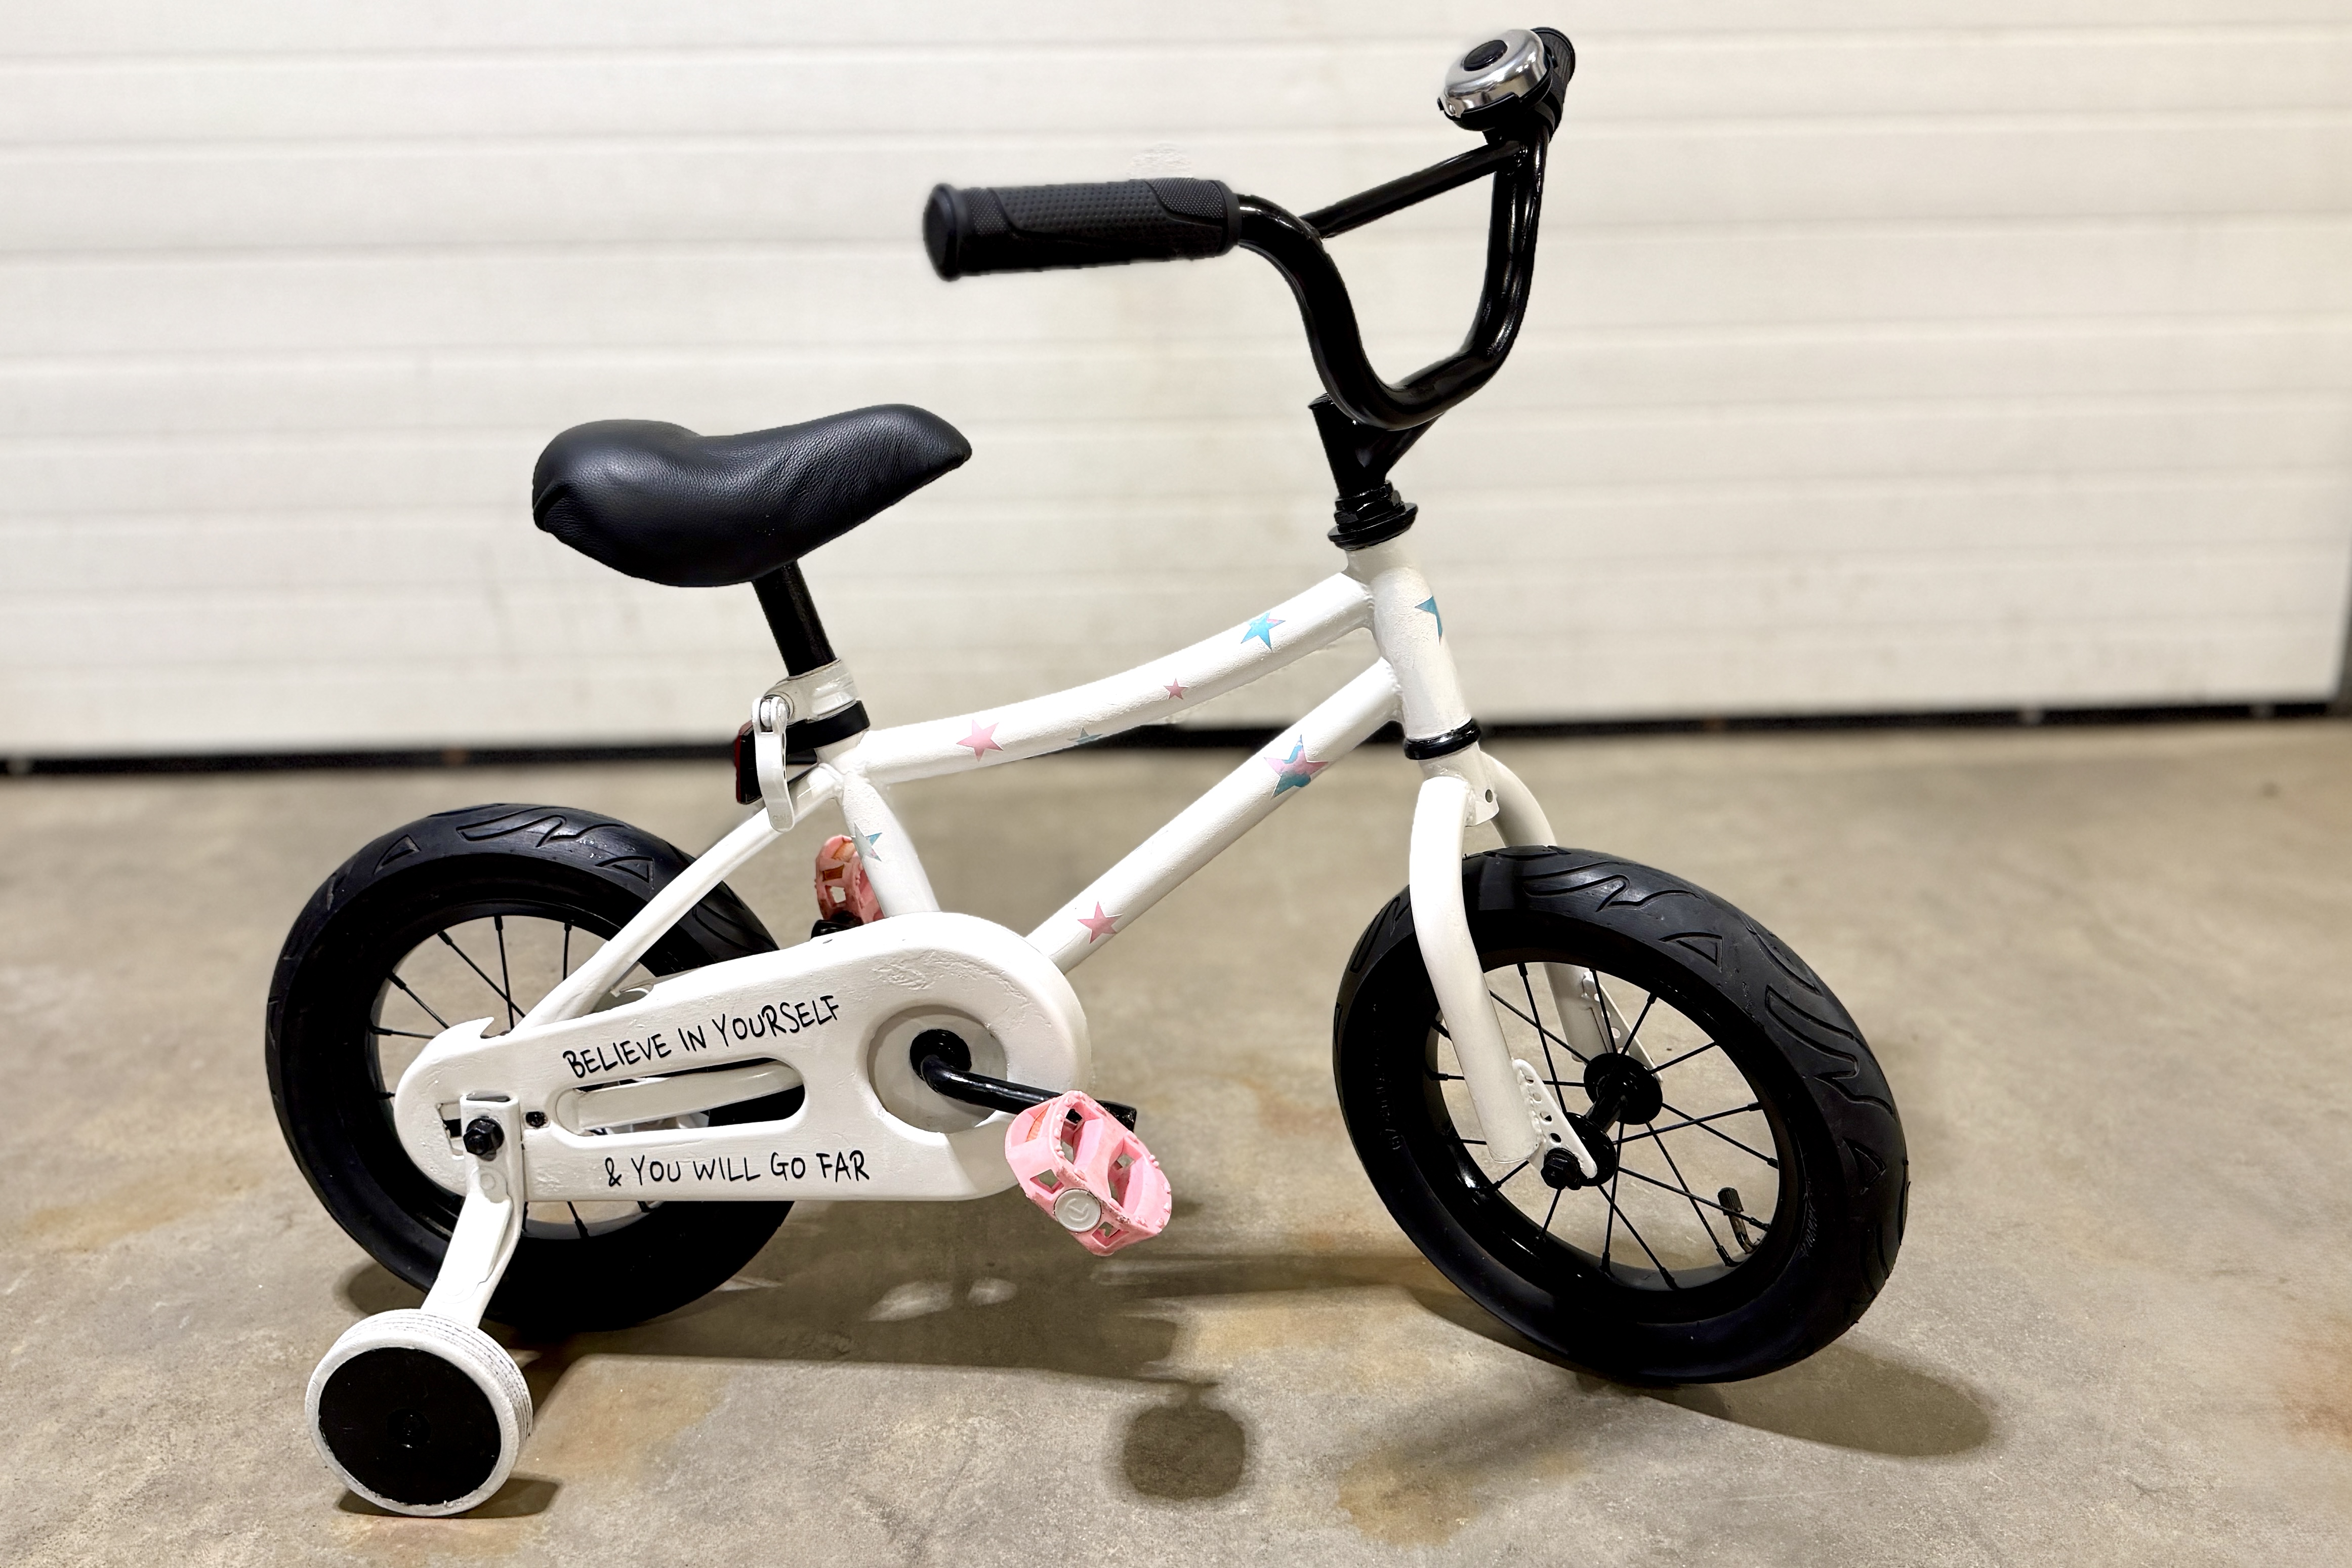
I cut some star shapes in a variety of sizes from a sheet of permanent vinyl, with a pattern I thought was just exactly what this bike needed, to give it a touch of glam. The splash of pink in the pattern was just enough to help tie in the colour of the pedals with the rest of the bike.
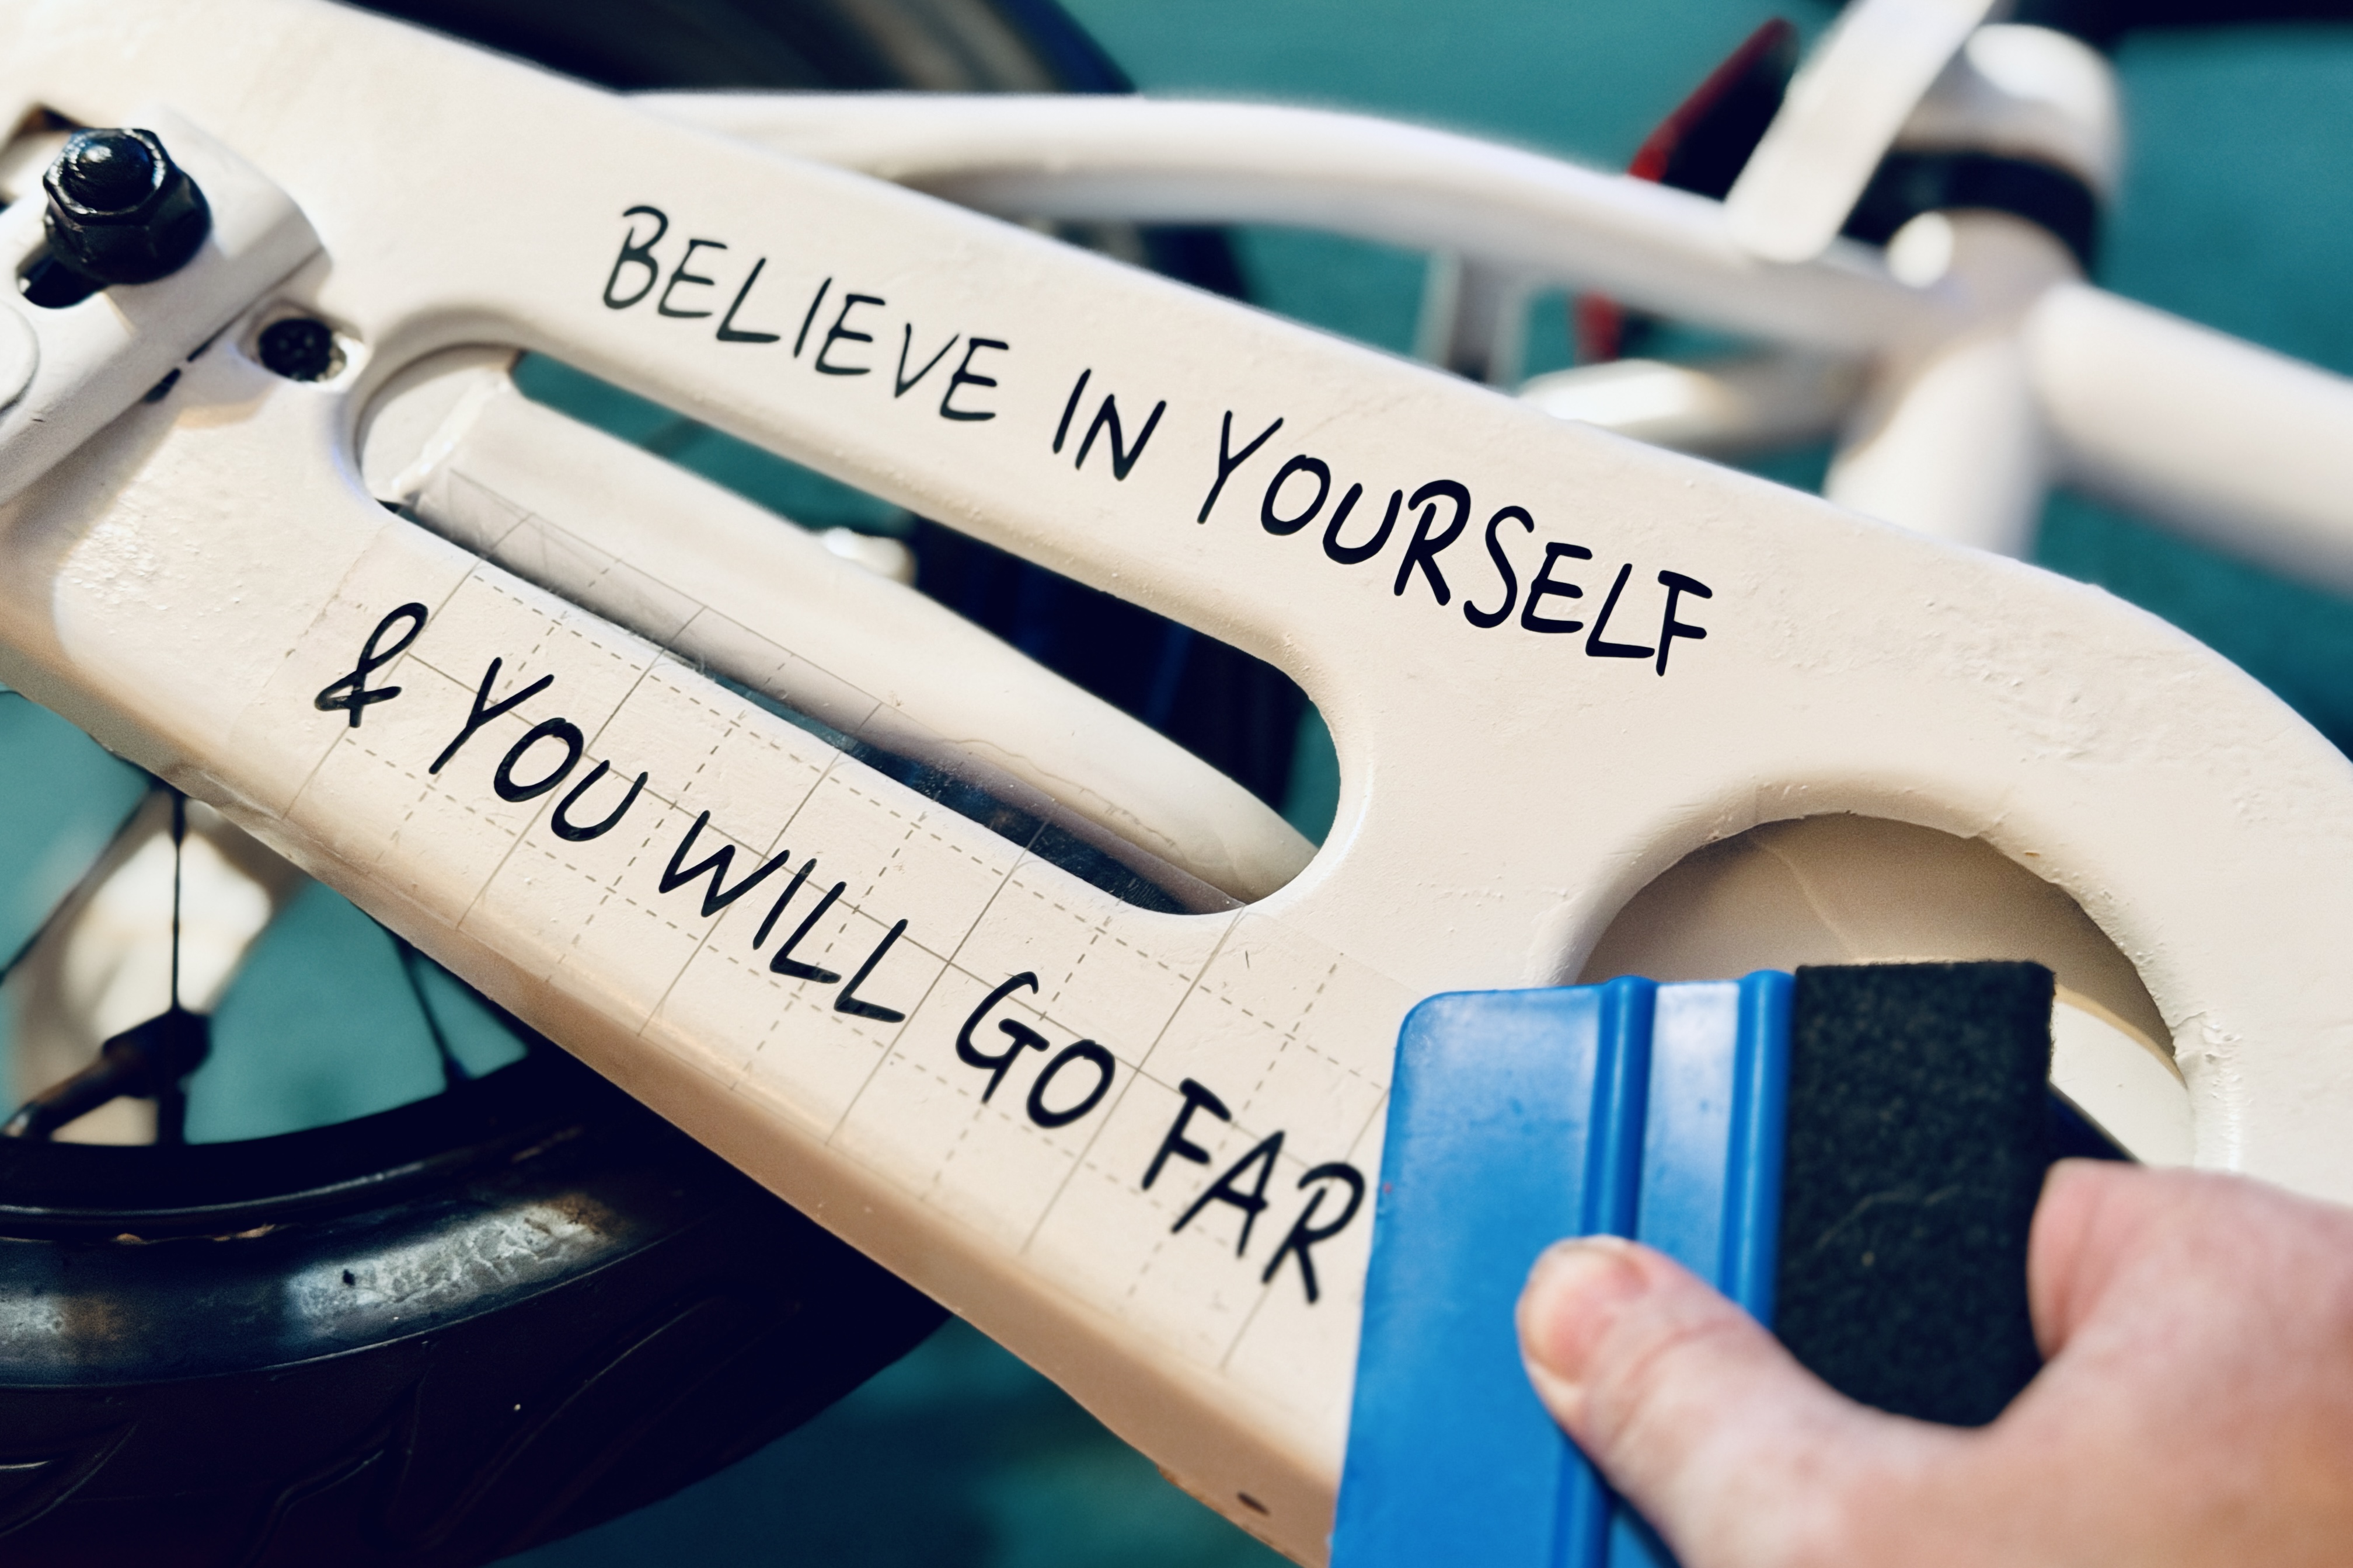
I thought an inspirational saying on the chain guard would help add to its uniqueness. I came up with "Believe in yourself & you will go far" because I feel that saying can take on a lot of meaning. For example, if you believe you can learn to ride the bike, it will help you get further in life because you now have some wheels to get you there and believing gave you the courage to do so.
The saying stands true to me as well. I tackled this project, having been something I have never done before, and I feel pretty content with the results. Yes there was a time or two that I almost lost that belief in myself, but I continued on and look how far it got me!
Step 8: Pampering the chain with some essential oils :)

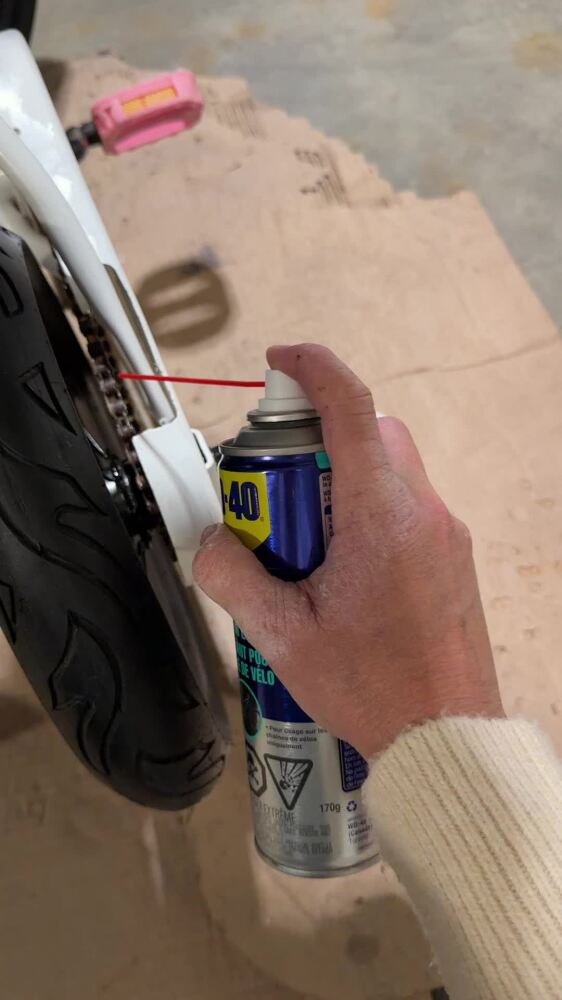

I had previously put some WD-40 Specialist Bike Chain Lube on to start loosening up the chain a few steps prior to this (after I had used the cleaner & degreasing spray). But now that the project is complete it was time to put a nice good coating of it on.
The best way to do so is to turn the crank arms/pedals slowly as you spray the WD-40 Chain Lube directly onto the chain.
It's like a spa for your chain!
Step 9: Imperfectly perfect!


Plus 5 more
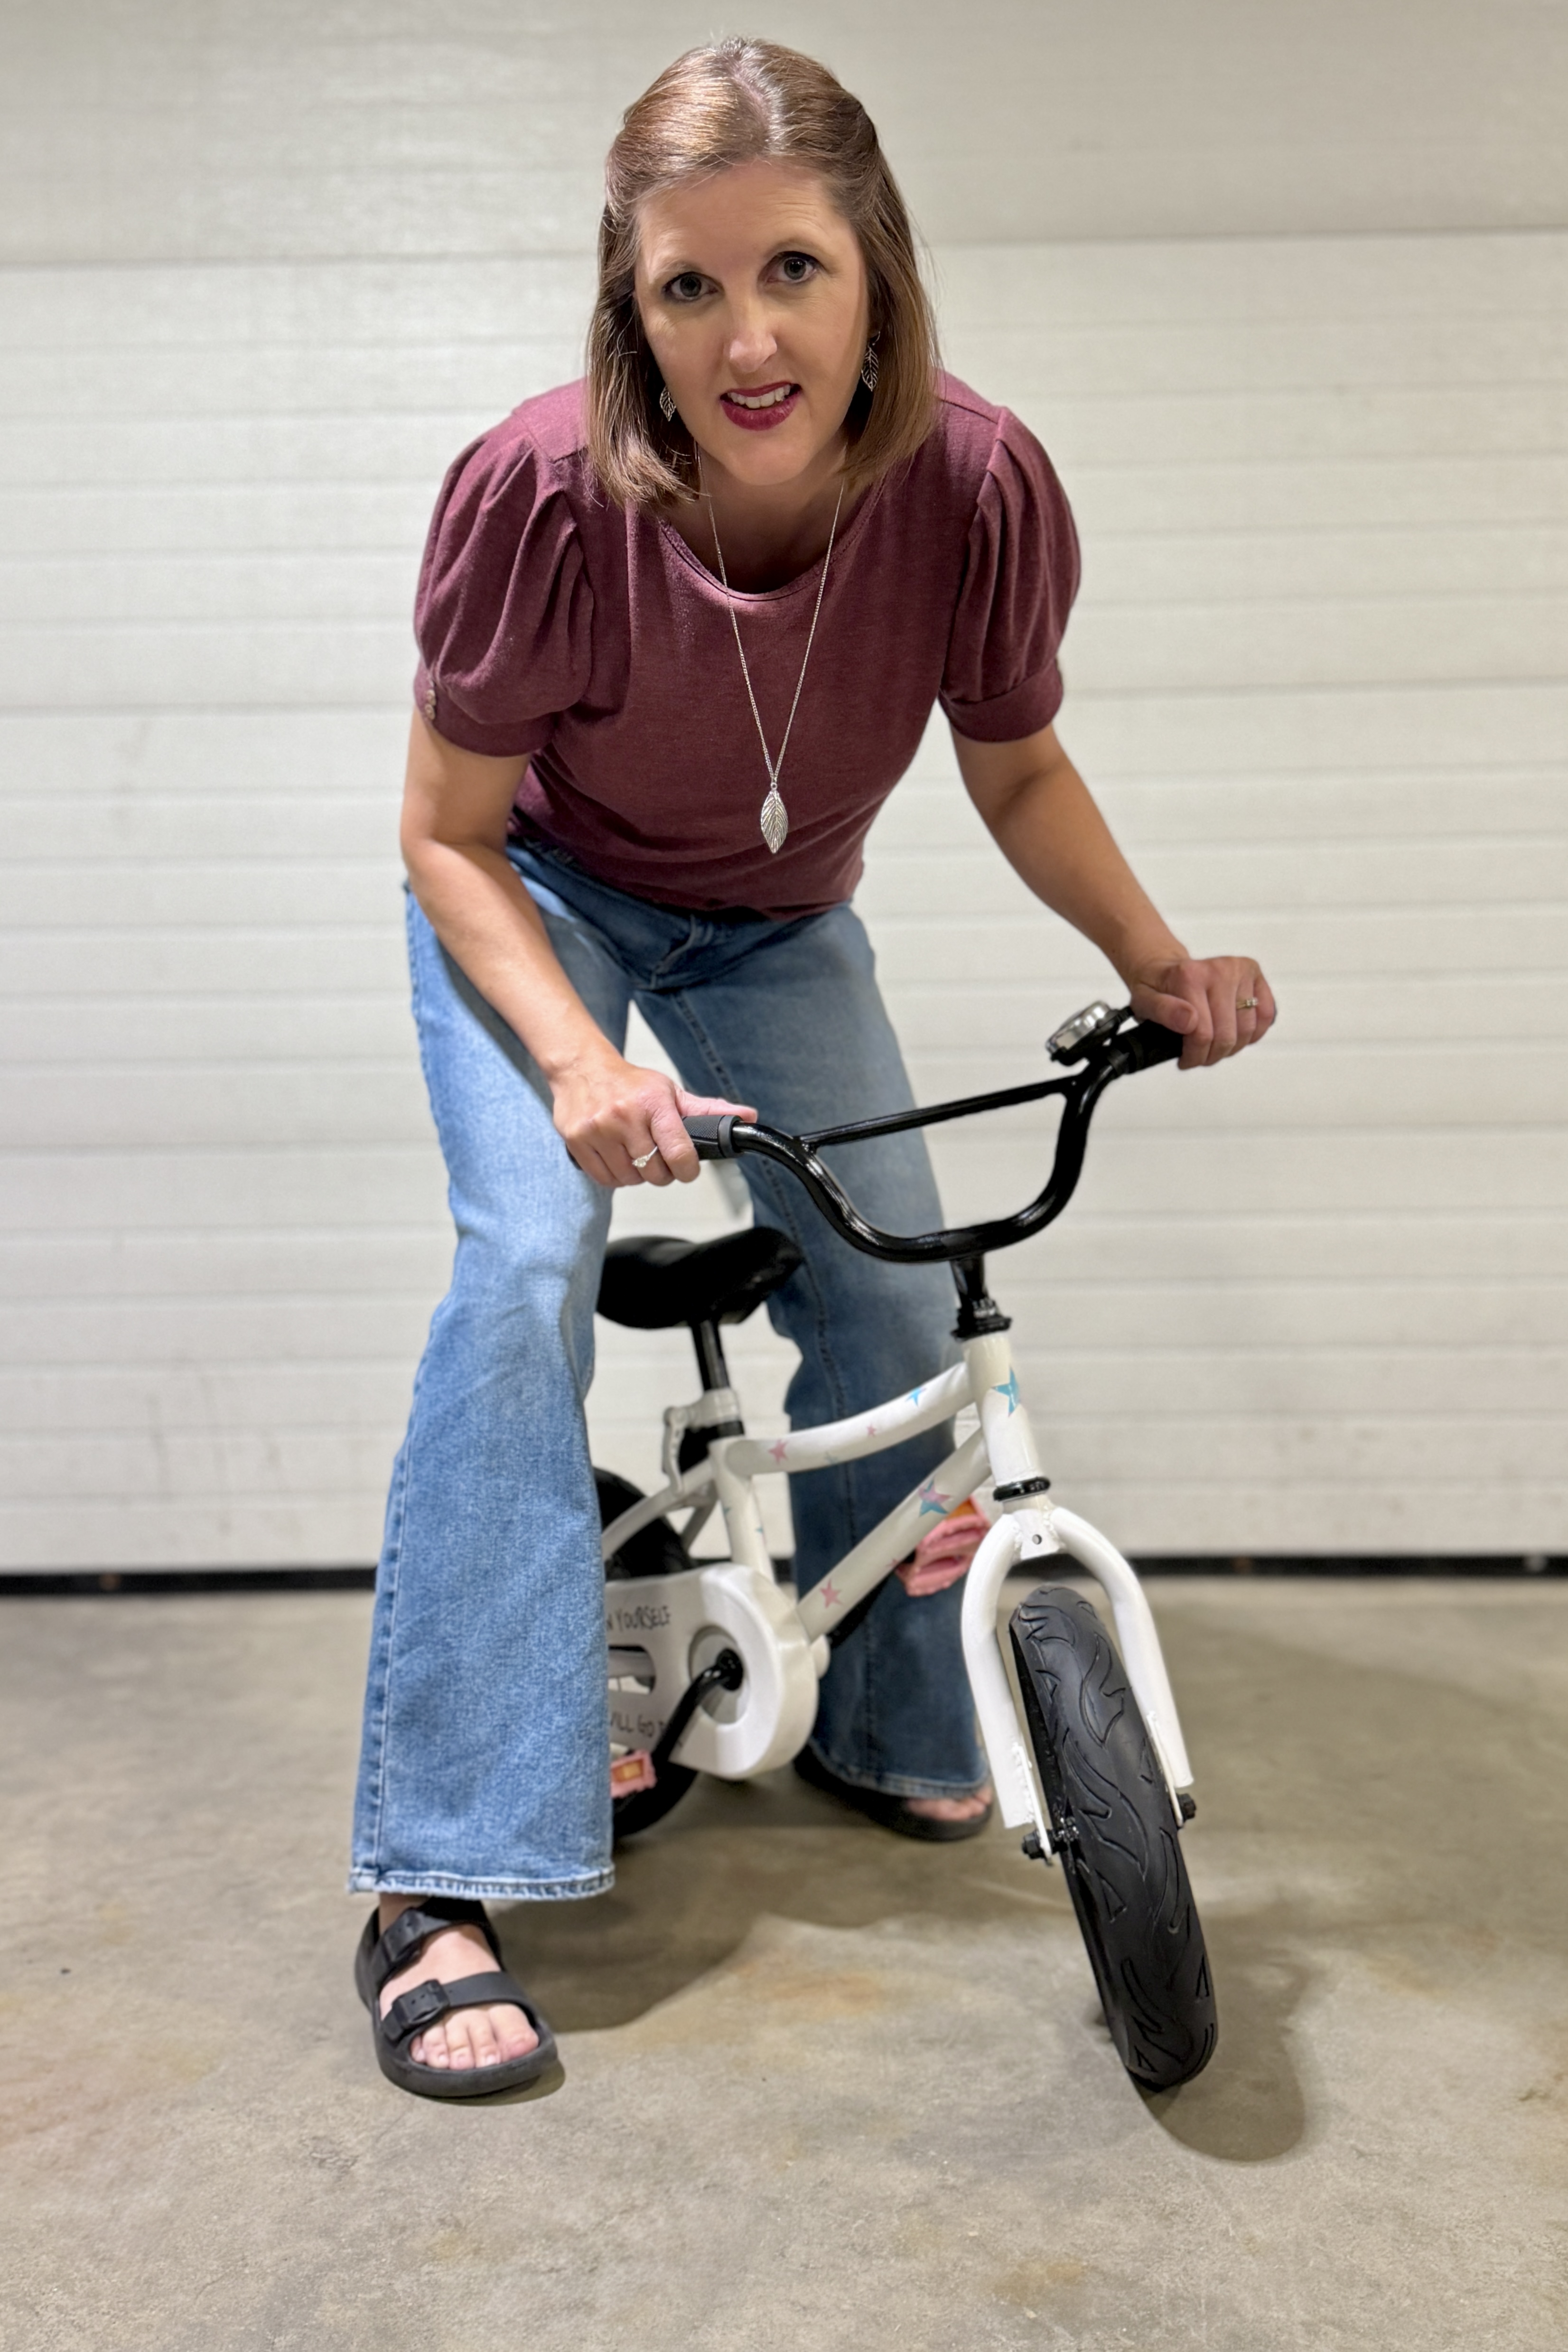
Obviously this is not something I can try out myself, so I enlisted the help of my daughter to give it a test ride. (Mind you she is much too big for it also!)
I dare say she enjoyed herself because when I said I had to go in the house to grab something she responded with “ok mom, I’ll just keep riding it until you get back” LOL
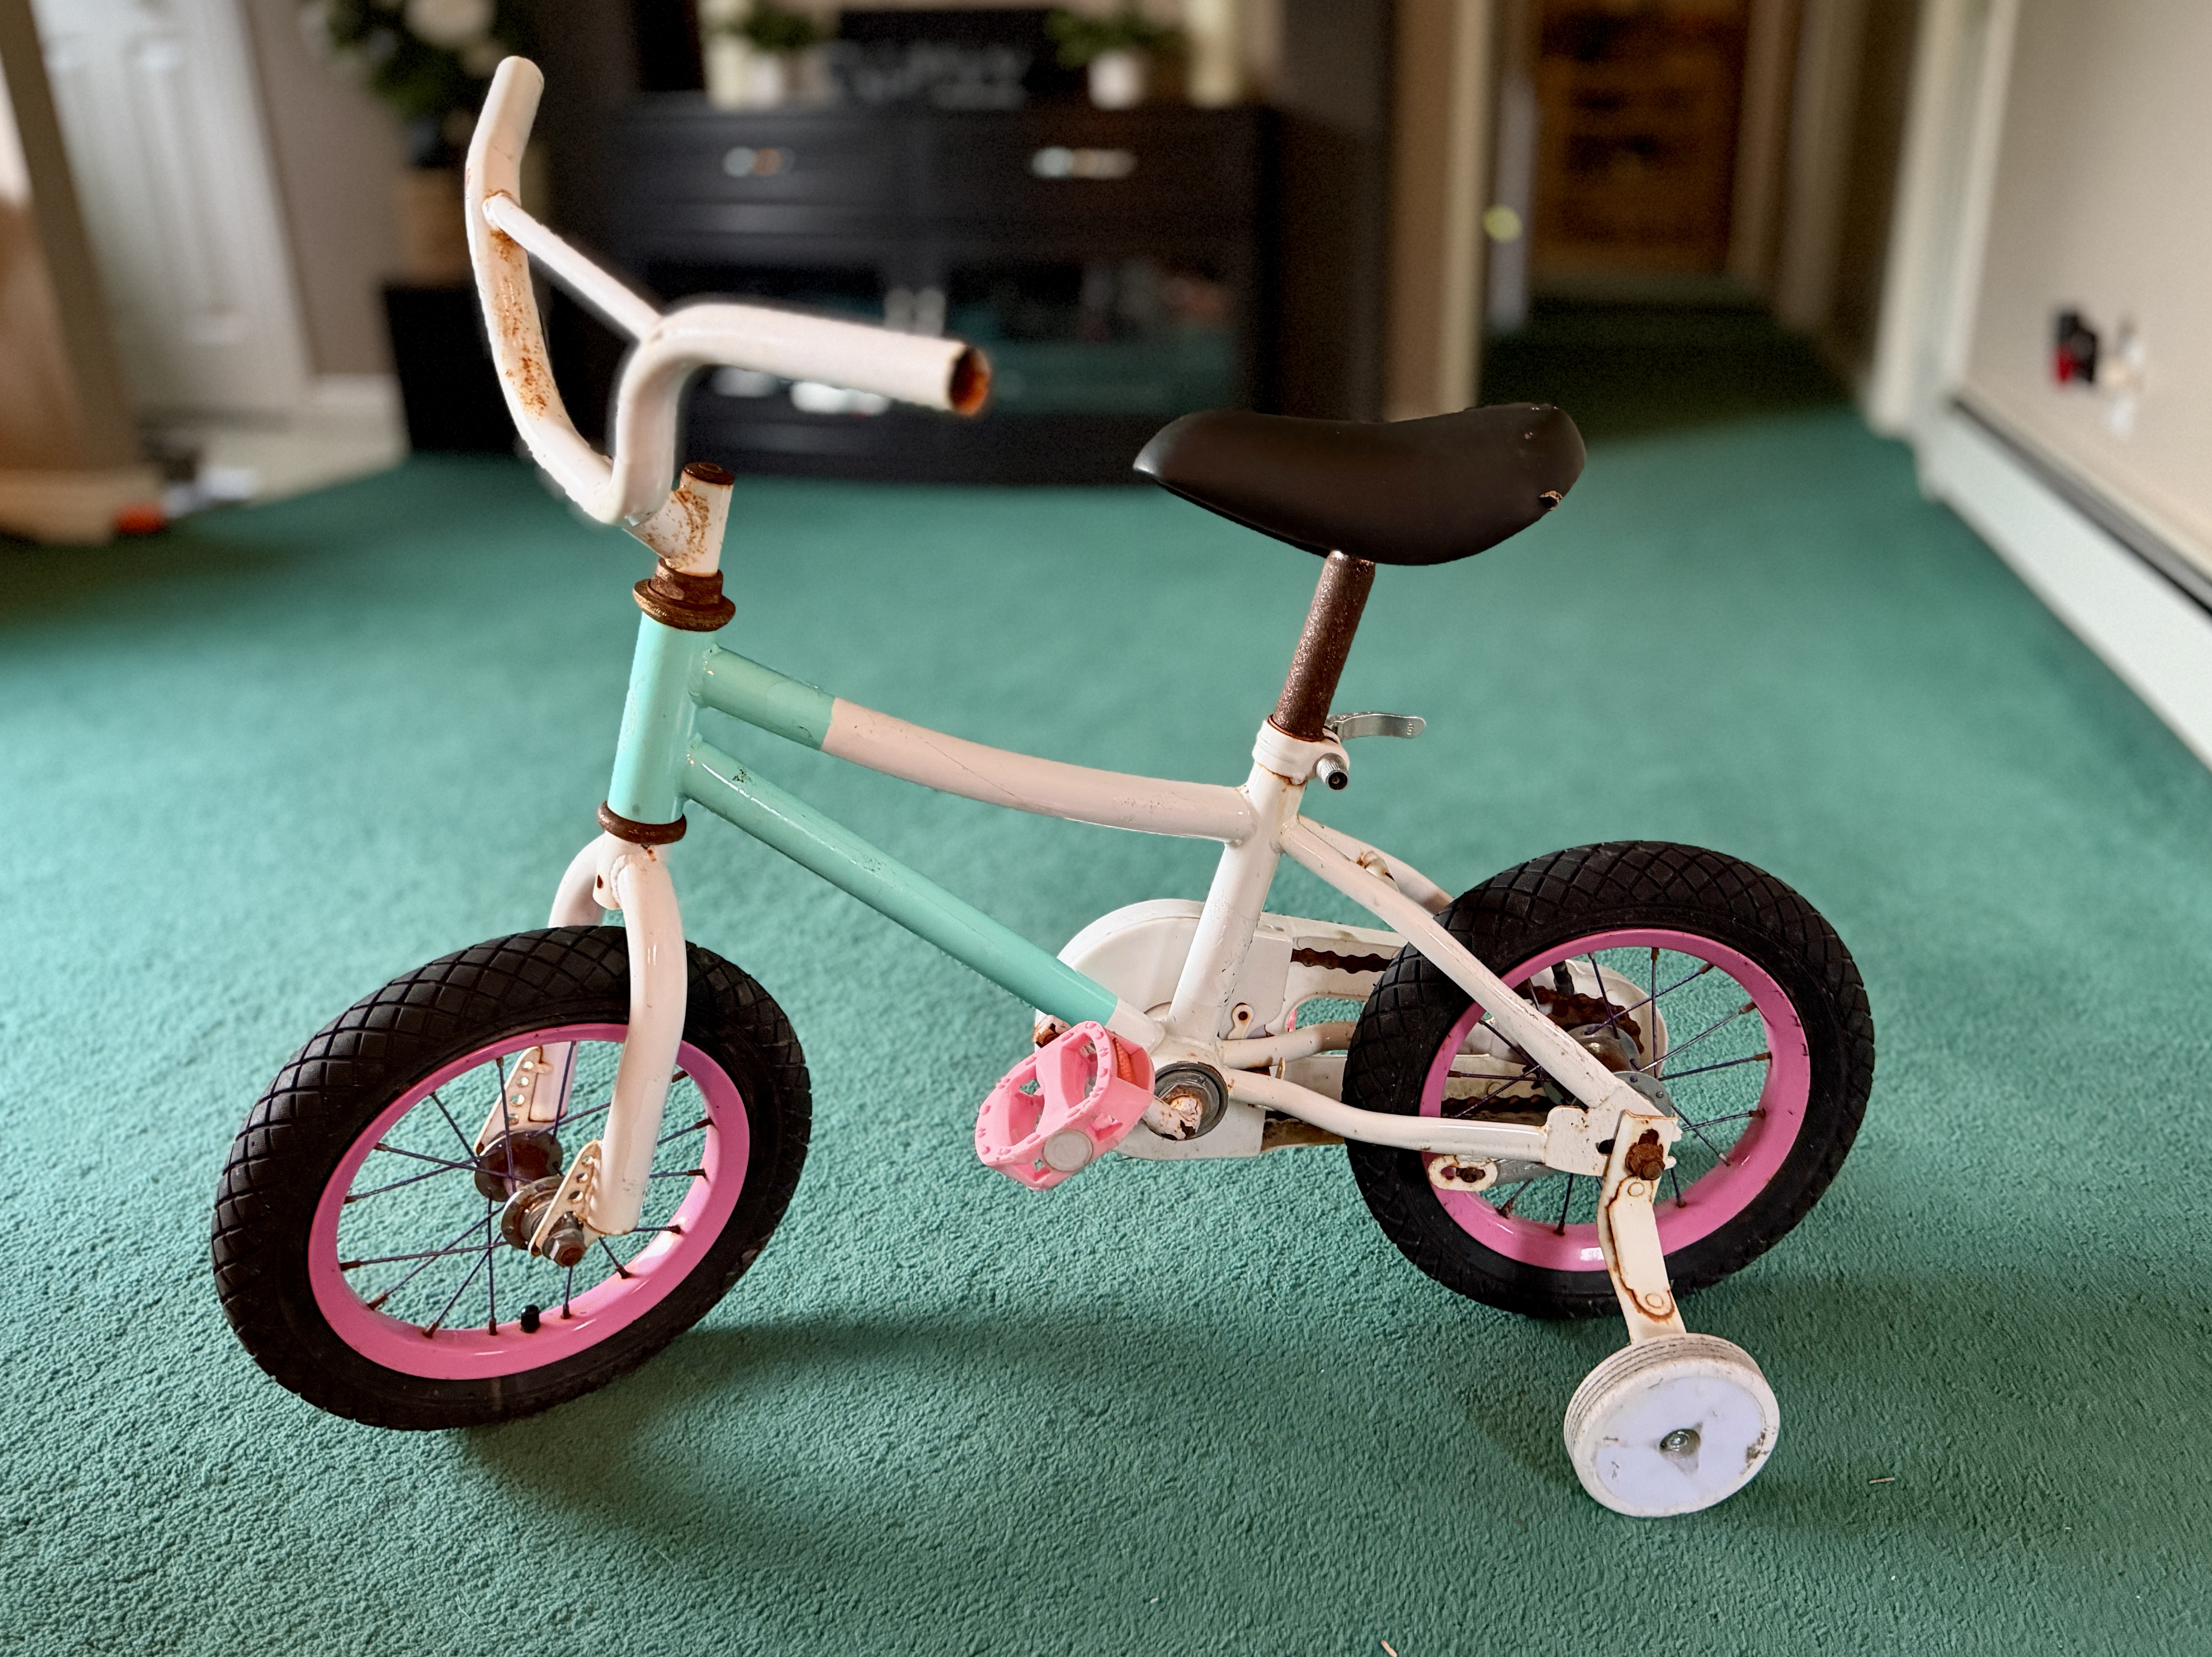
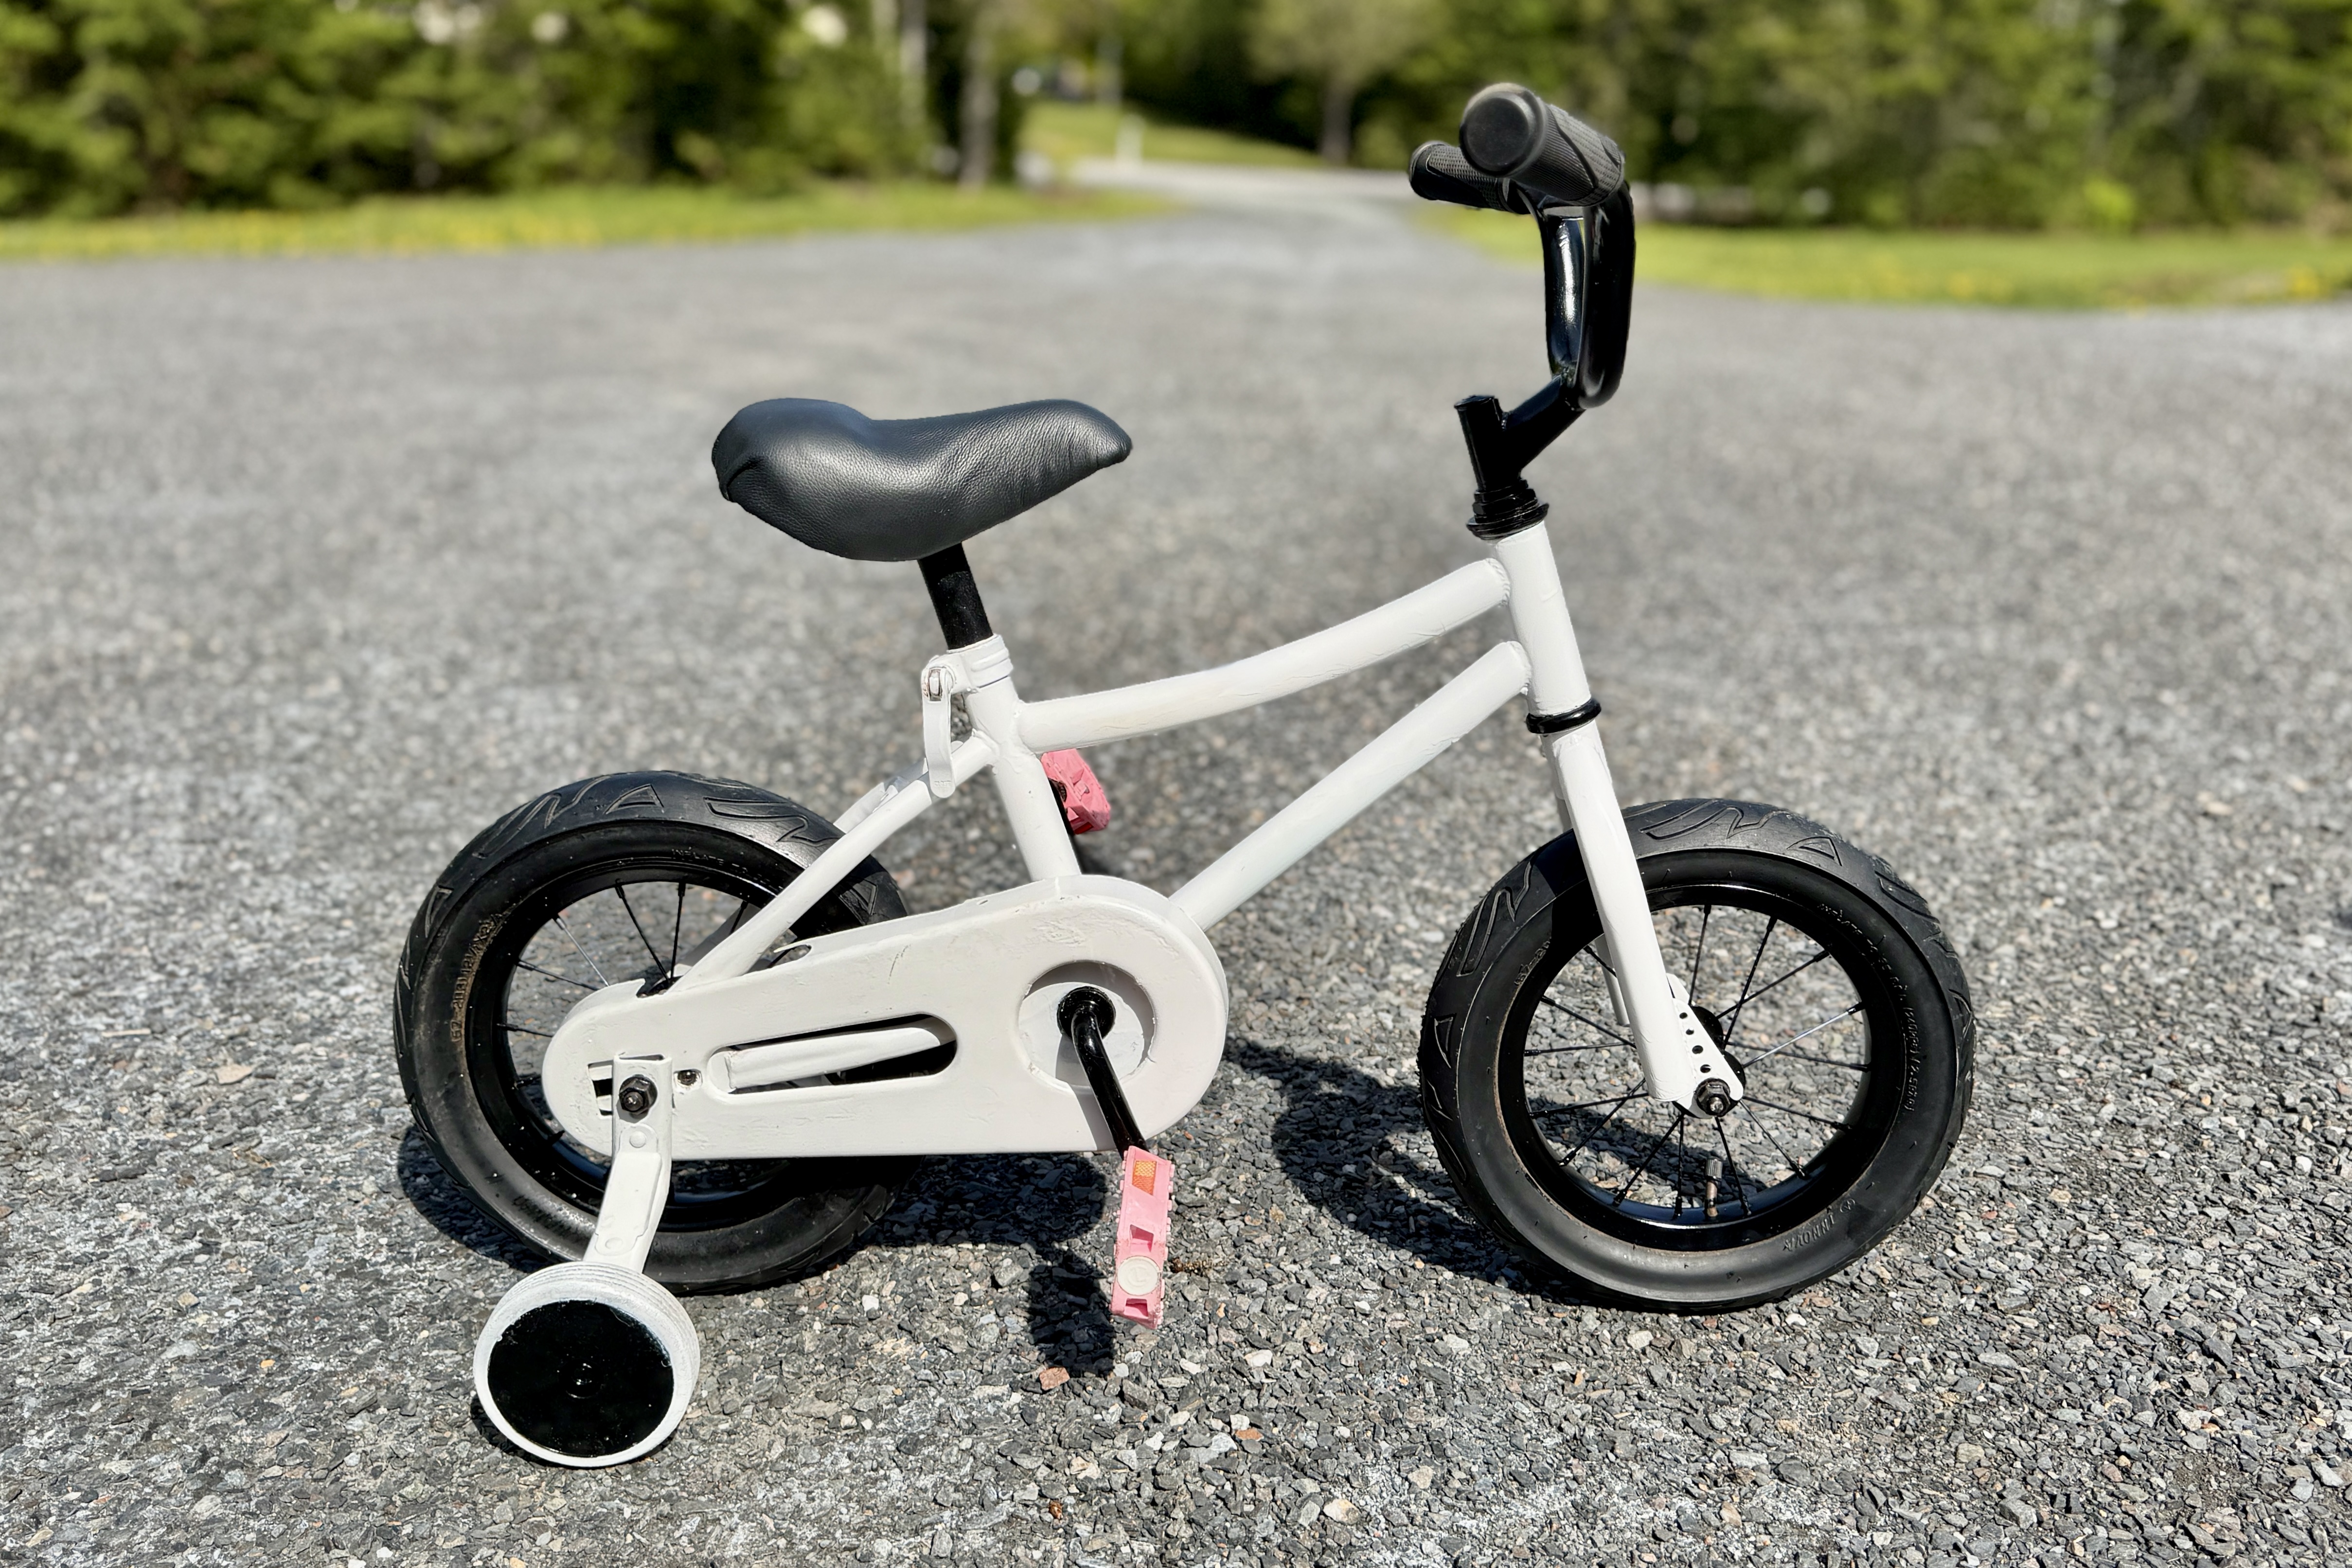
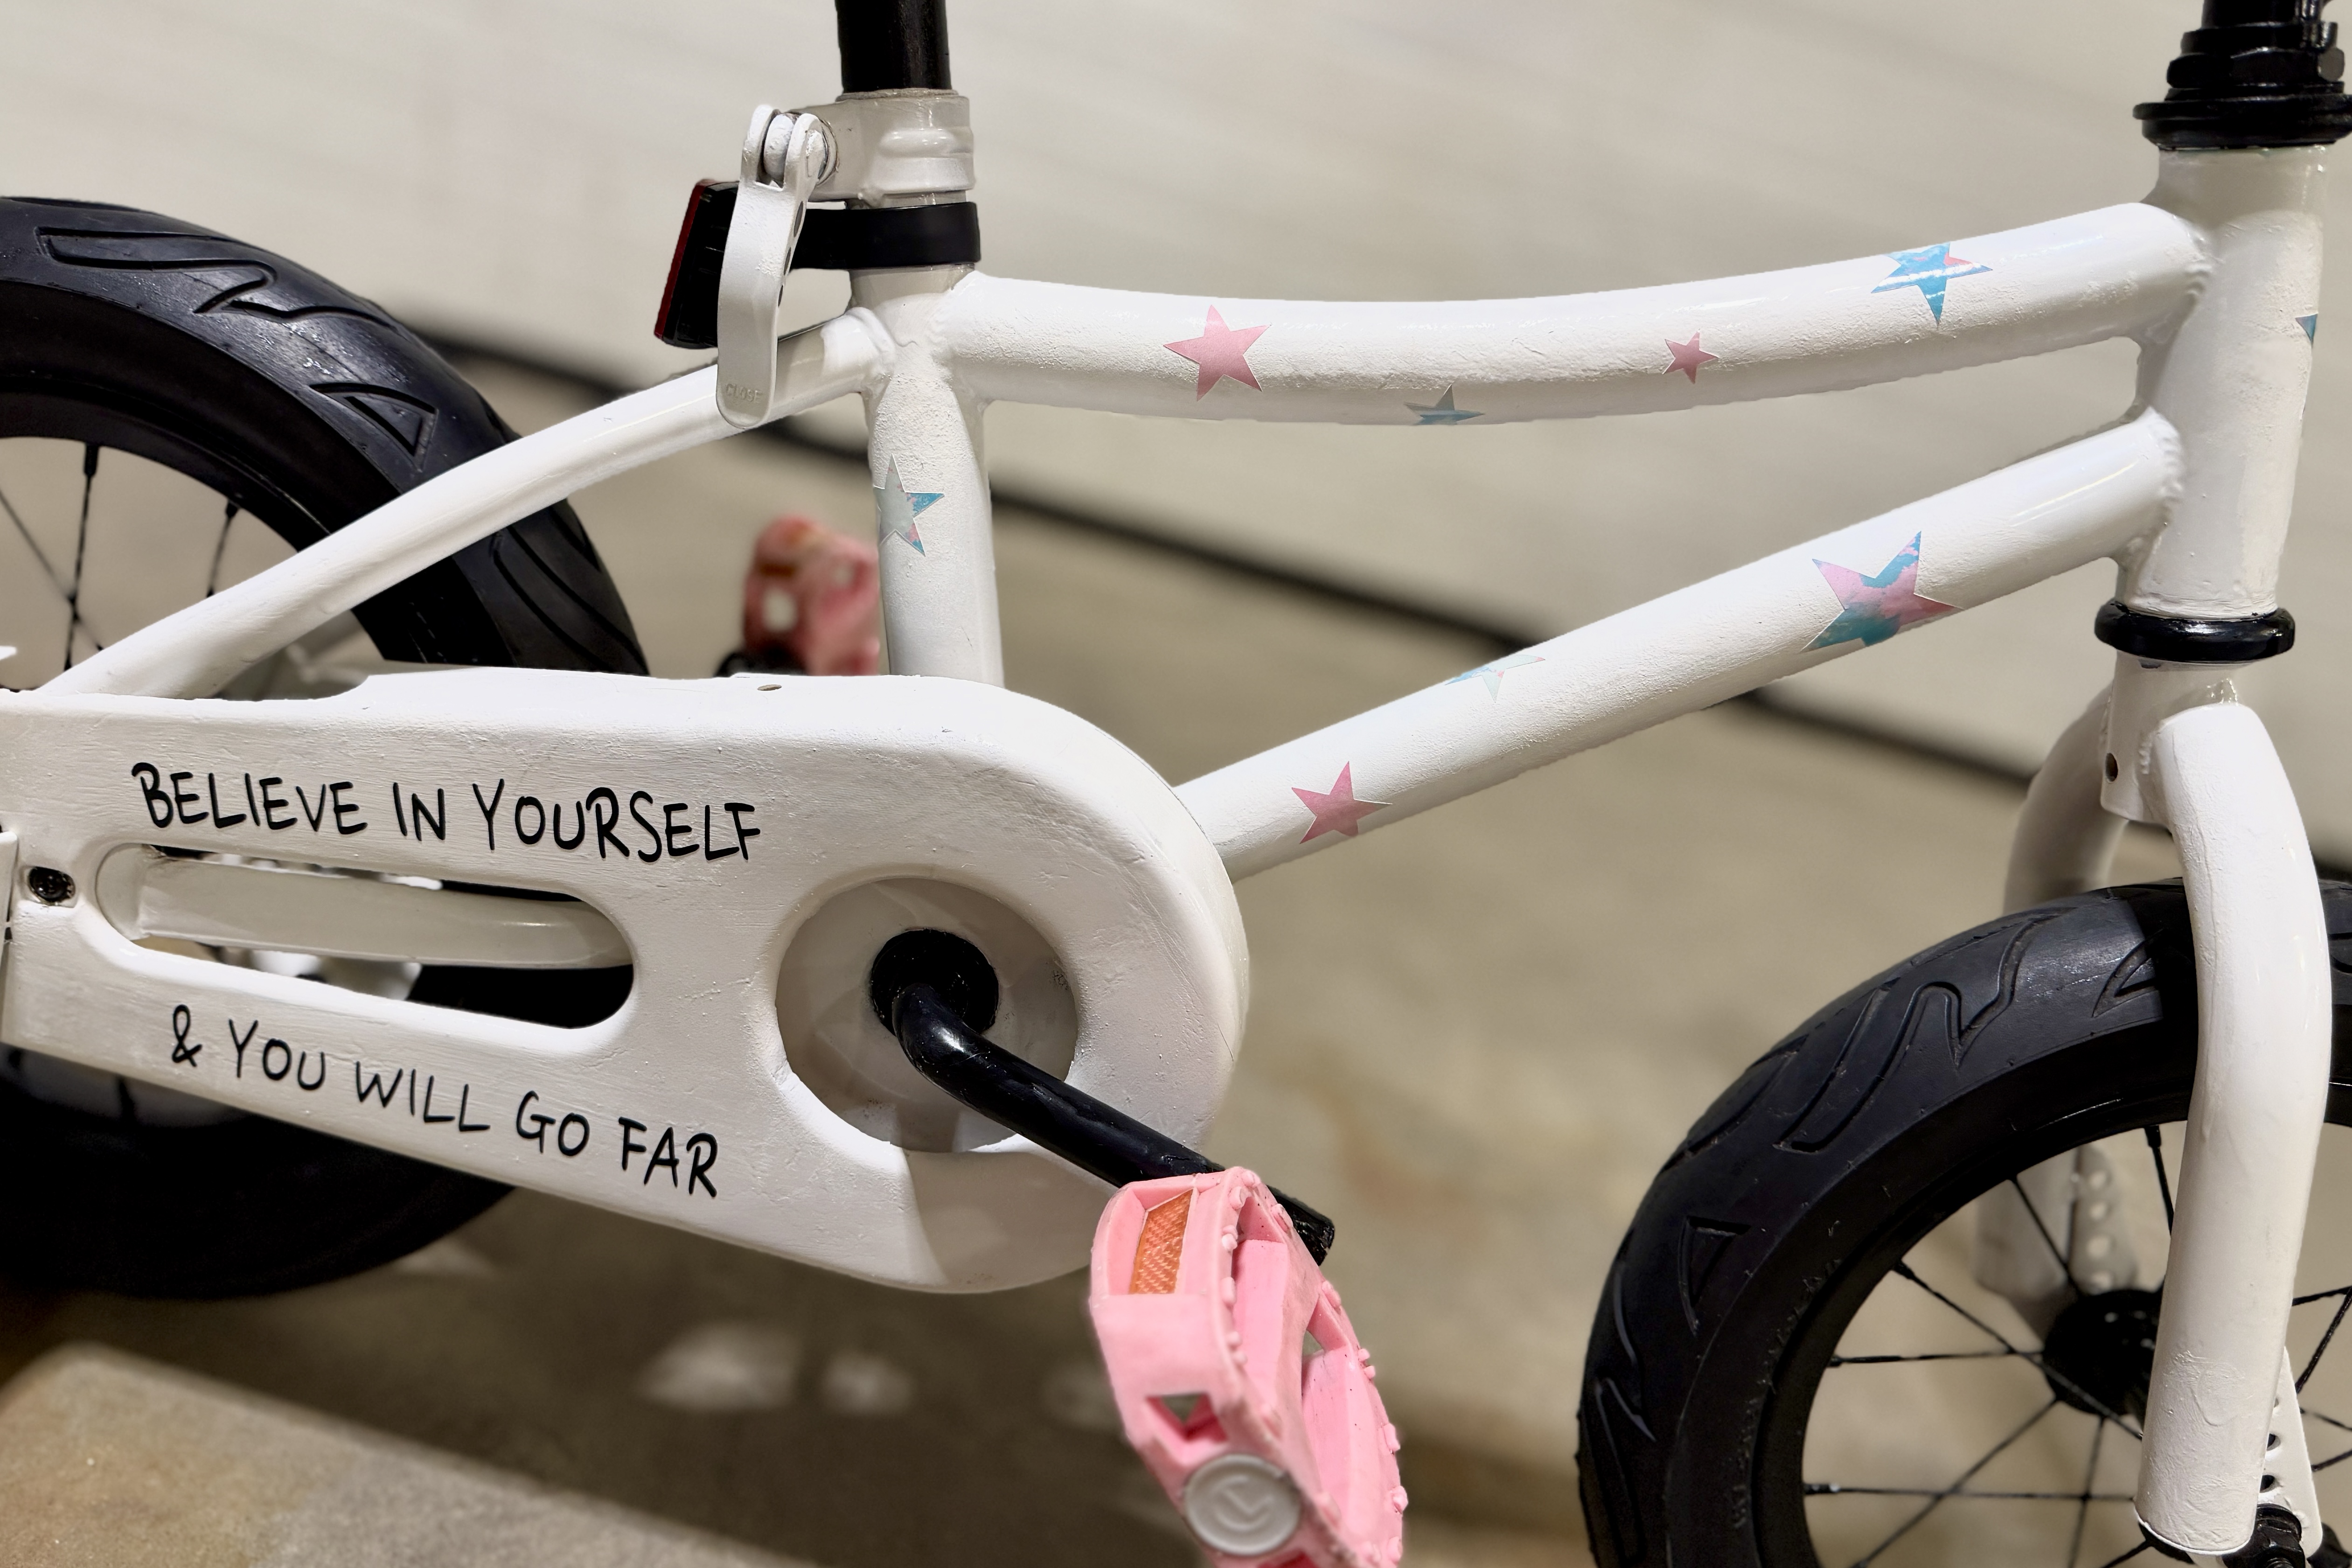
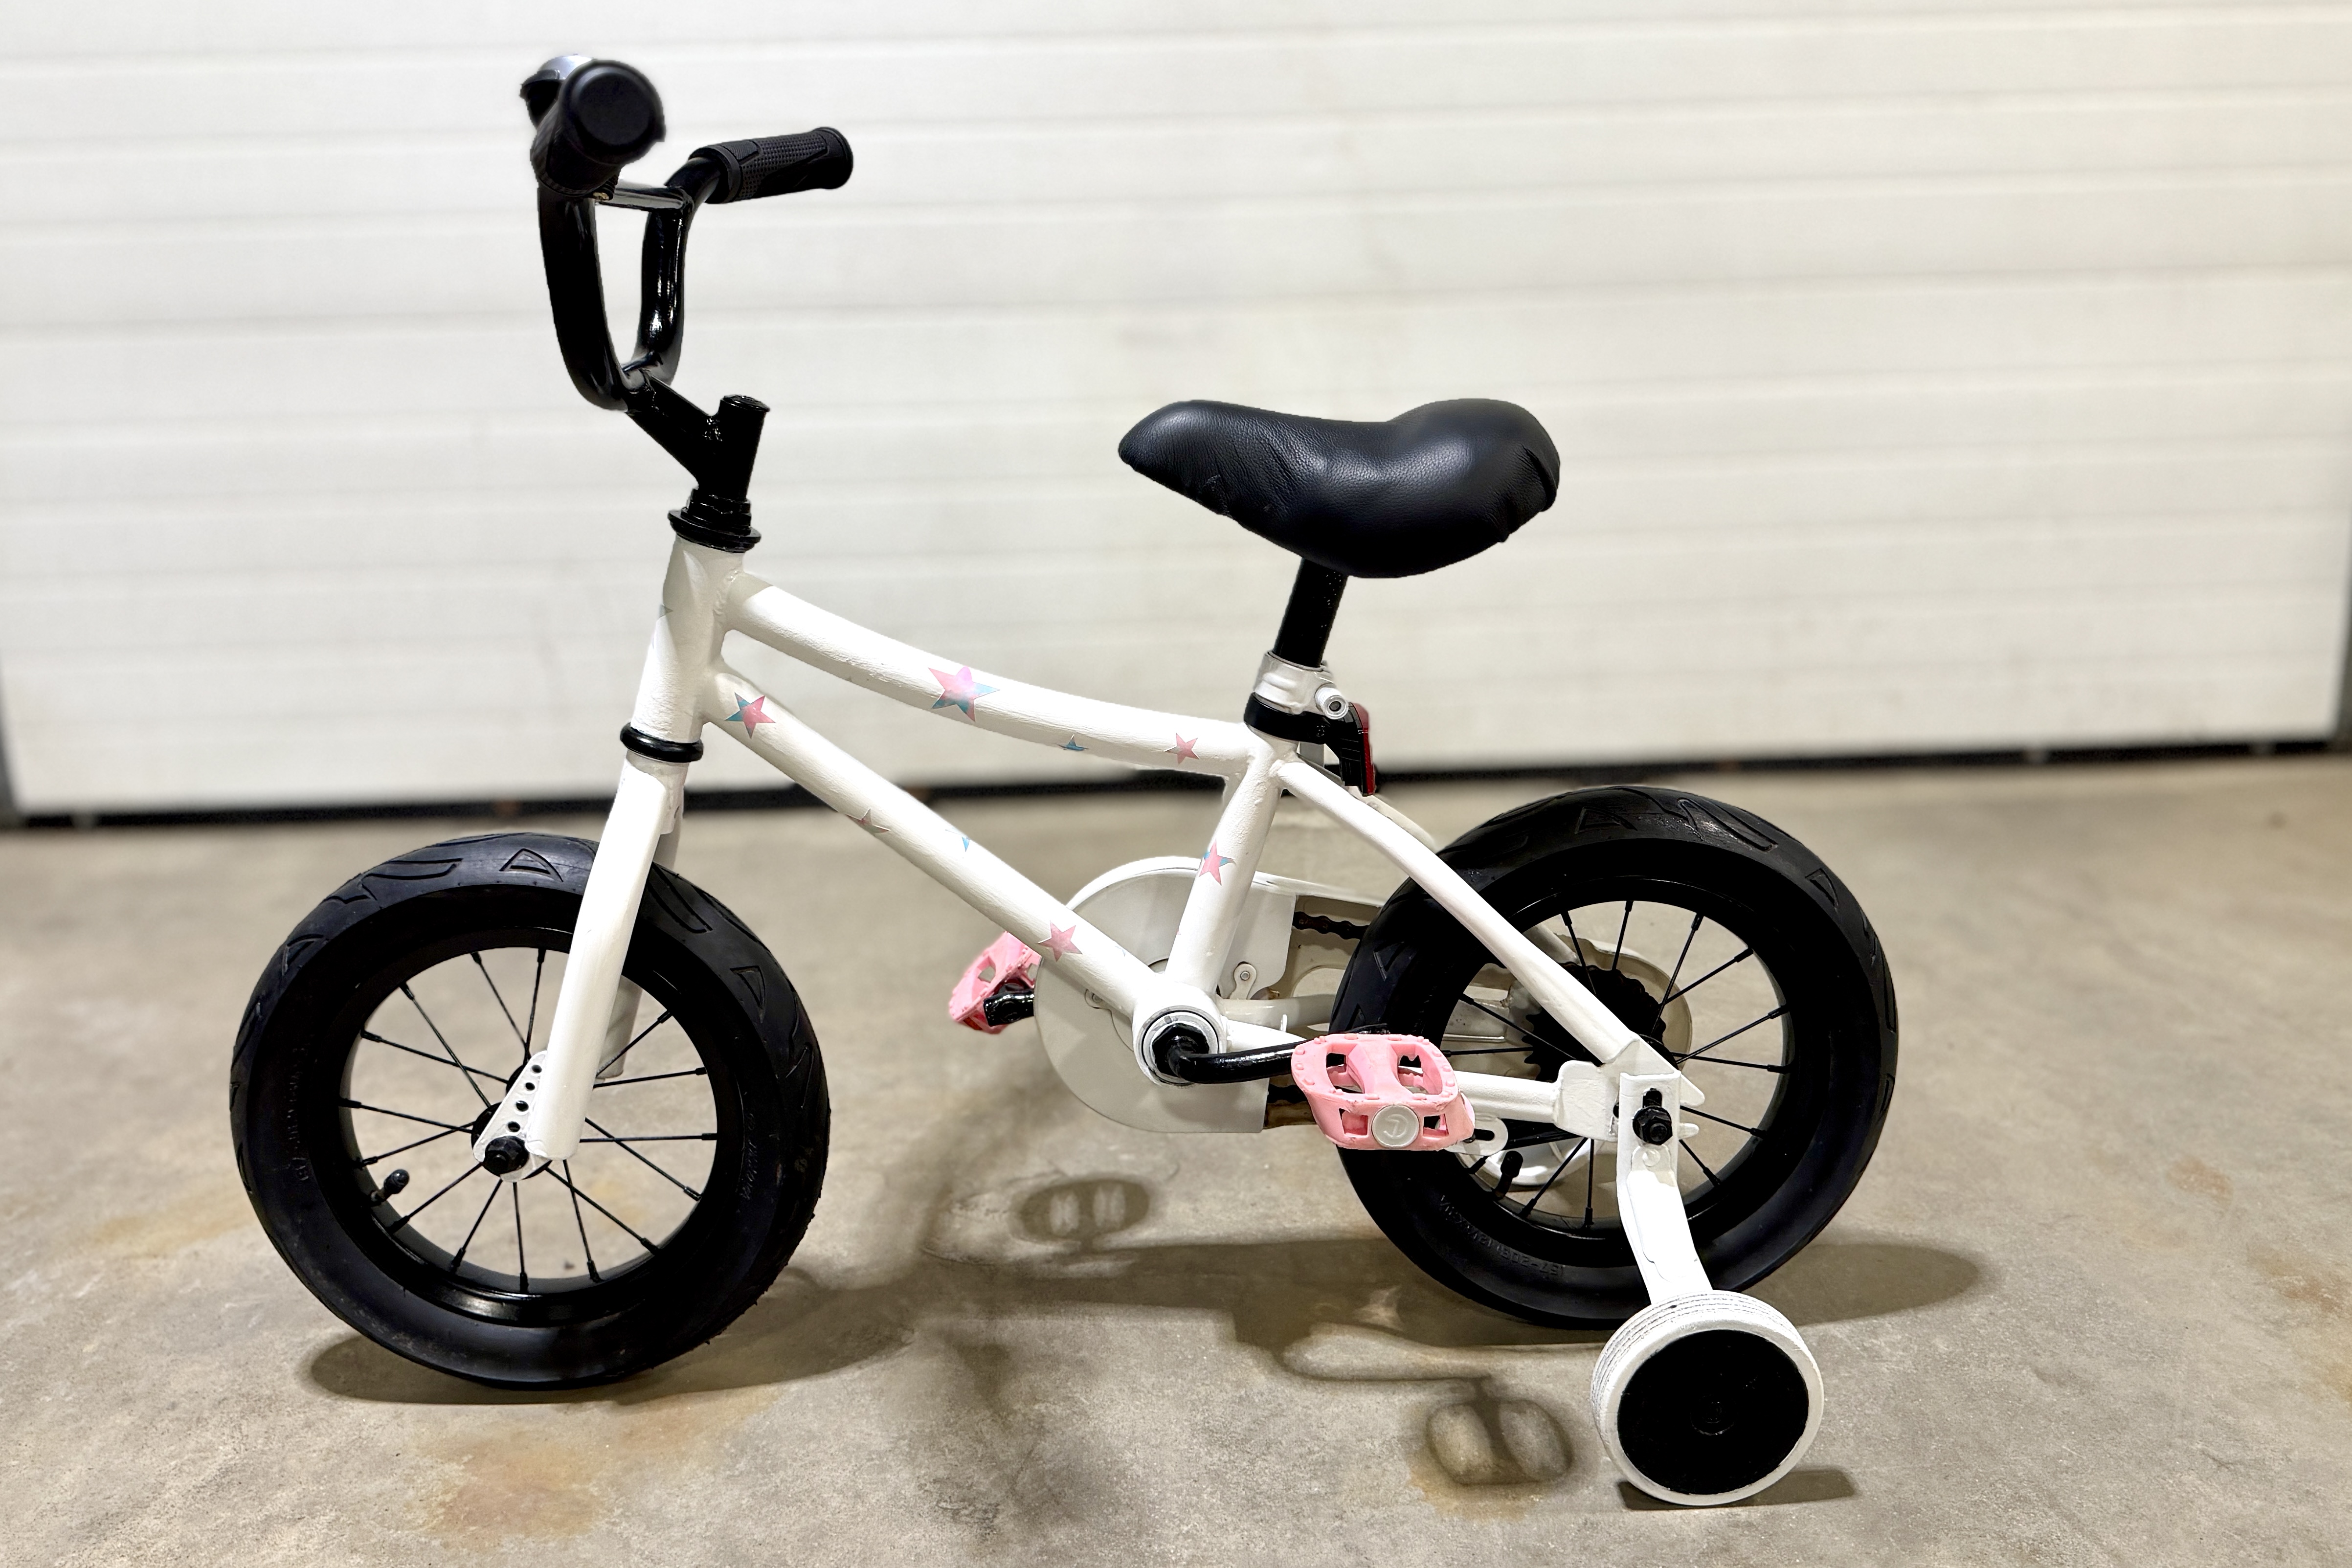
It now has had a complete makeover and along with the addition of a couple new accessories, I say it’s looking pretty darn good! It was all done at very little cost to me along with the time I invested into fixing it up.
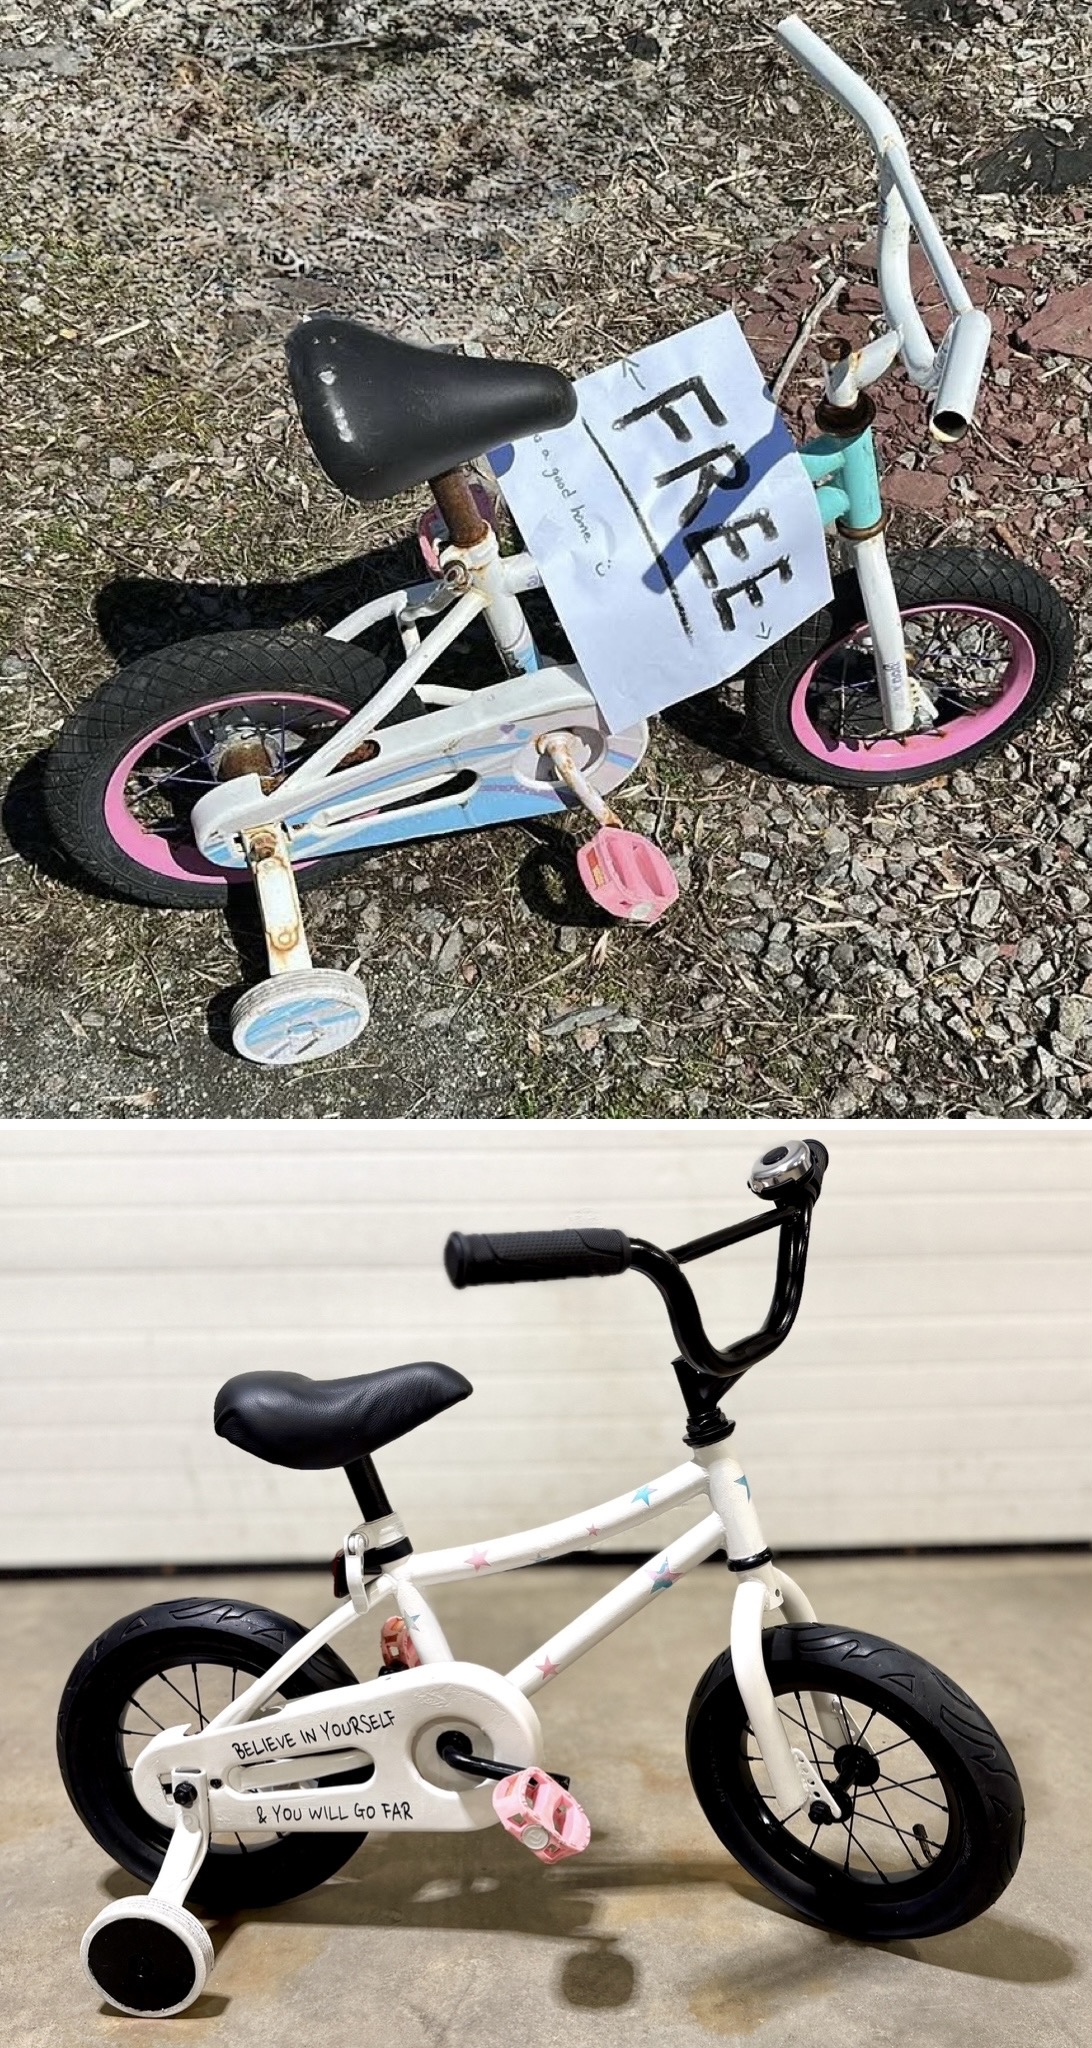
I have included a couple before & after shots for comparison. Hard to believe that it’s the same bicycle!
Thanks to several WD-40 products for assisting me a with this makeover - it was greatly appreciated!
Step 10: Paying it forward

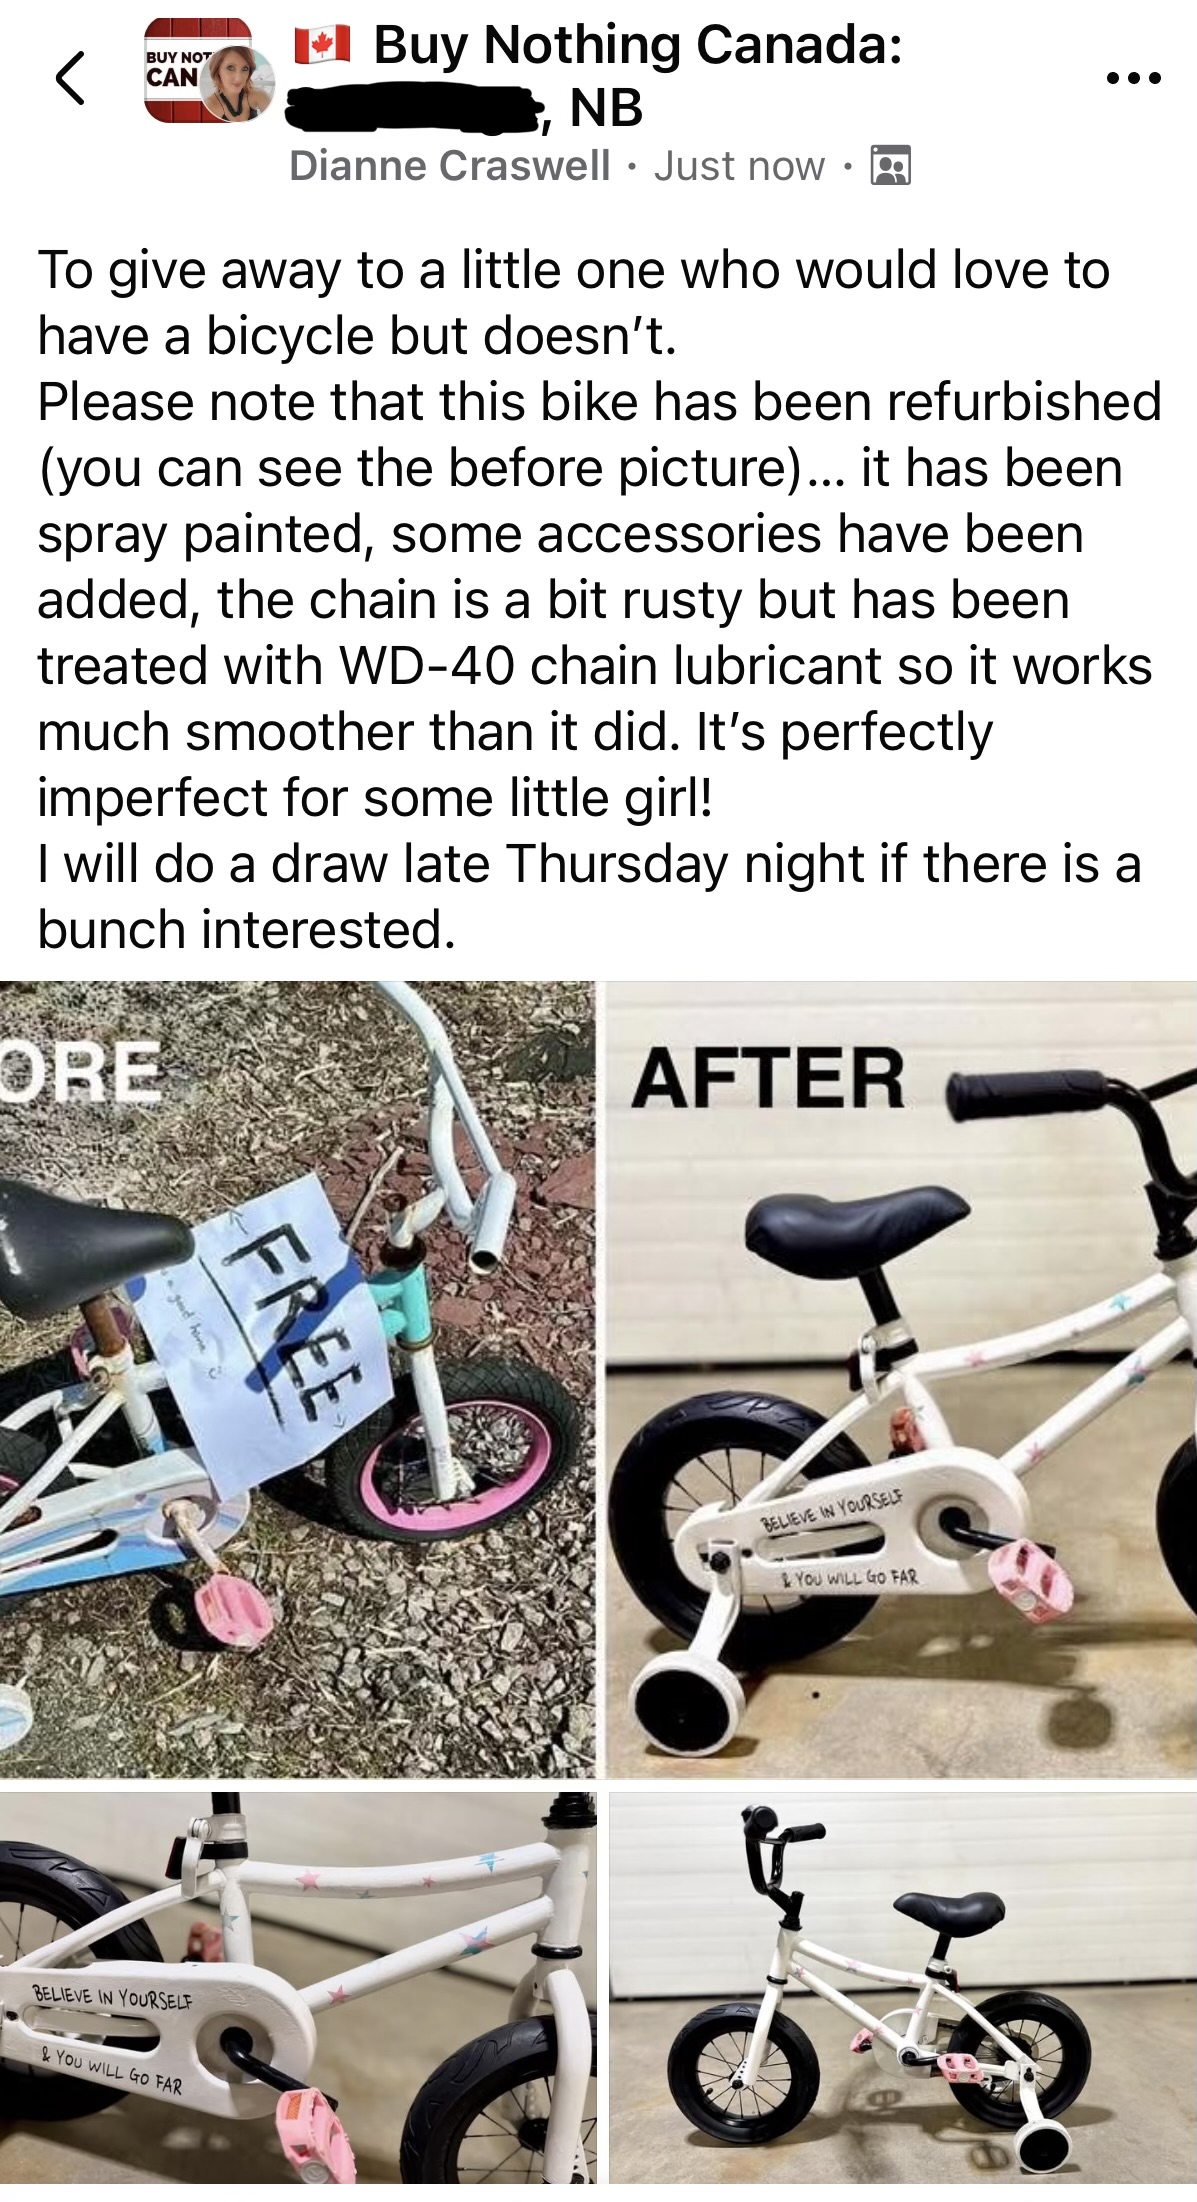
I didn’t want my hard work to go to waste so I chose to pay it forward to a little one who would like a bicycle of their very own.
I posted on my local Buy Nothing site where people post items they want to give away and left it for a few days to see how much interest there was in it, doing a draw from those who expressed interest. I’m happy to say that this treasure has now found a new home :)
As I celebrate the completion of this project and the fact that this bike now has a second chance at life, I can look back and be proud of my accomplishments. This bike is imperfectly perfect and that’s what makes it unique.
My wish is that its new owner will love it, as it truly is one of a kind just like them.