

Side Cutter Restoration with WD-40!
In this economy, buying new can be expensive and financially taxing. Therefore, I've chosen to repair not replace my tools. One of the tools I wanted to restore was these set of side cutters that were accidently left outside in the rain. As a result, they rusted and become hard to open and close. Below is a step by step guide on how I restored this tool to it's former glory with WD-40 and some elbow grease.
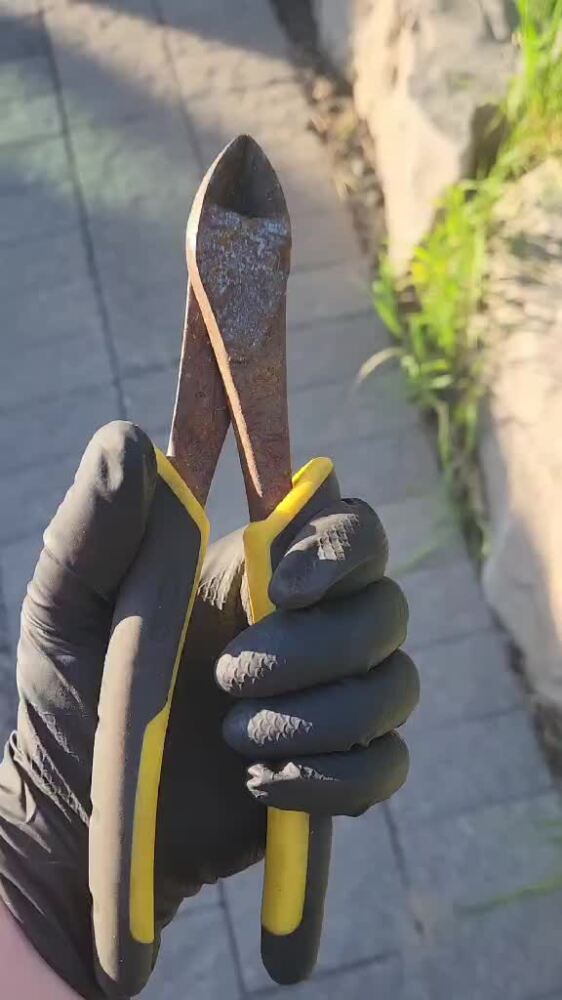
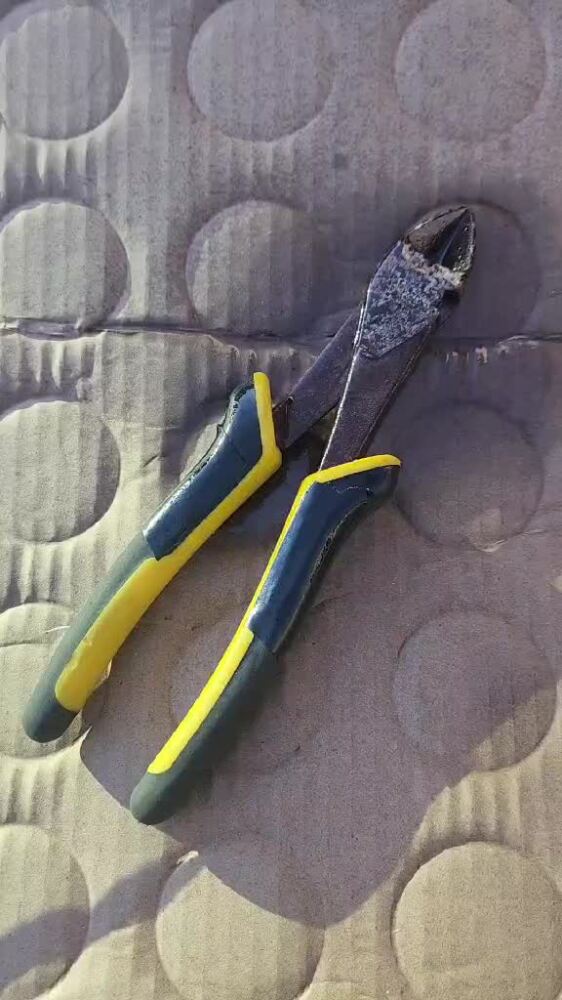
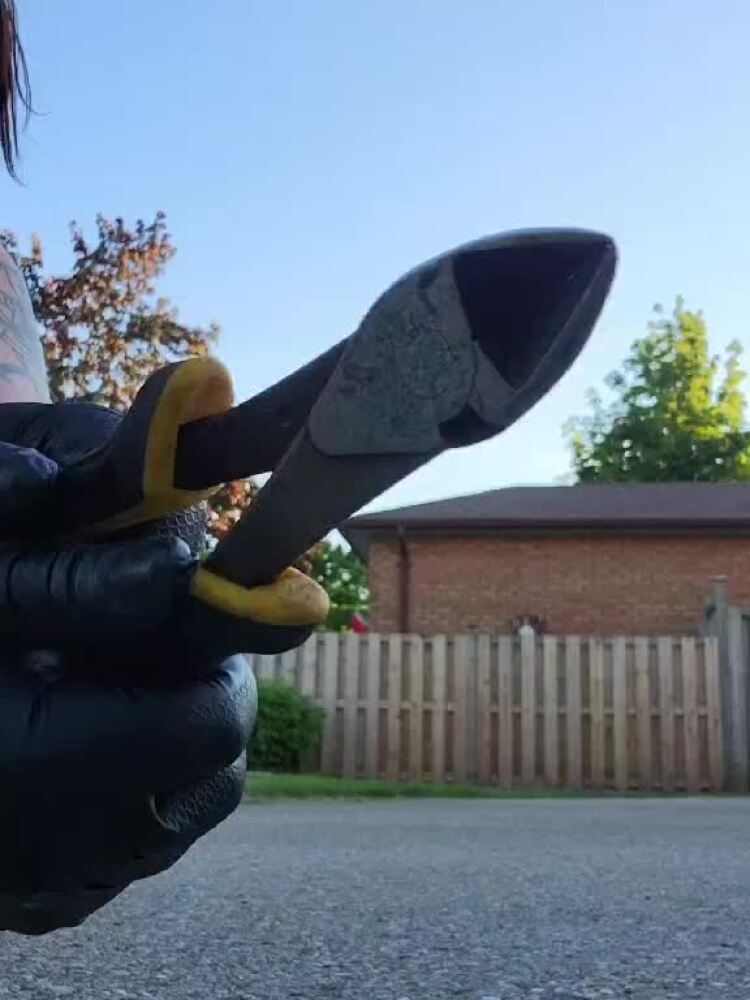
Step 1: The Original State of the Side Cutters
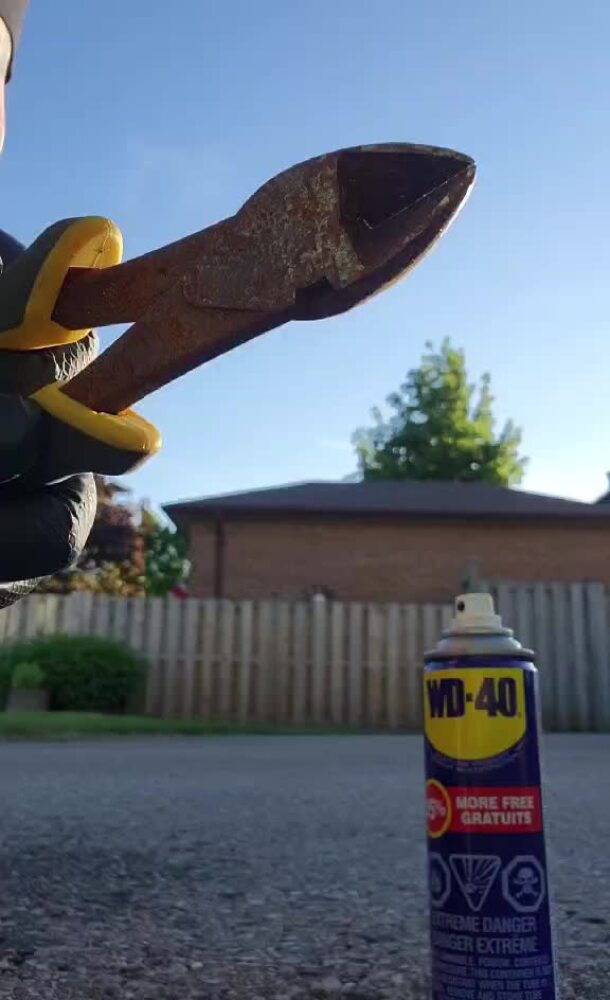
My side cutters were accidently left outside in the rain and became rusted and hard to open.
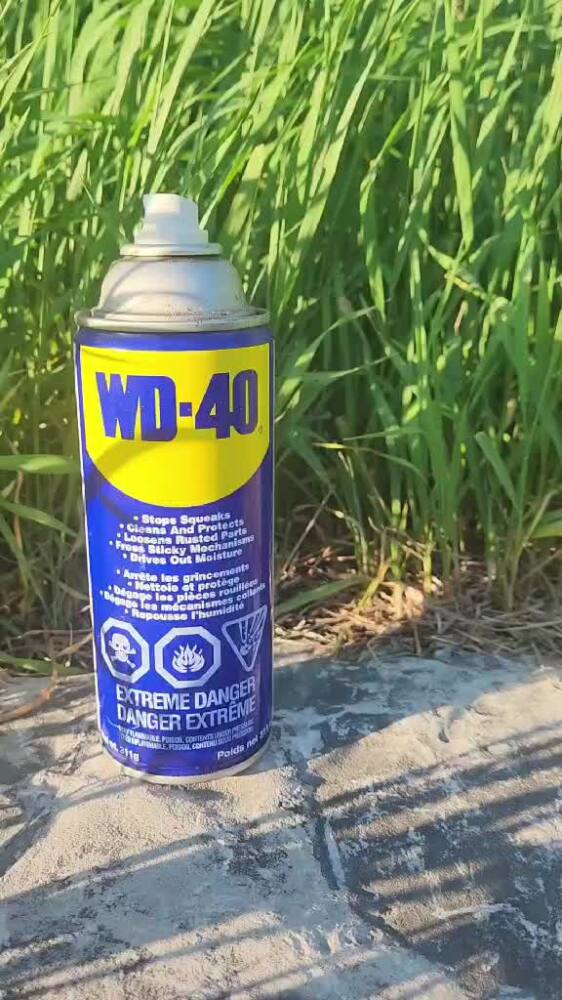
Step 2: Grab a Can of WD-40 and Shake it Up
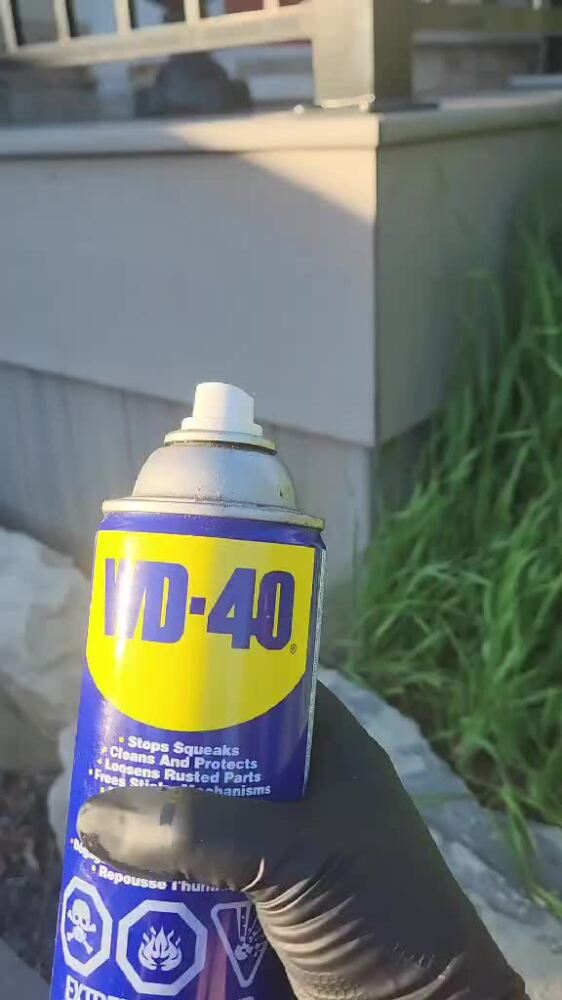
I grabbed my trusty can of WD-40 and shook up the contents.
Step 3: Spray WD-40 on the Tool
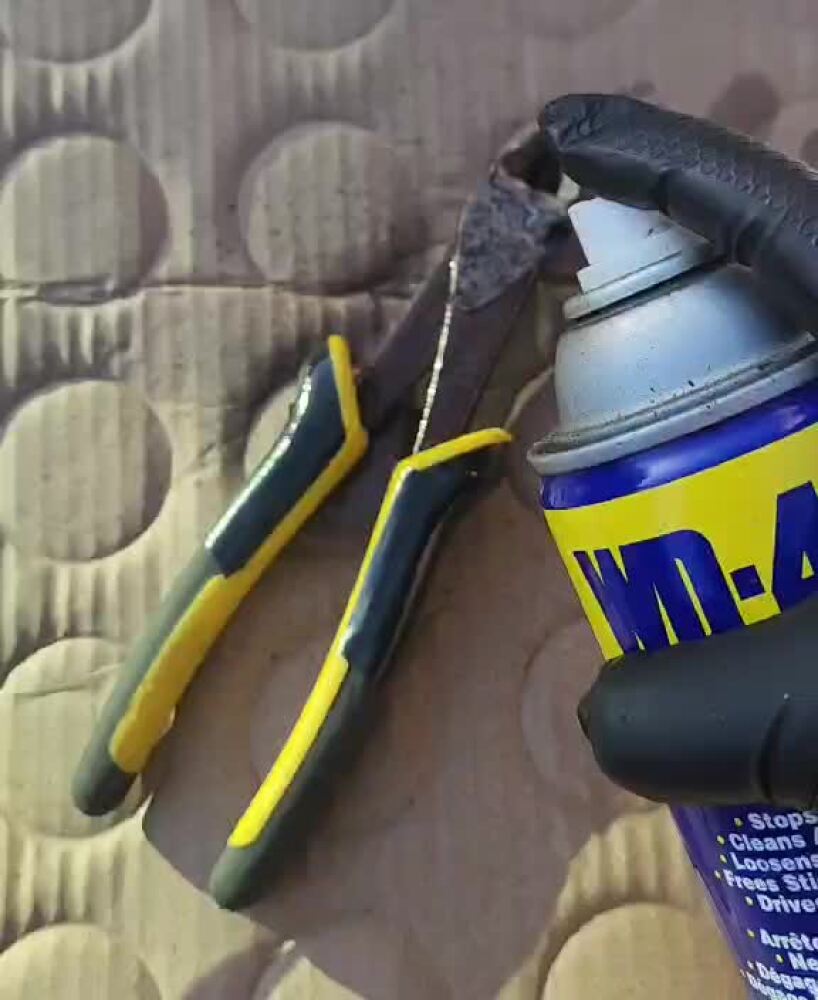
I then sprayed WD-40 liberally all over the metal parts of the tool.
Step 4: Let the Tool Sit
I then let the tool sit for about 10 minutes. This let the WD-40 do it's magic.
Step 5: Scrub the Rust off the Tool
I then grabbed a gritty sponge and used some elbow grease to clean off the rust. You can also use steal wool for this step. I rubbed the tool with the sponge until it was clean. This footage is speed up for time. I promise you I'm not that fast.
Step 6: The Tools of the Trade
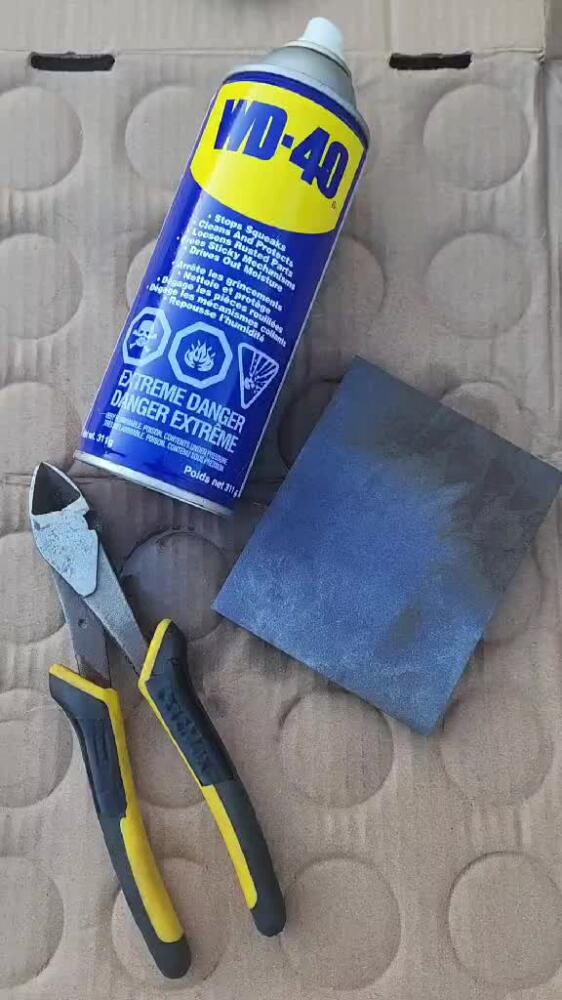
As you can see, the side cutters look much better and cleaner. All is took was some WD-40 and a sponge. You can see on the sponge how WD-40 took the rust right off.
Step 7: Look at the Difference!
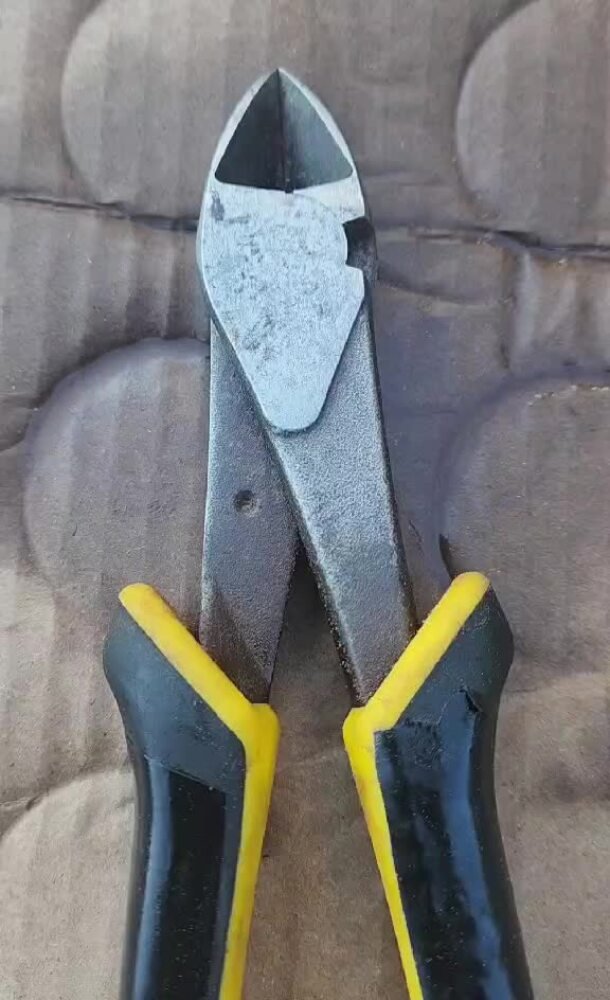
What a difference WD-40 has made. Here's a close up of the improved side cutters. Look how much rust came off this once tarnished tool.
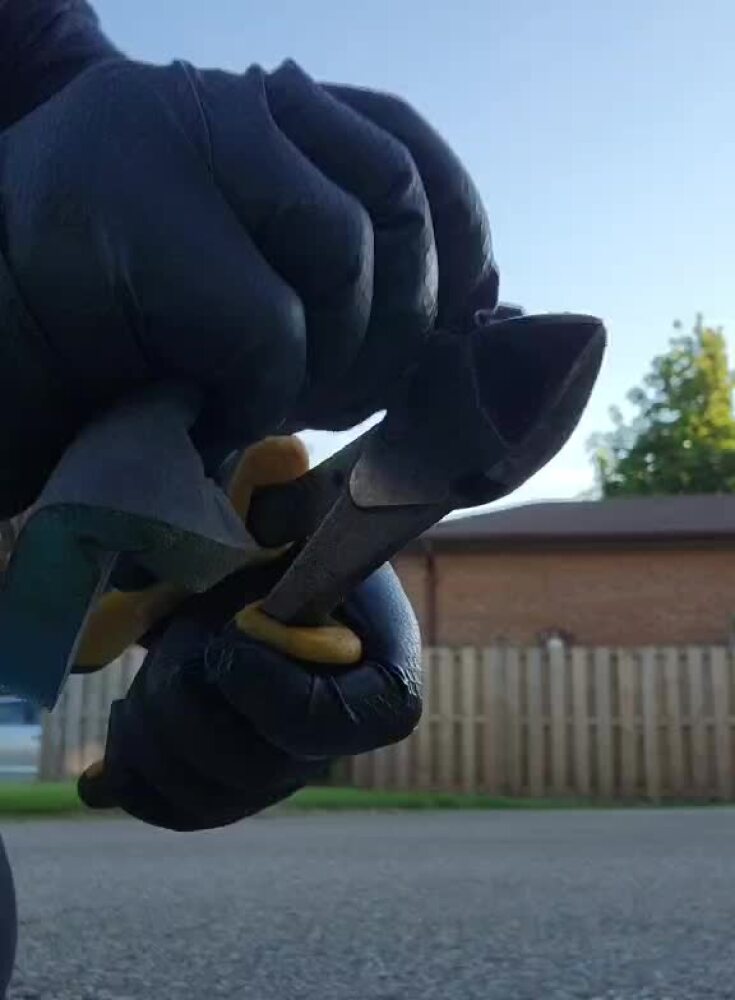
Step 8: They Now Open and Close Smoothly
Not only do they look better, they also now open and close smoothly and easily.
Step 9: Thank you WD-40!
Thank you WD-40 for helping me save my side cutters so I didn't need to buy a pair new. You not only saved me money, but also helped me reduce waste and help the environment.