

Undercarriage Sludge to Silver: A Complete Rescue Mission on my 2016 C300


Plus 3 more


This project was an intervention on my 2016 Mercedes C300 undercarriage. As you can see from the wide 'before' shot, the vital drivetrain—specifically the transmission pan, heat shields, and the component I needed to service (the output shaft housing Part #A 253 274 00 00)—was completely suffocating under layers of hardened road slime, fluid leaks, and ancient grease. The mess was so severe that it masked critical leak points, prevented inspection, and put the transmission at risk. Speculative assembly or part replacement was out of the question; it needed a deep-diagnostic clean. This entry documents the dramatic, two-stage transformation using WD-40 to "melt" the sludge and reveal factory-fresh metal and a perfectly intact seal.
Step 1: Mapping the Nightmare: The Sludge Problem
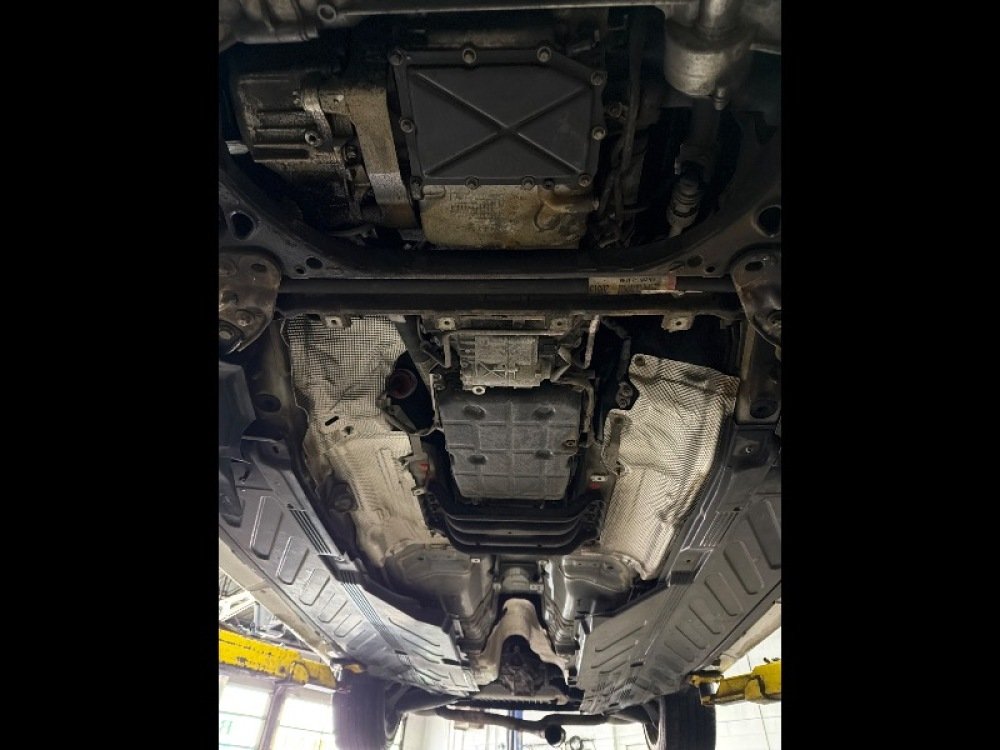
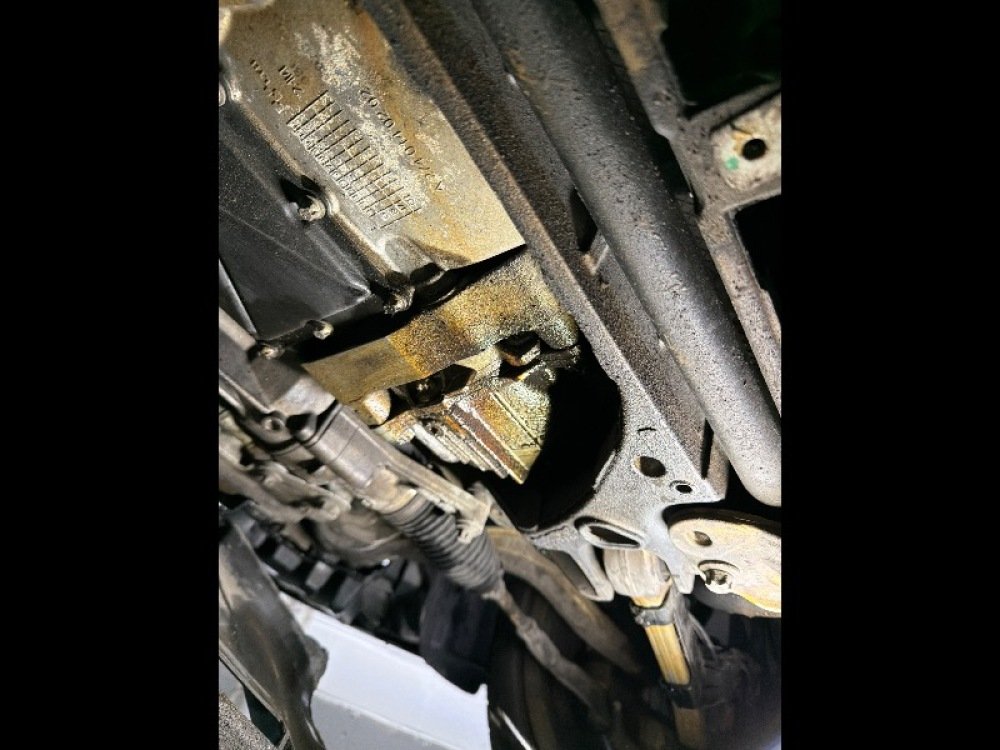

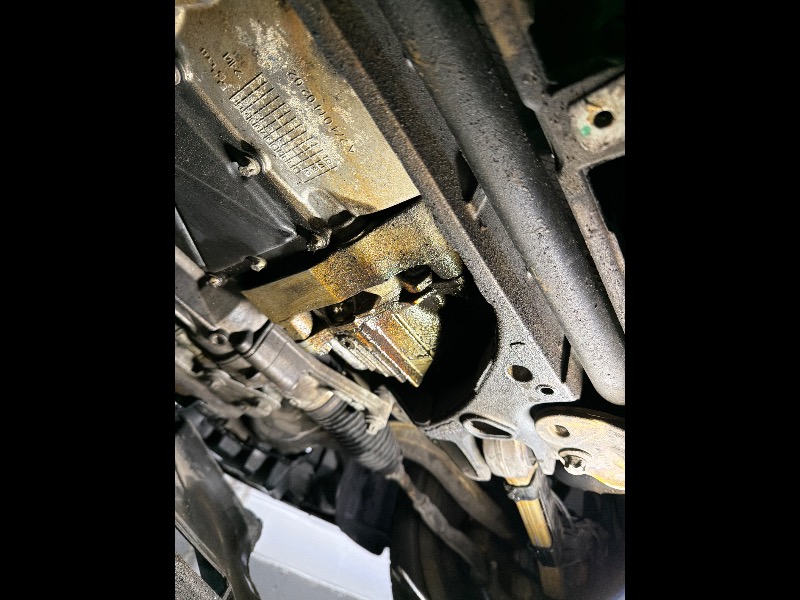
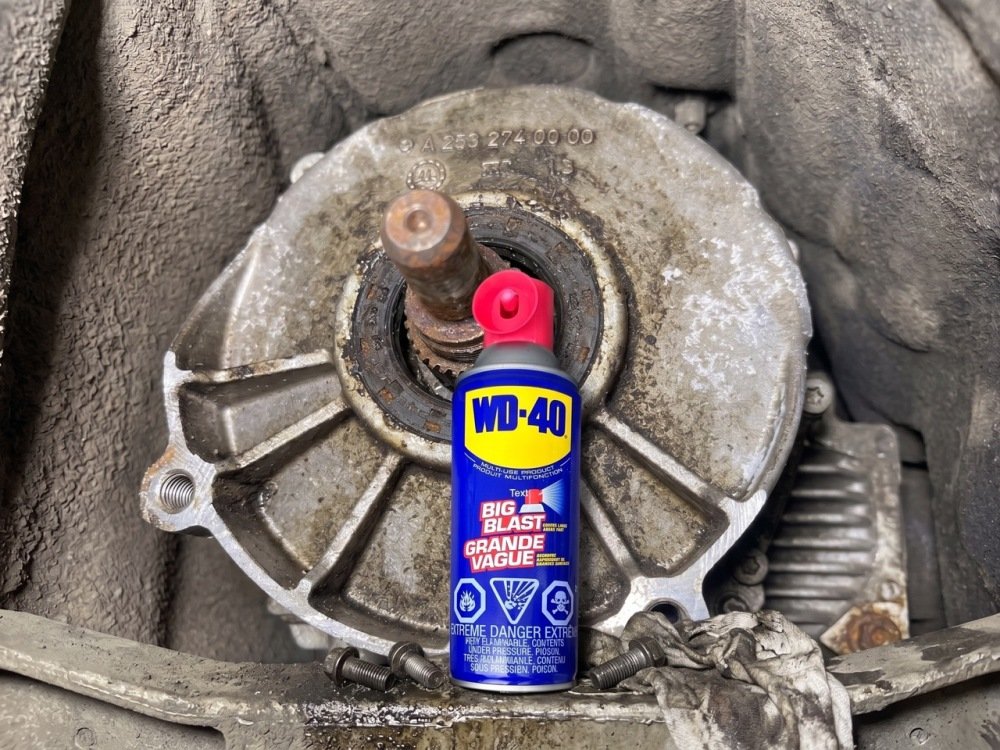
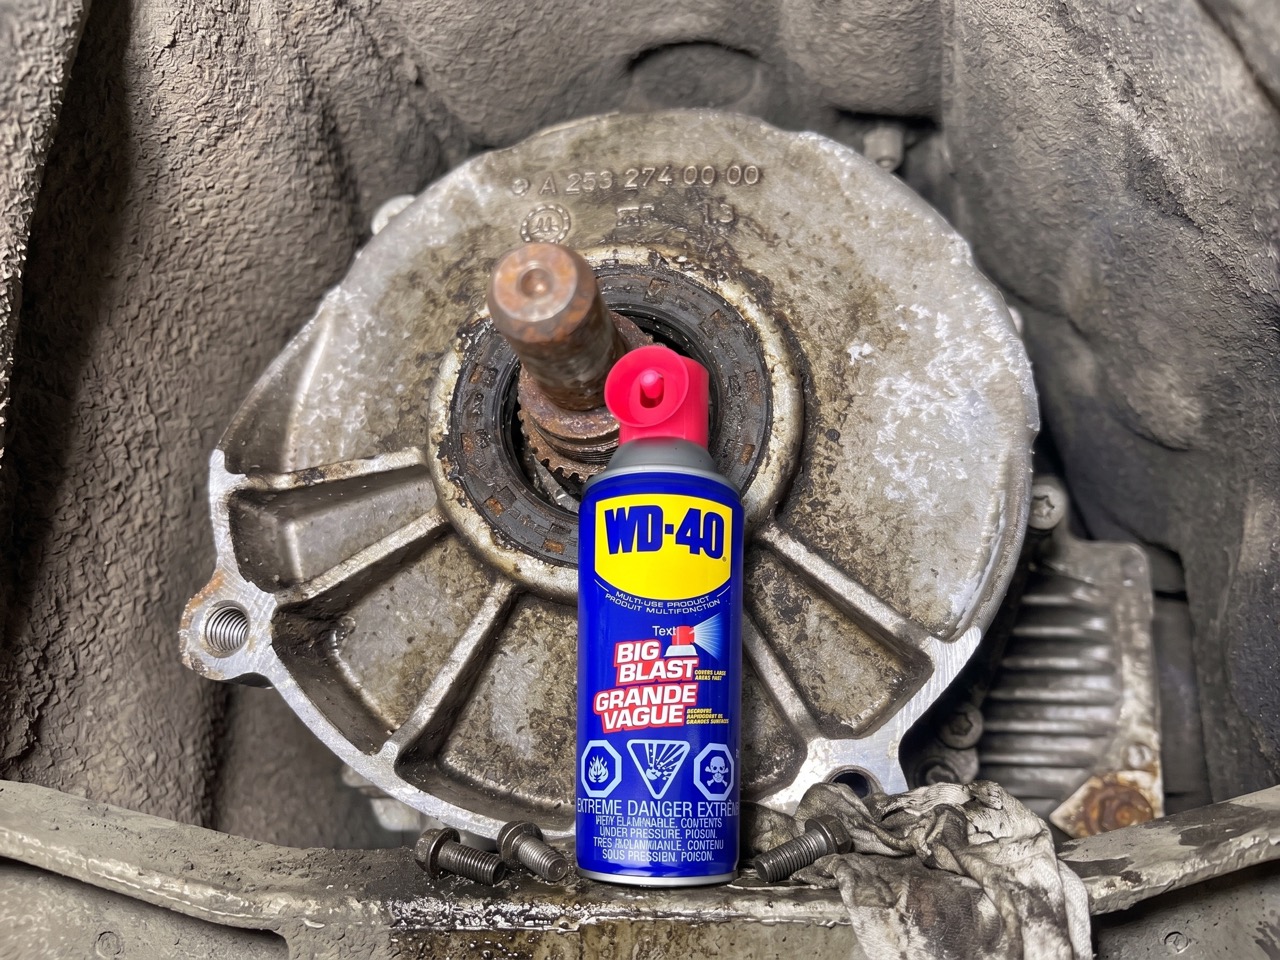
This was our initial challenge. The whole belly of the car was a disaster zone. The black composite transmission pan was completely coated, the dimpled aluminum heat shields on either side were packed with dark muck, and the grime extended over the structural belly pan. Look closer at the main component I needed to address: the transmission output housing. It was caked in a nasty sludge that hid Part Number #A 253 274 00 00 and obscured the condition of the splines and the internal rubber seal. It was gross, unsafe to service, and prevented me from verifying the seal's integrity speculated damage. I knew a simple wipe-down wouldn't work; this needed a serious soaking to break the bond.
Step 2: Melting the Muck: The Big Blast Stage


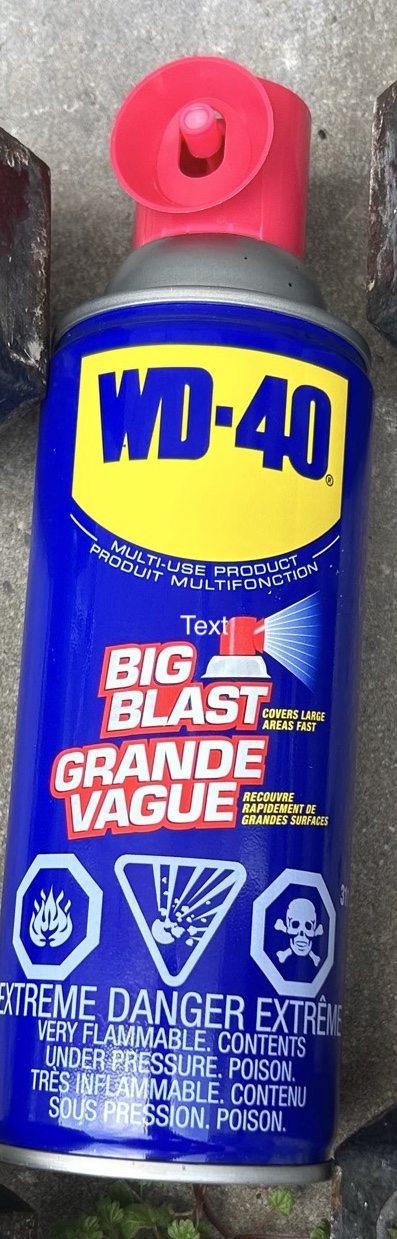
Given the sheer scale of the mess across the transmission pan and belly pan, I knew I needed to act aggressively. I chose WD-40 Big Blast. That wide-spray, "Grande Vague" nozzle let me cover the entire, gross surface area of the belly and saturate the output housing quickly. I let the formula soak into the hardened grime for about 15 minutes. It didn’t just sit on top; it actively penetrated the layers. We watched as the WD-40 literally melted the ancient grease and oil leaks right off the aluminum casing and the transmission body, dissolving the bond without damaging the seals. This initial soaking made the overall undercarriage workable.
Step 3: Revealing the Metal: The Diagnostic Deep Clean


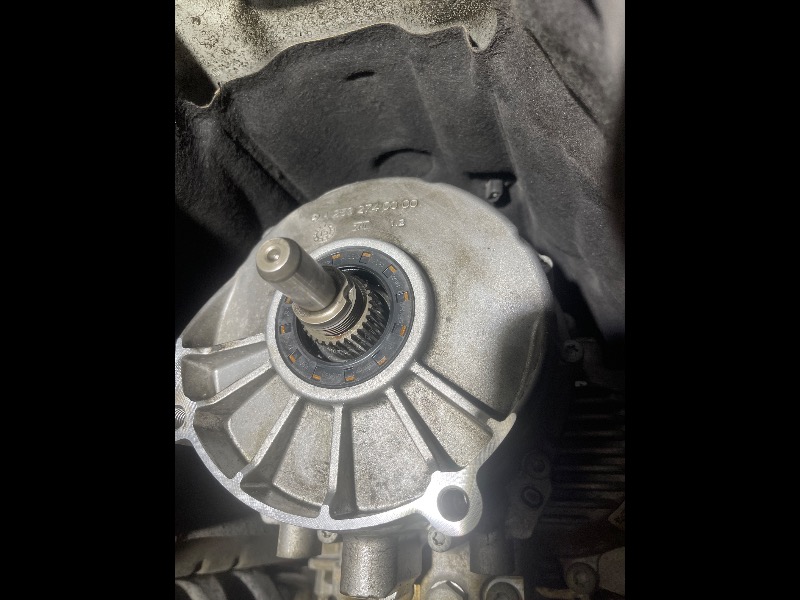

Once the grime was softened, the real work began. I used a stiff nylon brush on the main aluminum casing and a small brass wire brush to tackle the corrosion on the output shaft splines shown previously.
The standard WD-40 formula acted as a superb cleaning lubricant, preventing the displaced grit from scratching the polished surfaces as I wiped the sludge away. The transformation is dramatic. What started as a speculative, messy unknown is now factory fresh. The intricate aluminum housing is spotless, the Mercedes logo is revealed, and the output shaft is clean. Crucially, this deep clean allowed me to verify that the integrated internal rubber seal was perfectly intact and clean—saving me a speculated fortune in replacing parts I now knew were functional.