

Vintage Christmas color wheel restoration
Plus 1 more
Hi! I’m an avid collector of anything from the 1950s–1960s. These items have become really popular over the last few years, and they’re getting harder and harder to find, so prices have skyrocketed. My health doesn’t allow me to work, so I can’t just buy whatever I love to decorate my home — and that’s really important to me since it’s where I spend most of my time.
So I hunt for hidden gems at thrift stores, yard sales, and even on the curb! I repair them and give them the love they need so they can have a second life.
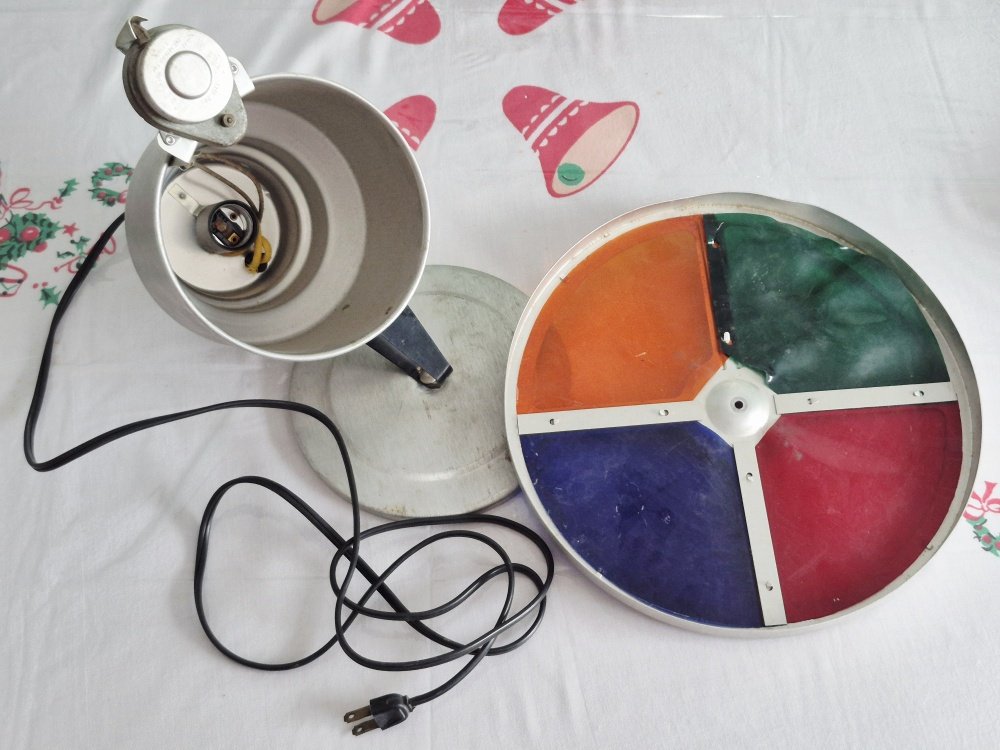
One of those items is a Christmas color wheel I found for $5. It wasn’t working, was very dirty, and had missing pieces. I knew it would be a challenge, but I was up for it because I’d found a cheap aluminum Christmas tree a few years ago and really wanted the color wheel to go with it!
Step 1: The beggining


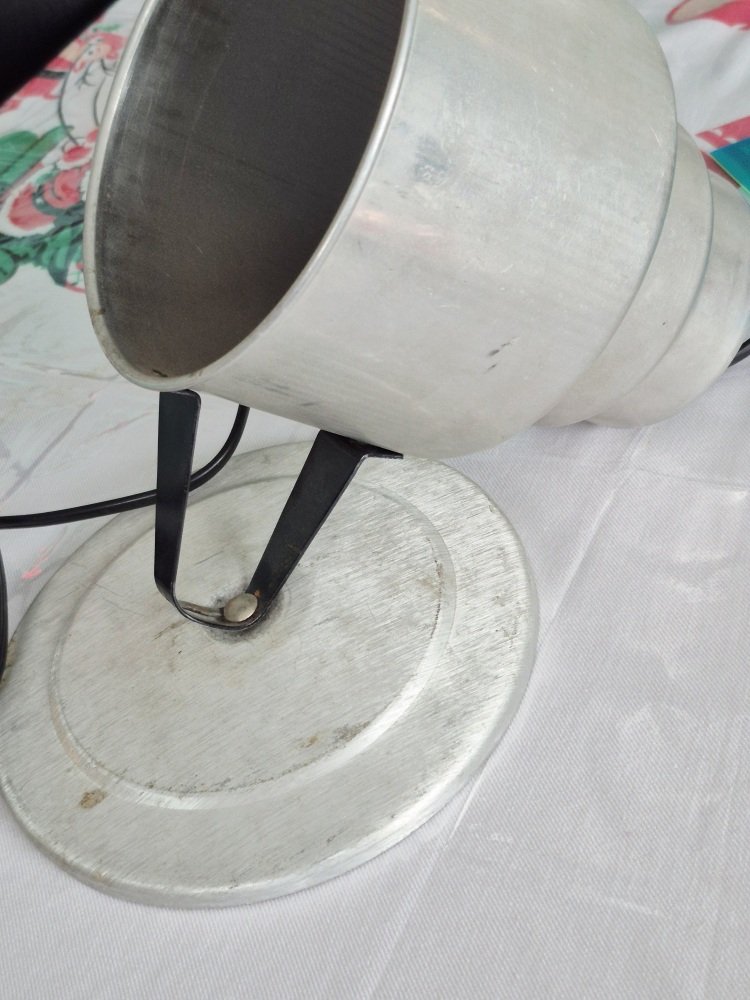
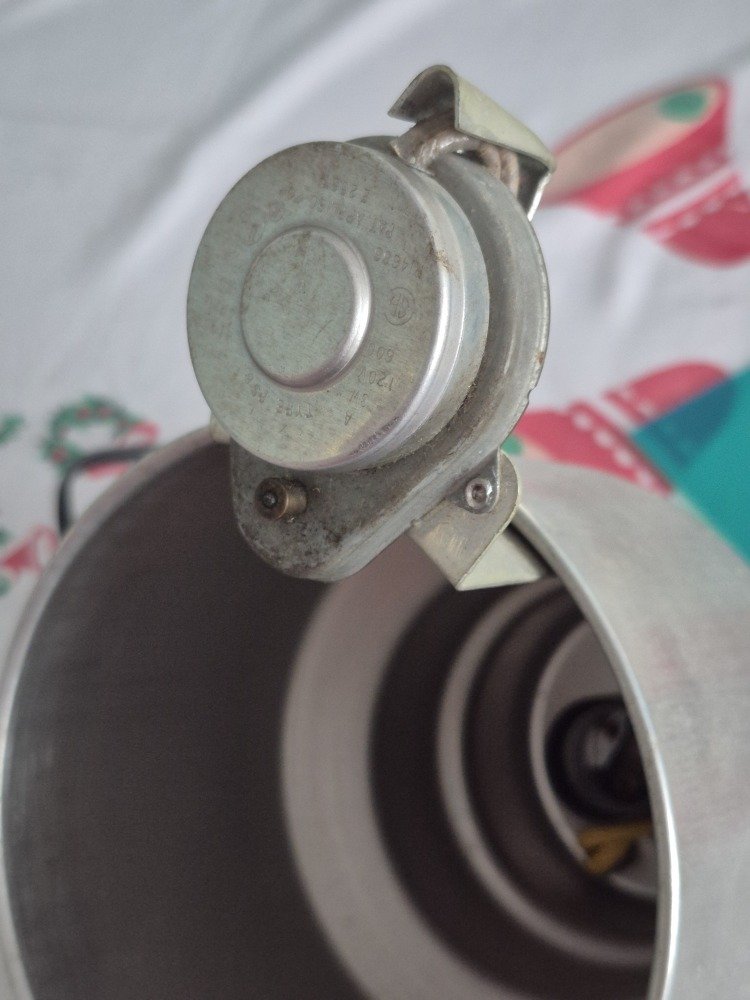
So I started by disassembling the whole thing. Of course, some pieces had been stuck there for about 60 years, so they were hard to remove, but I managed to get it all apart with the help of WD-40!
Step 2: The cleanup
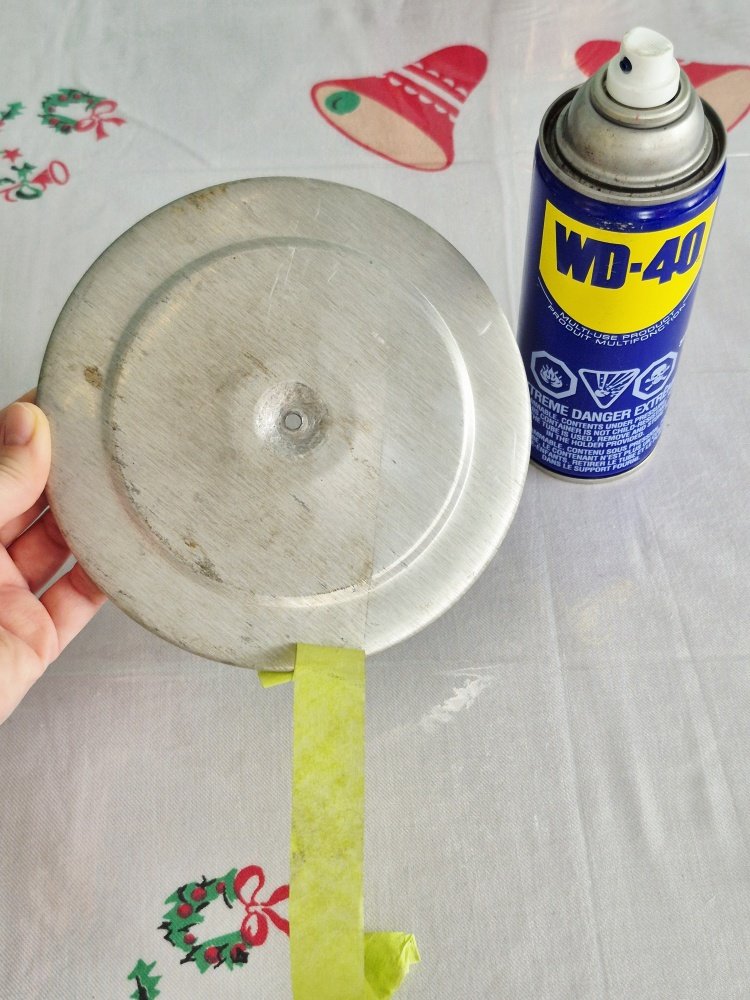
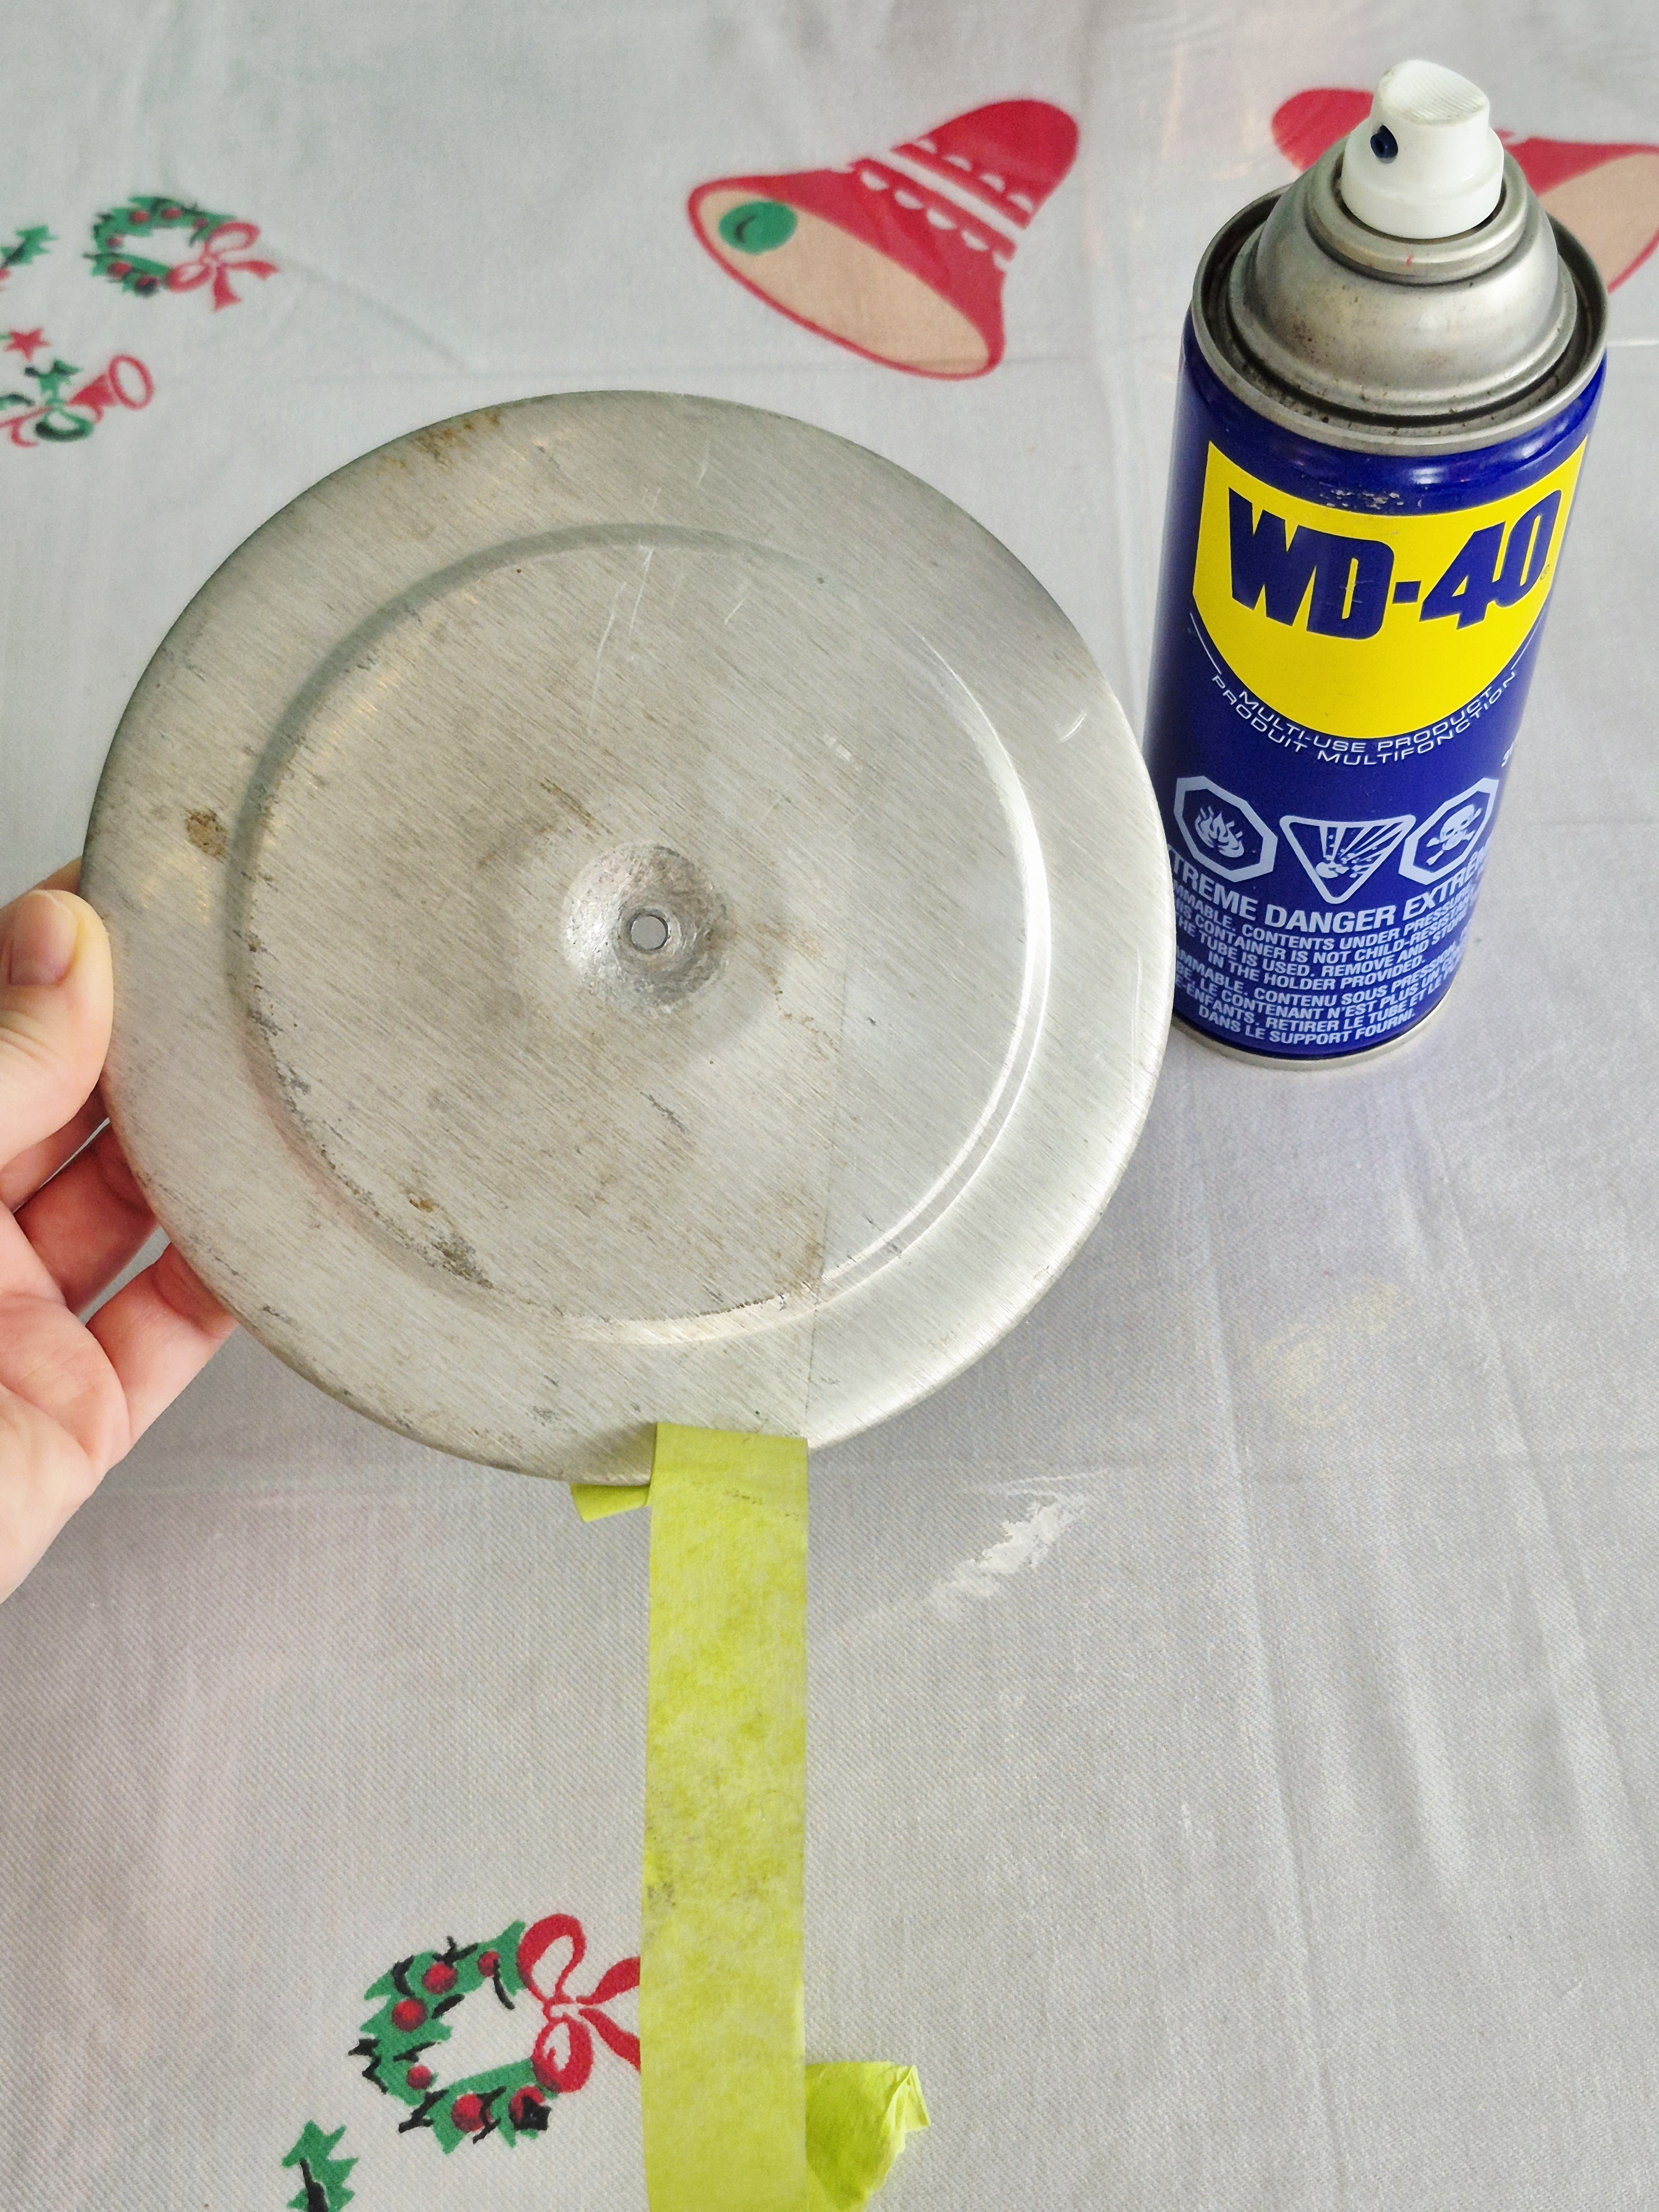
Then I realized that where the WD-40 had dripped, it actually seemed to clean the aluminum very well and make it shine again ! So I did a test, and it worked indeed! So I used WD-40 to clean every part.
Step 3: The hammering
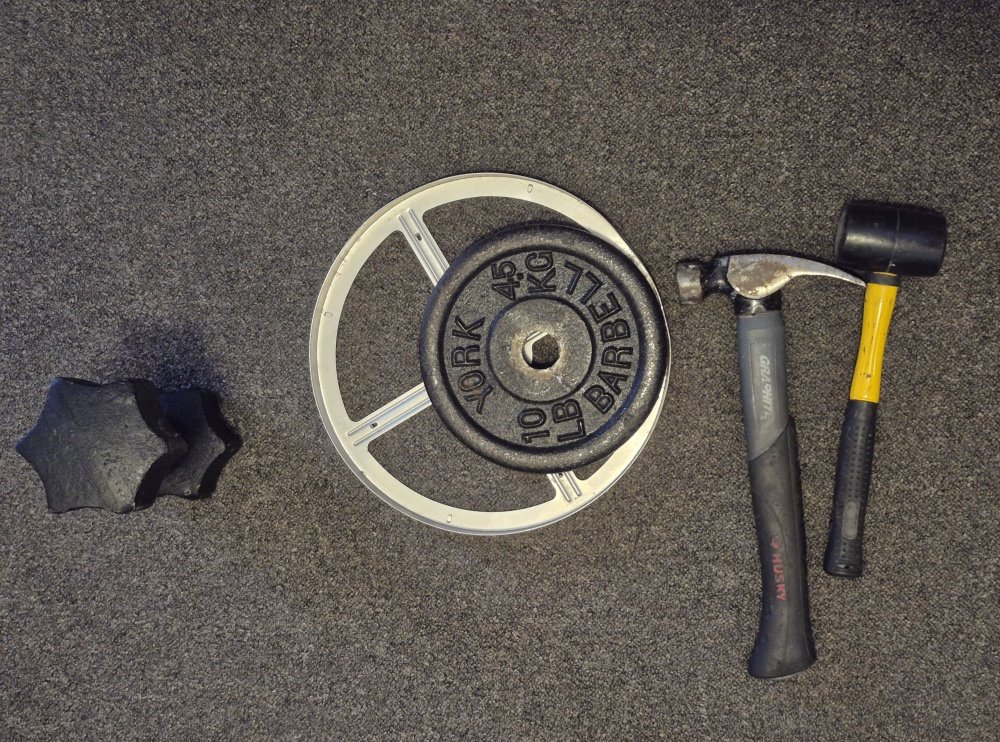
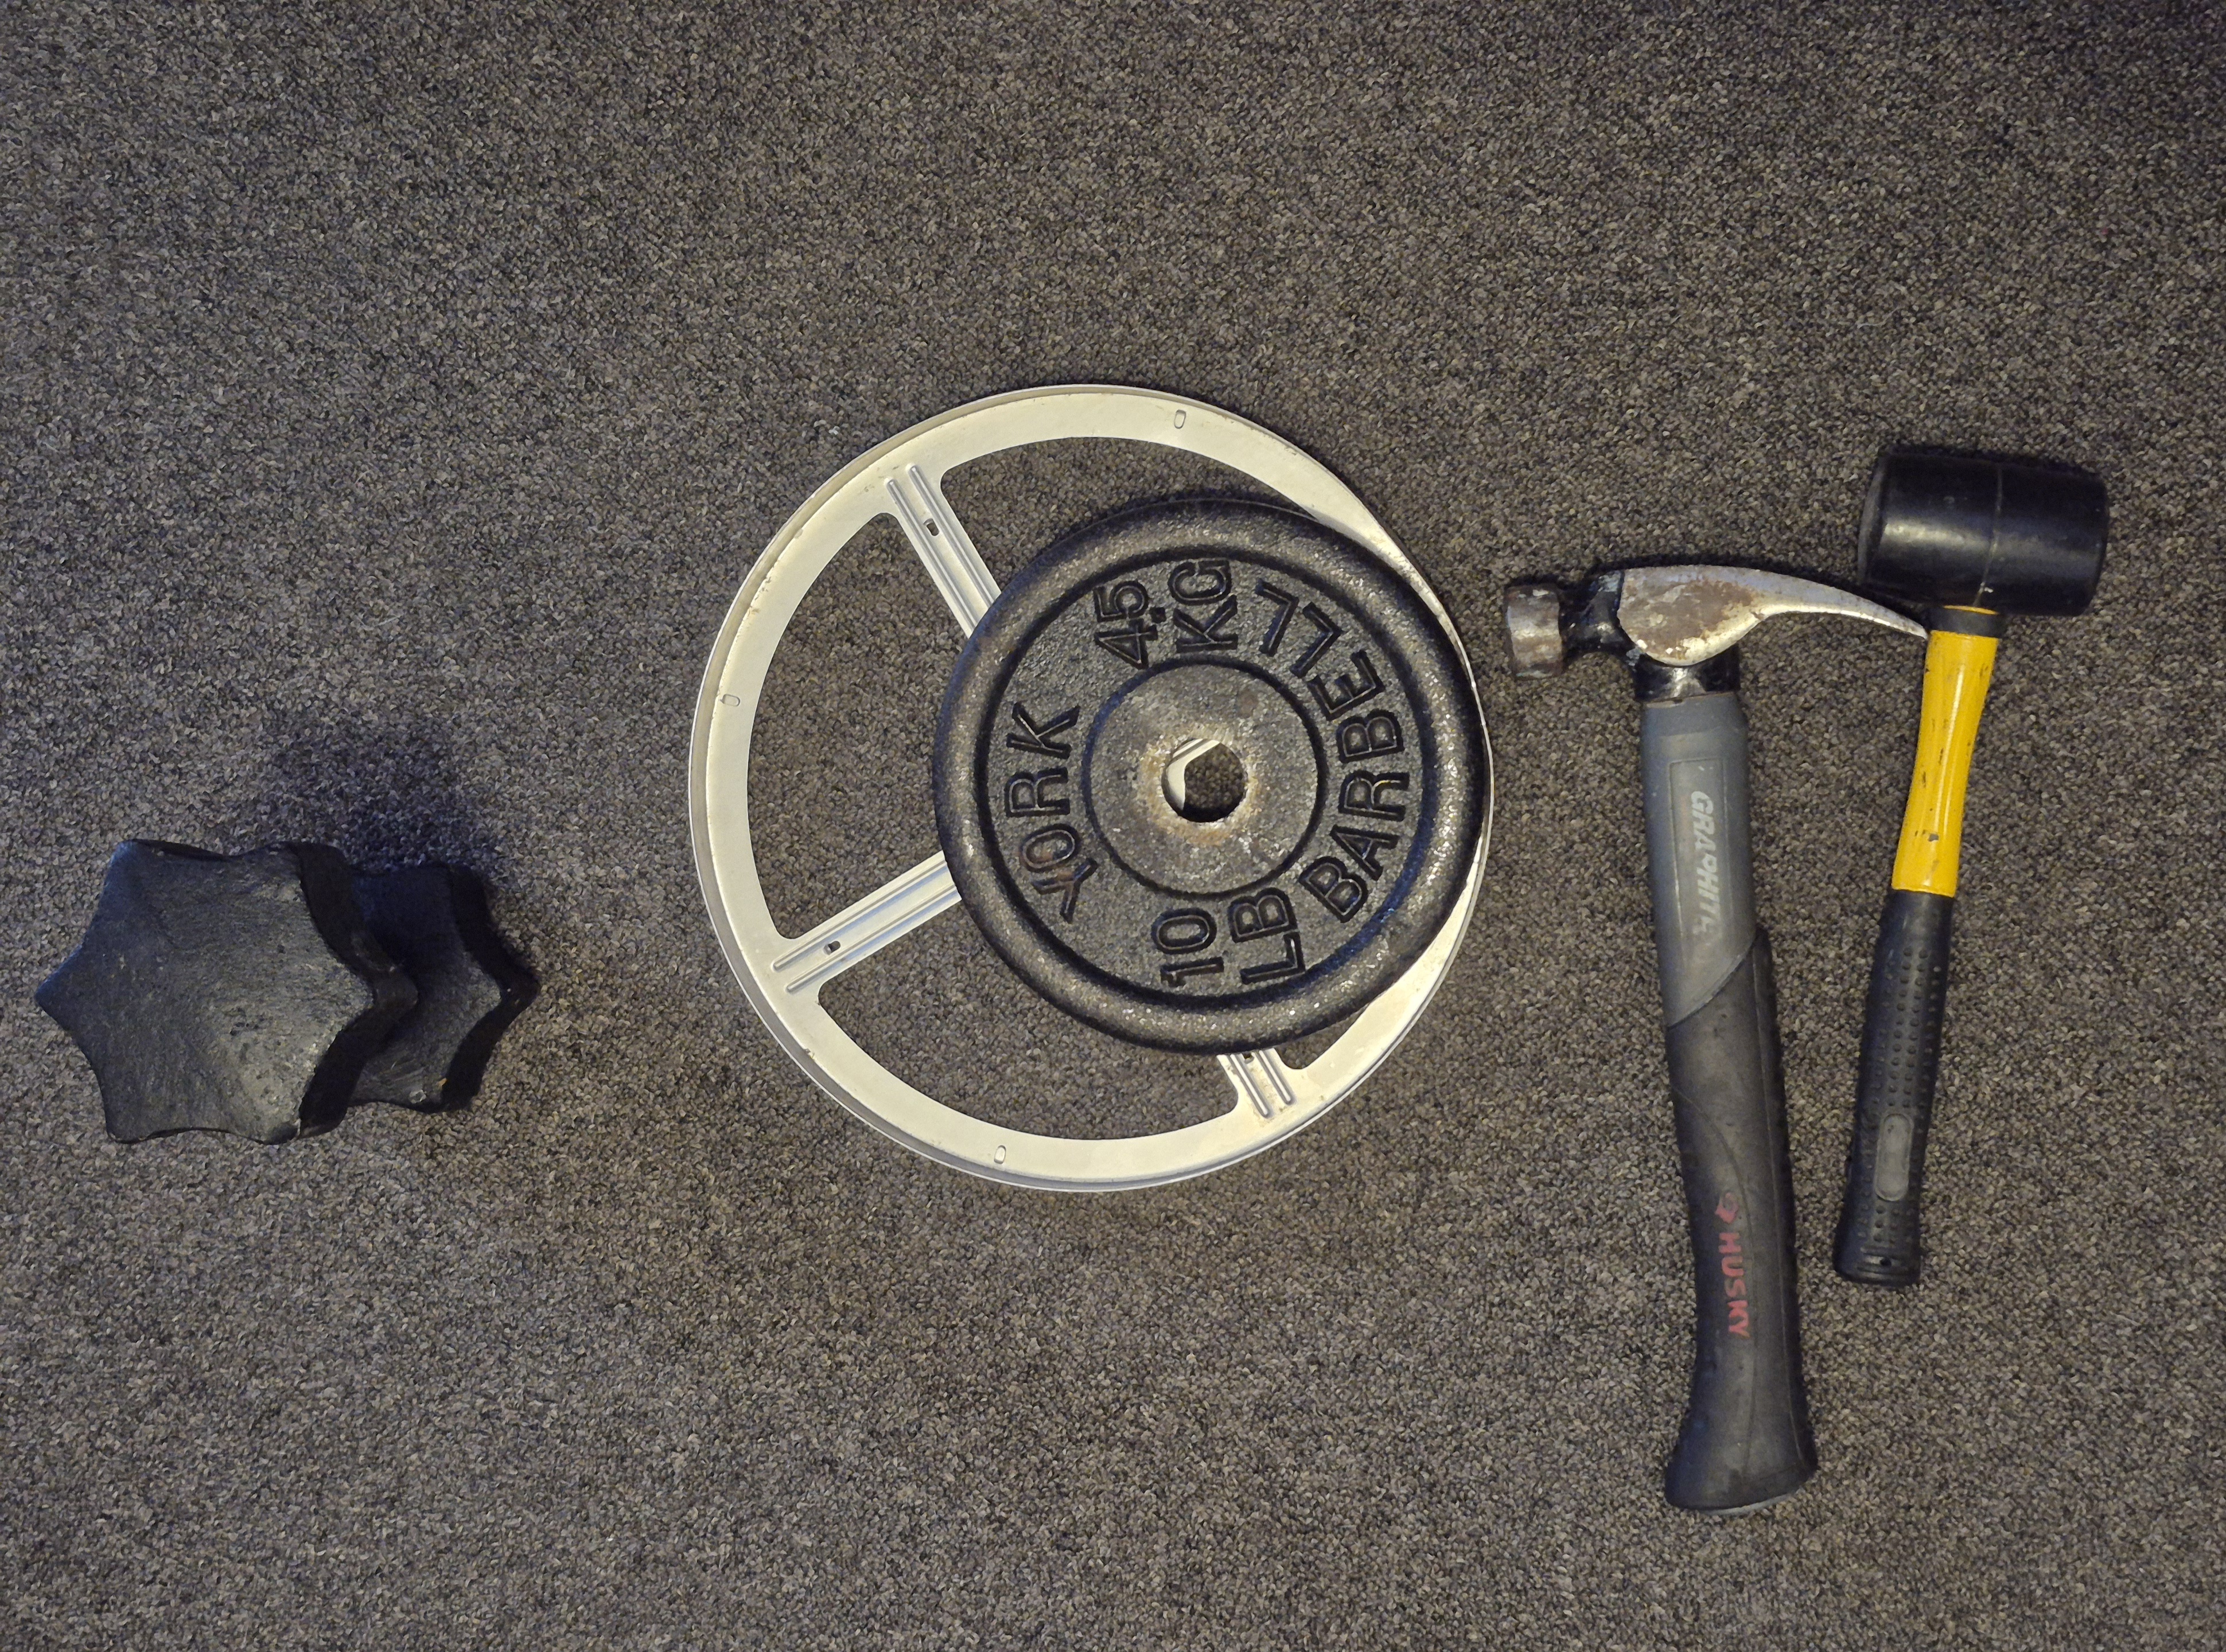
Then I noticed the wheel was in rough shape, so I did my best to make it a perfect circle again. I used my boyfriend's training weights and hammers to achieve the roundness.
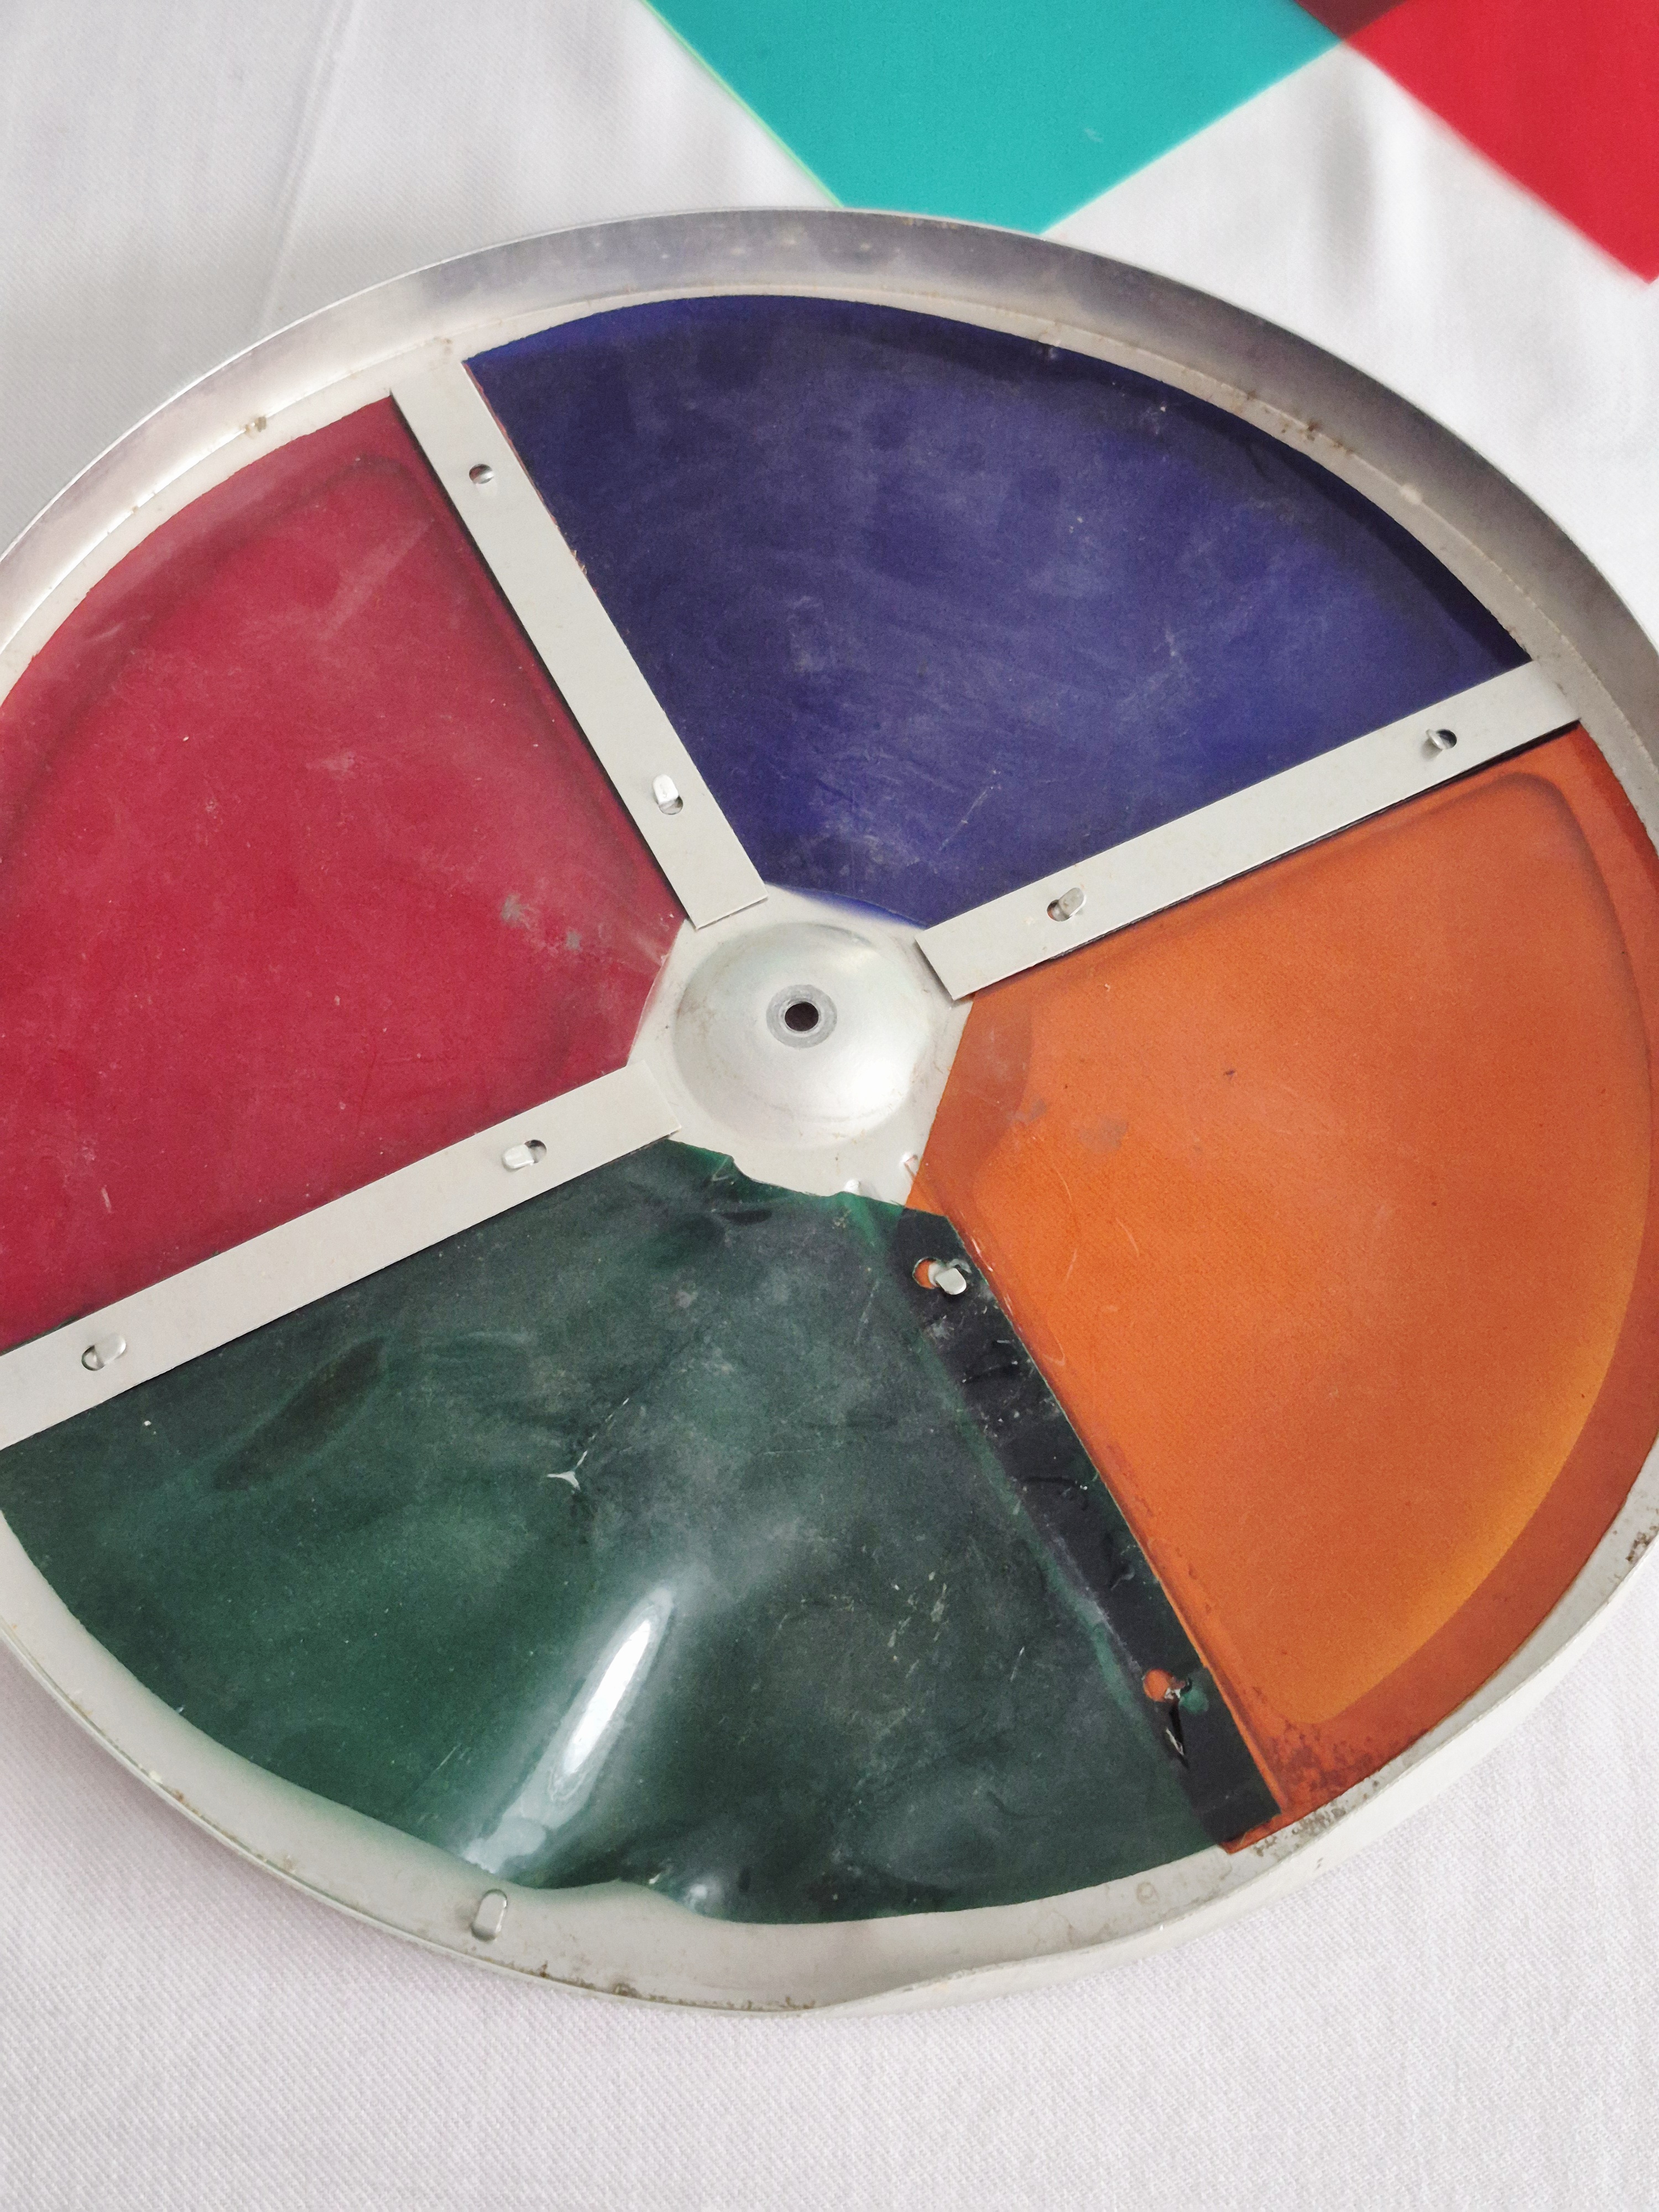
Step 4: The color gels
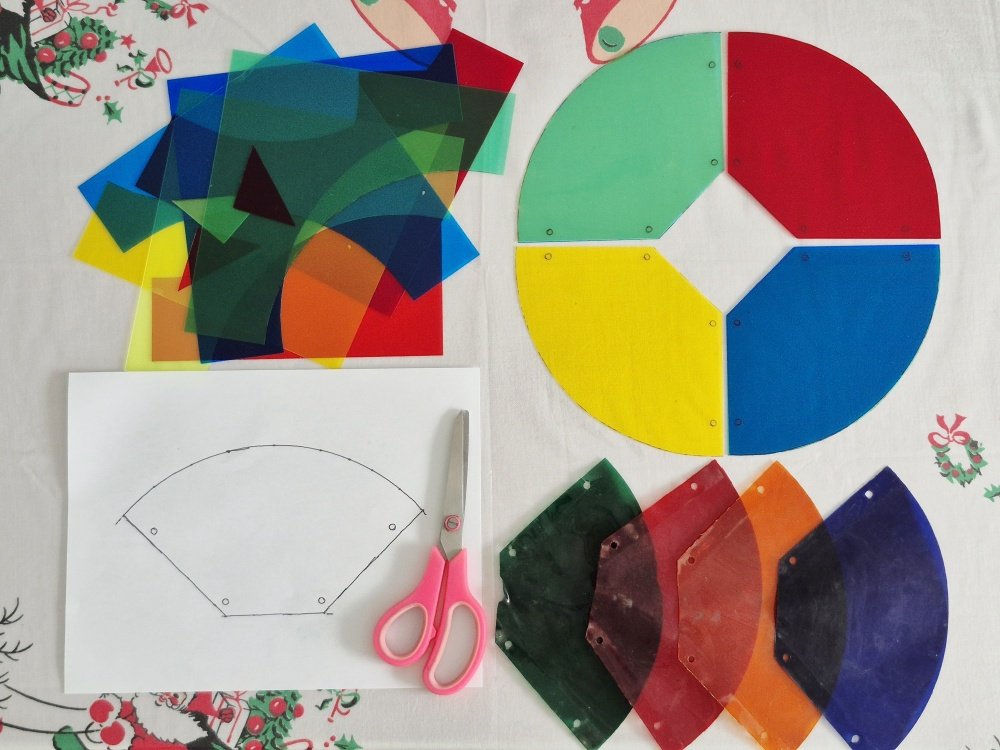


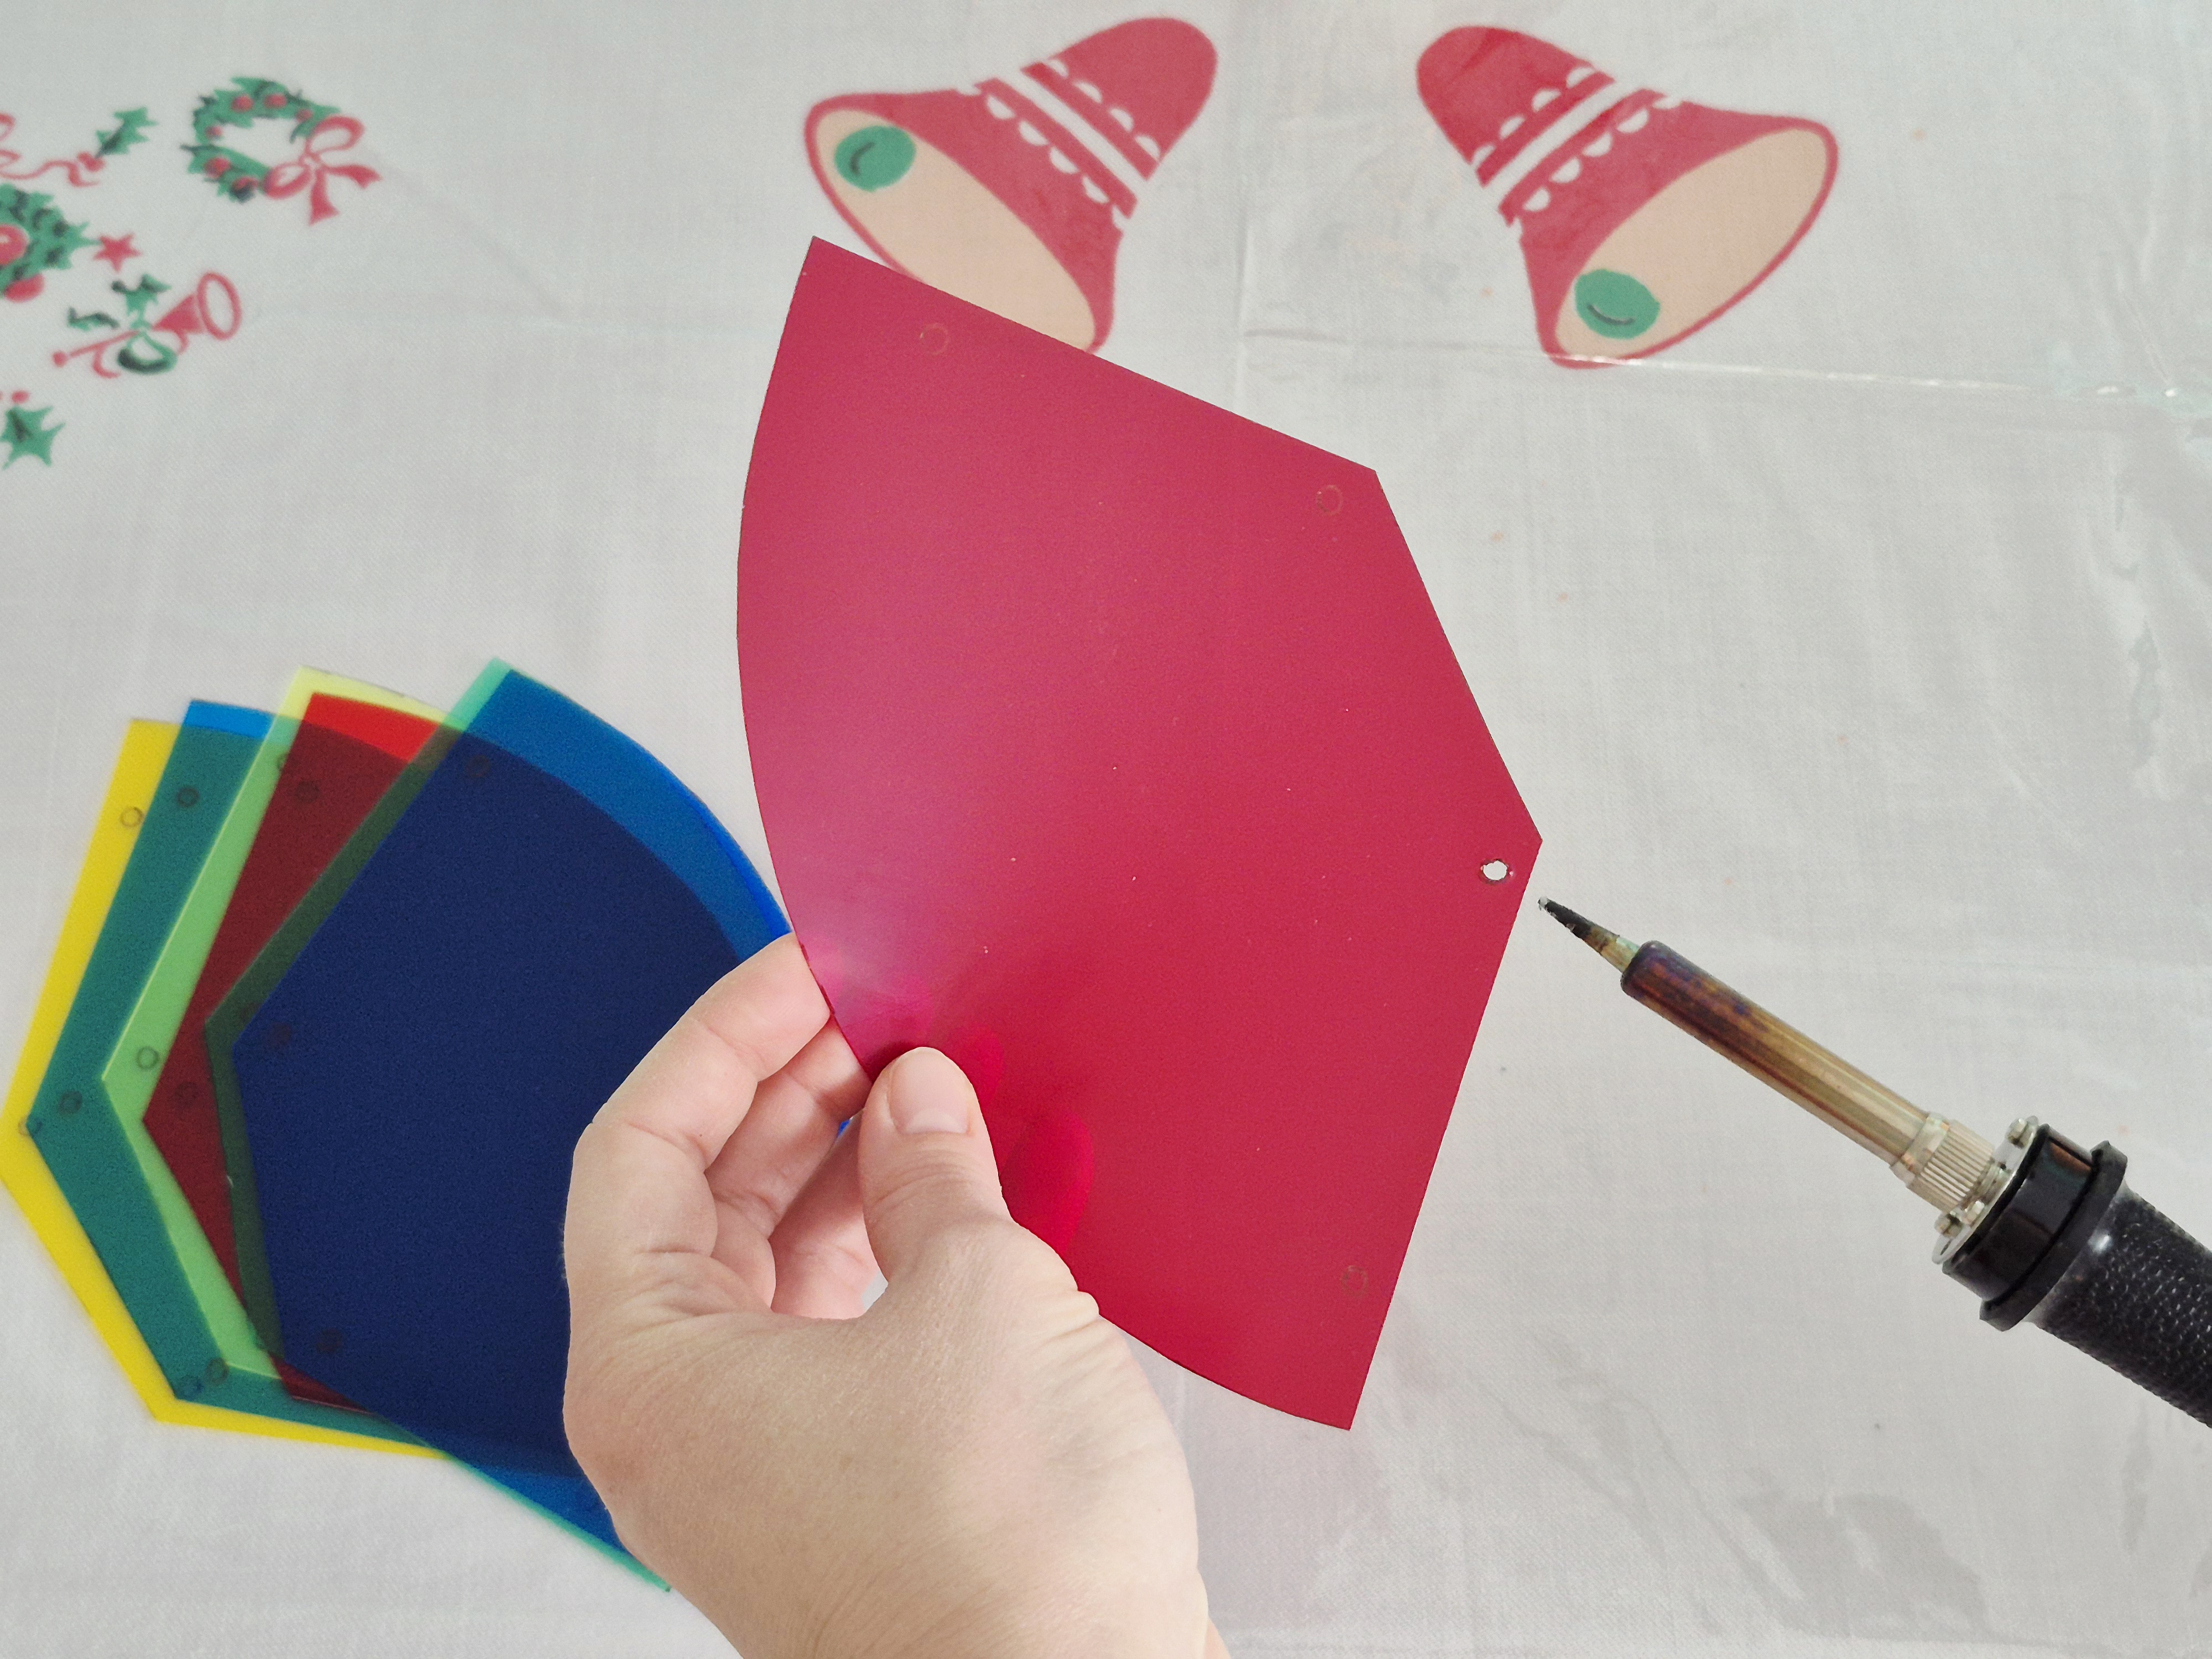
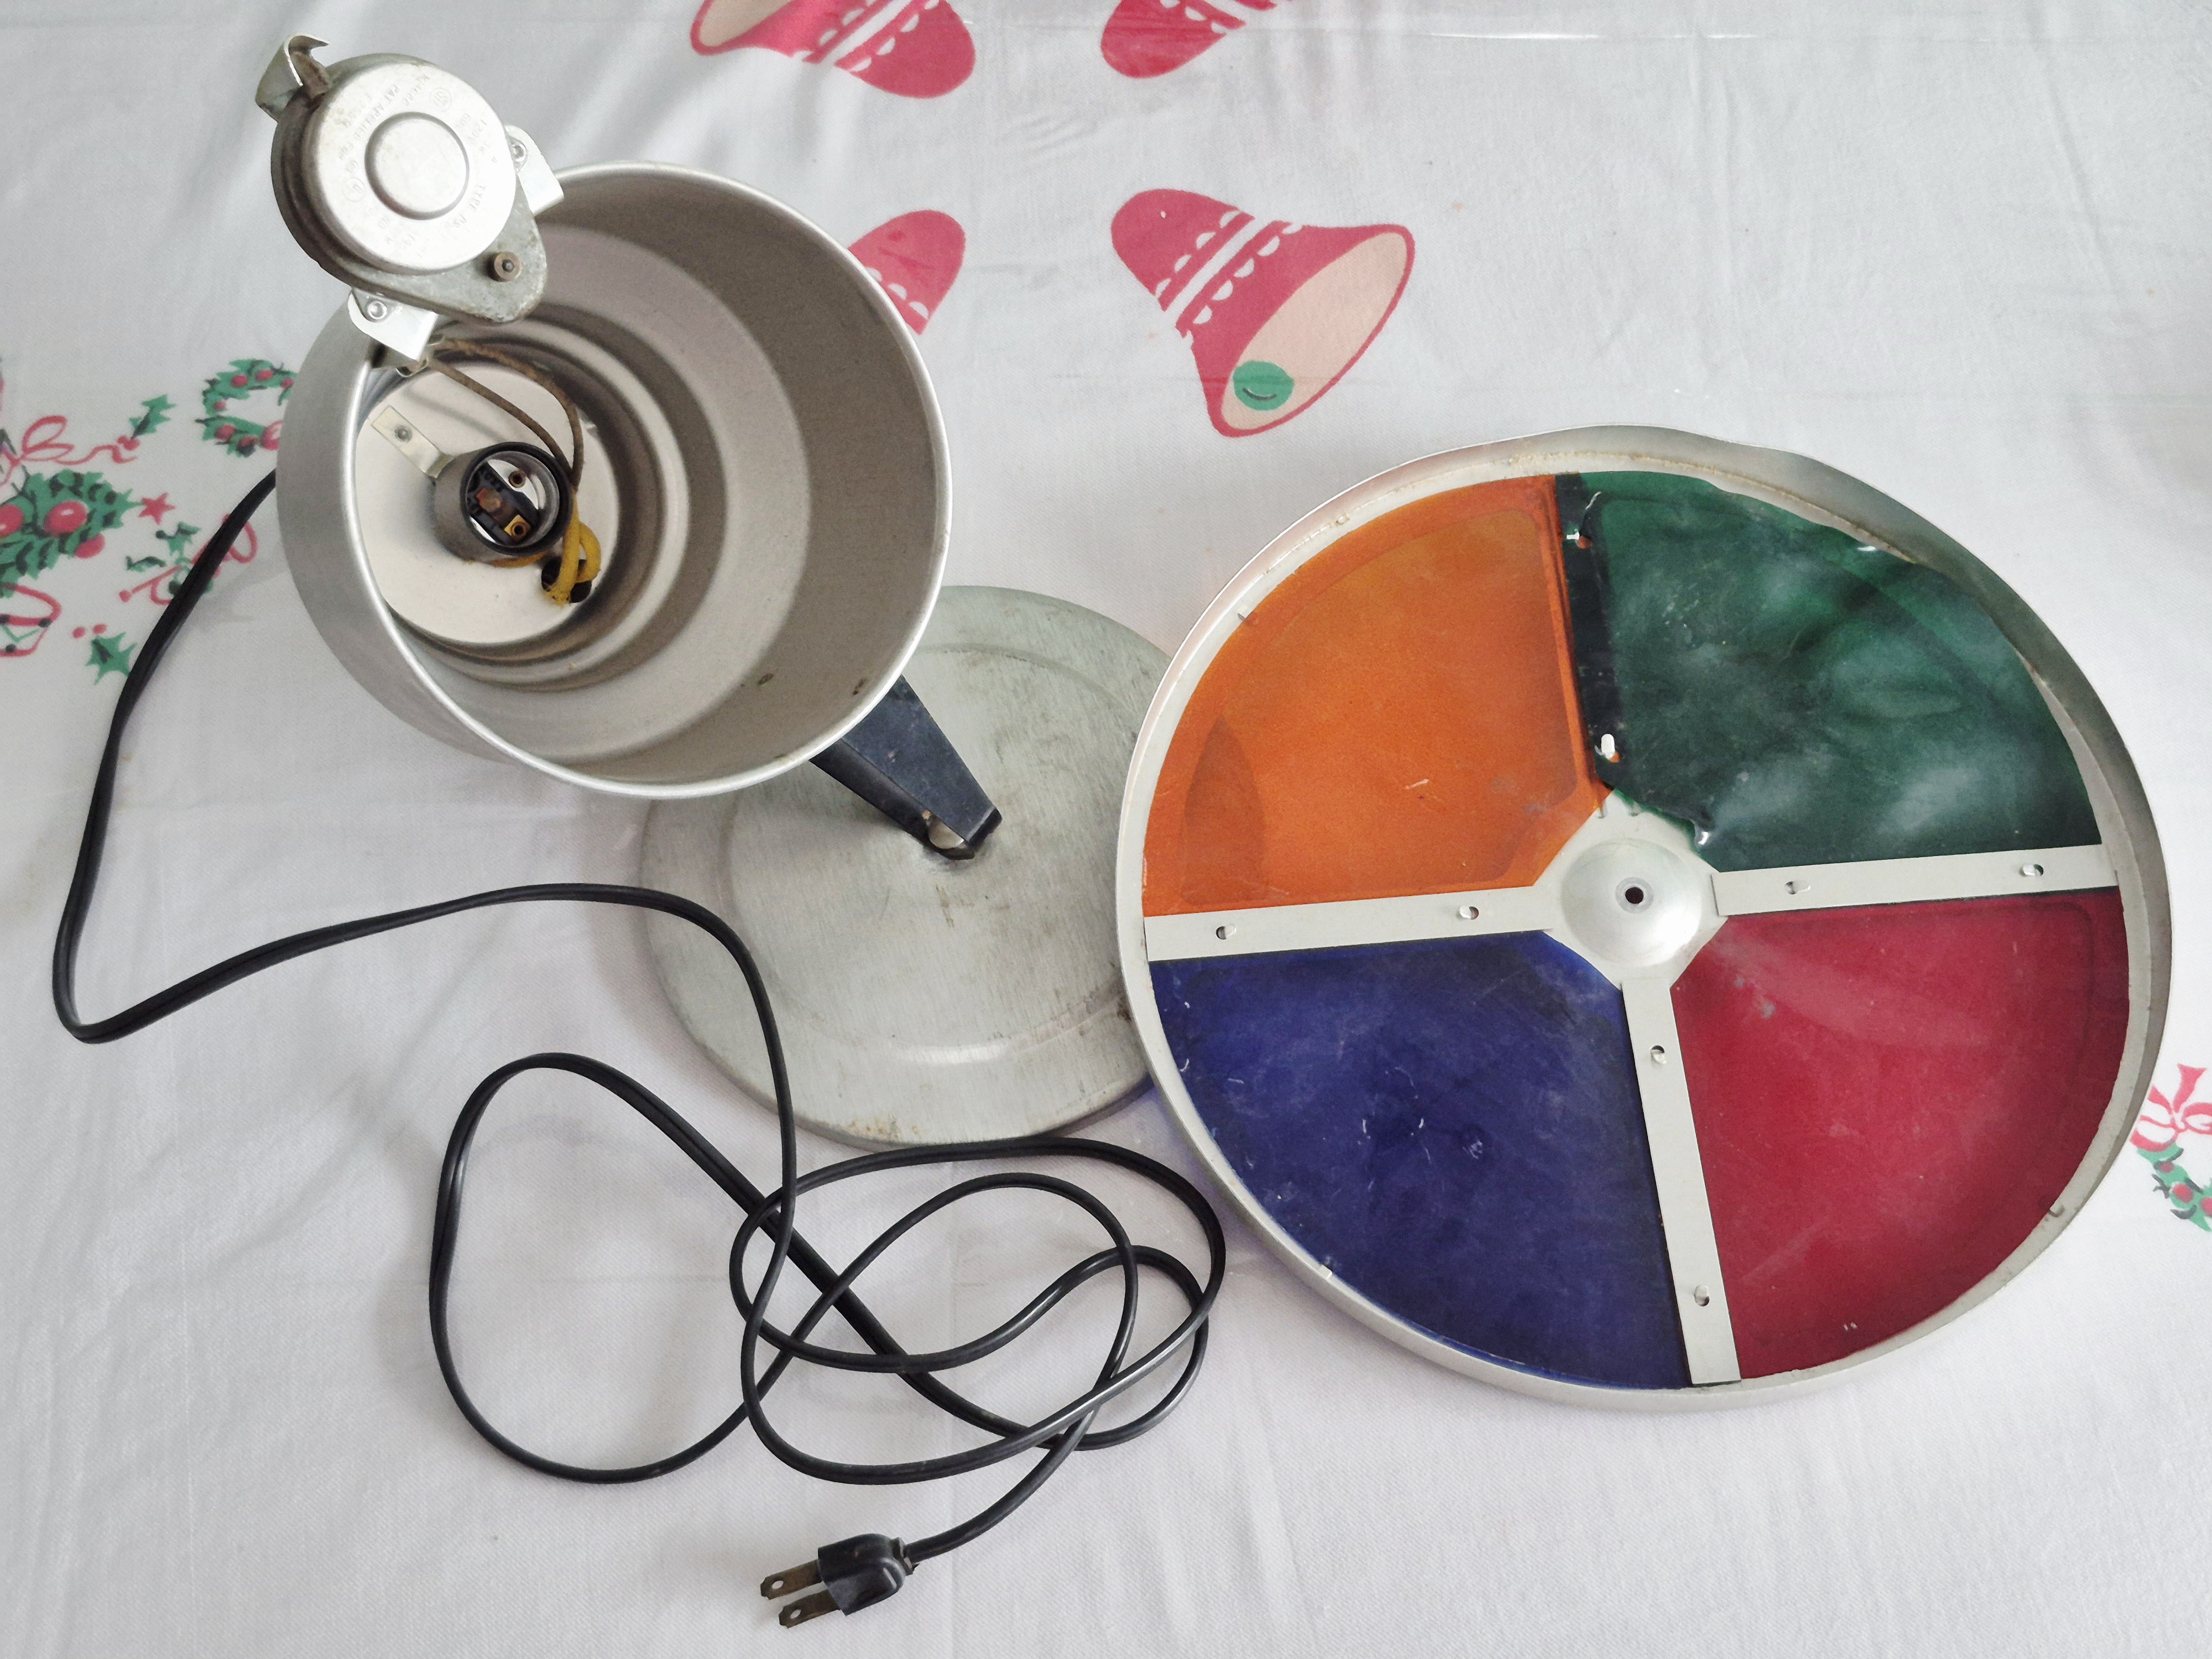
The color gels were damaged by the heat and impossible to fix, so I bought new ones online and overlapped different colors to get the hues I wanted. I created a pattern from the original ones, cut them, and then burned the holes with a soldering iron. I chose that over scissors because once you cut the plastic, it tends to crack all the way through.
Step 5: Coffee tin for the win !
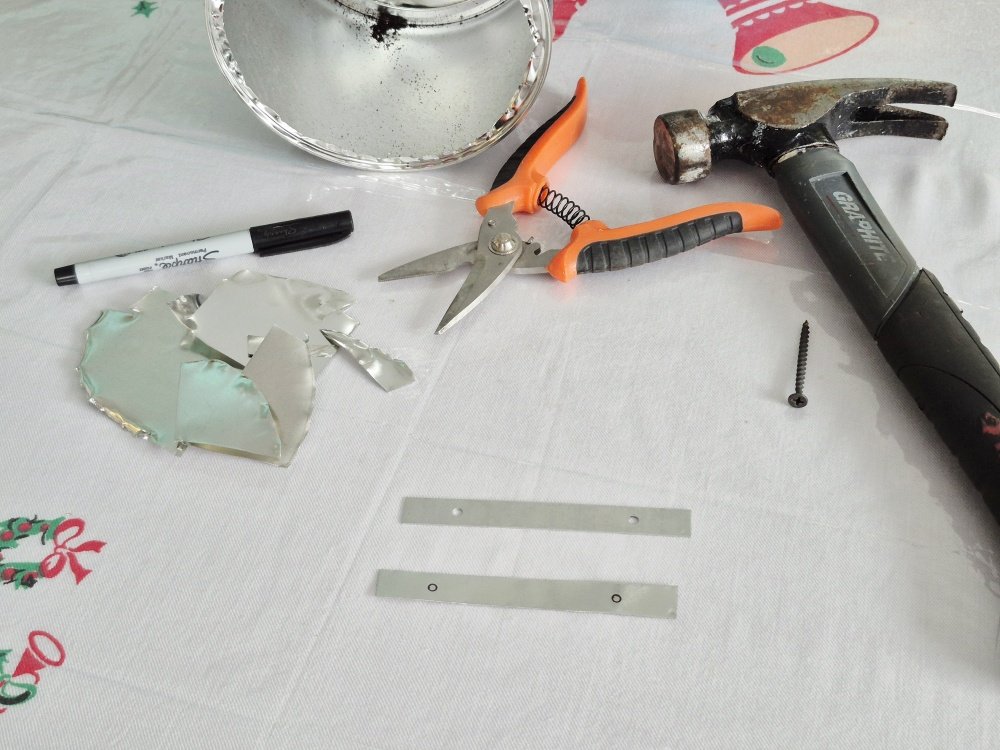

I was then ready to put the color gels back into the wheel, but I noticed one of the 4 pieces that hold the gels was missing. I headed to the hardware store to find something that could work, but I came back empty-handed. So I did what I usually do: I walked around the house and racked my brain... then bam! The coffee tin! The bottom is made of soft yet sturdy aluminum, just like the other parts. Soft enough that I could cut it to the appropriate size, but stiff enough to hold the gels in place!
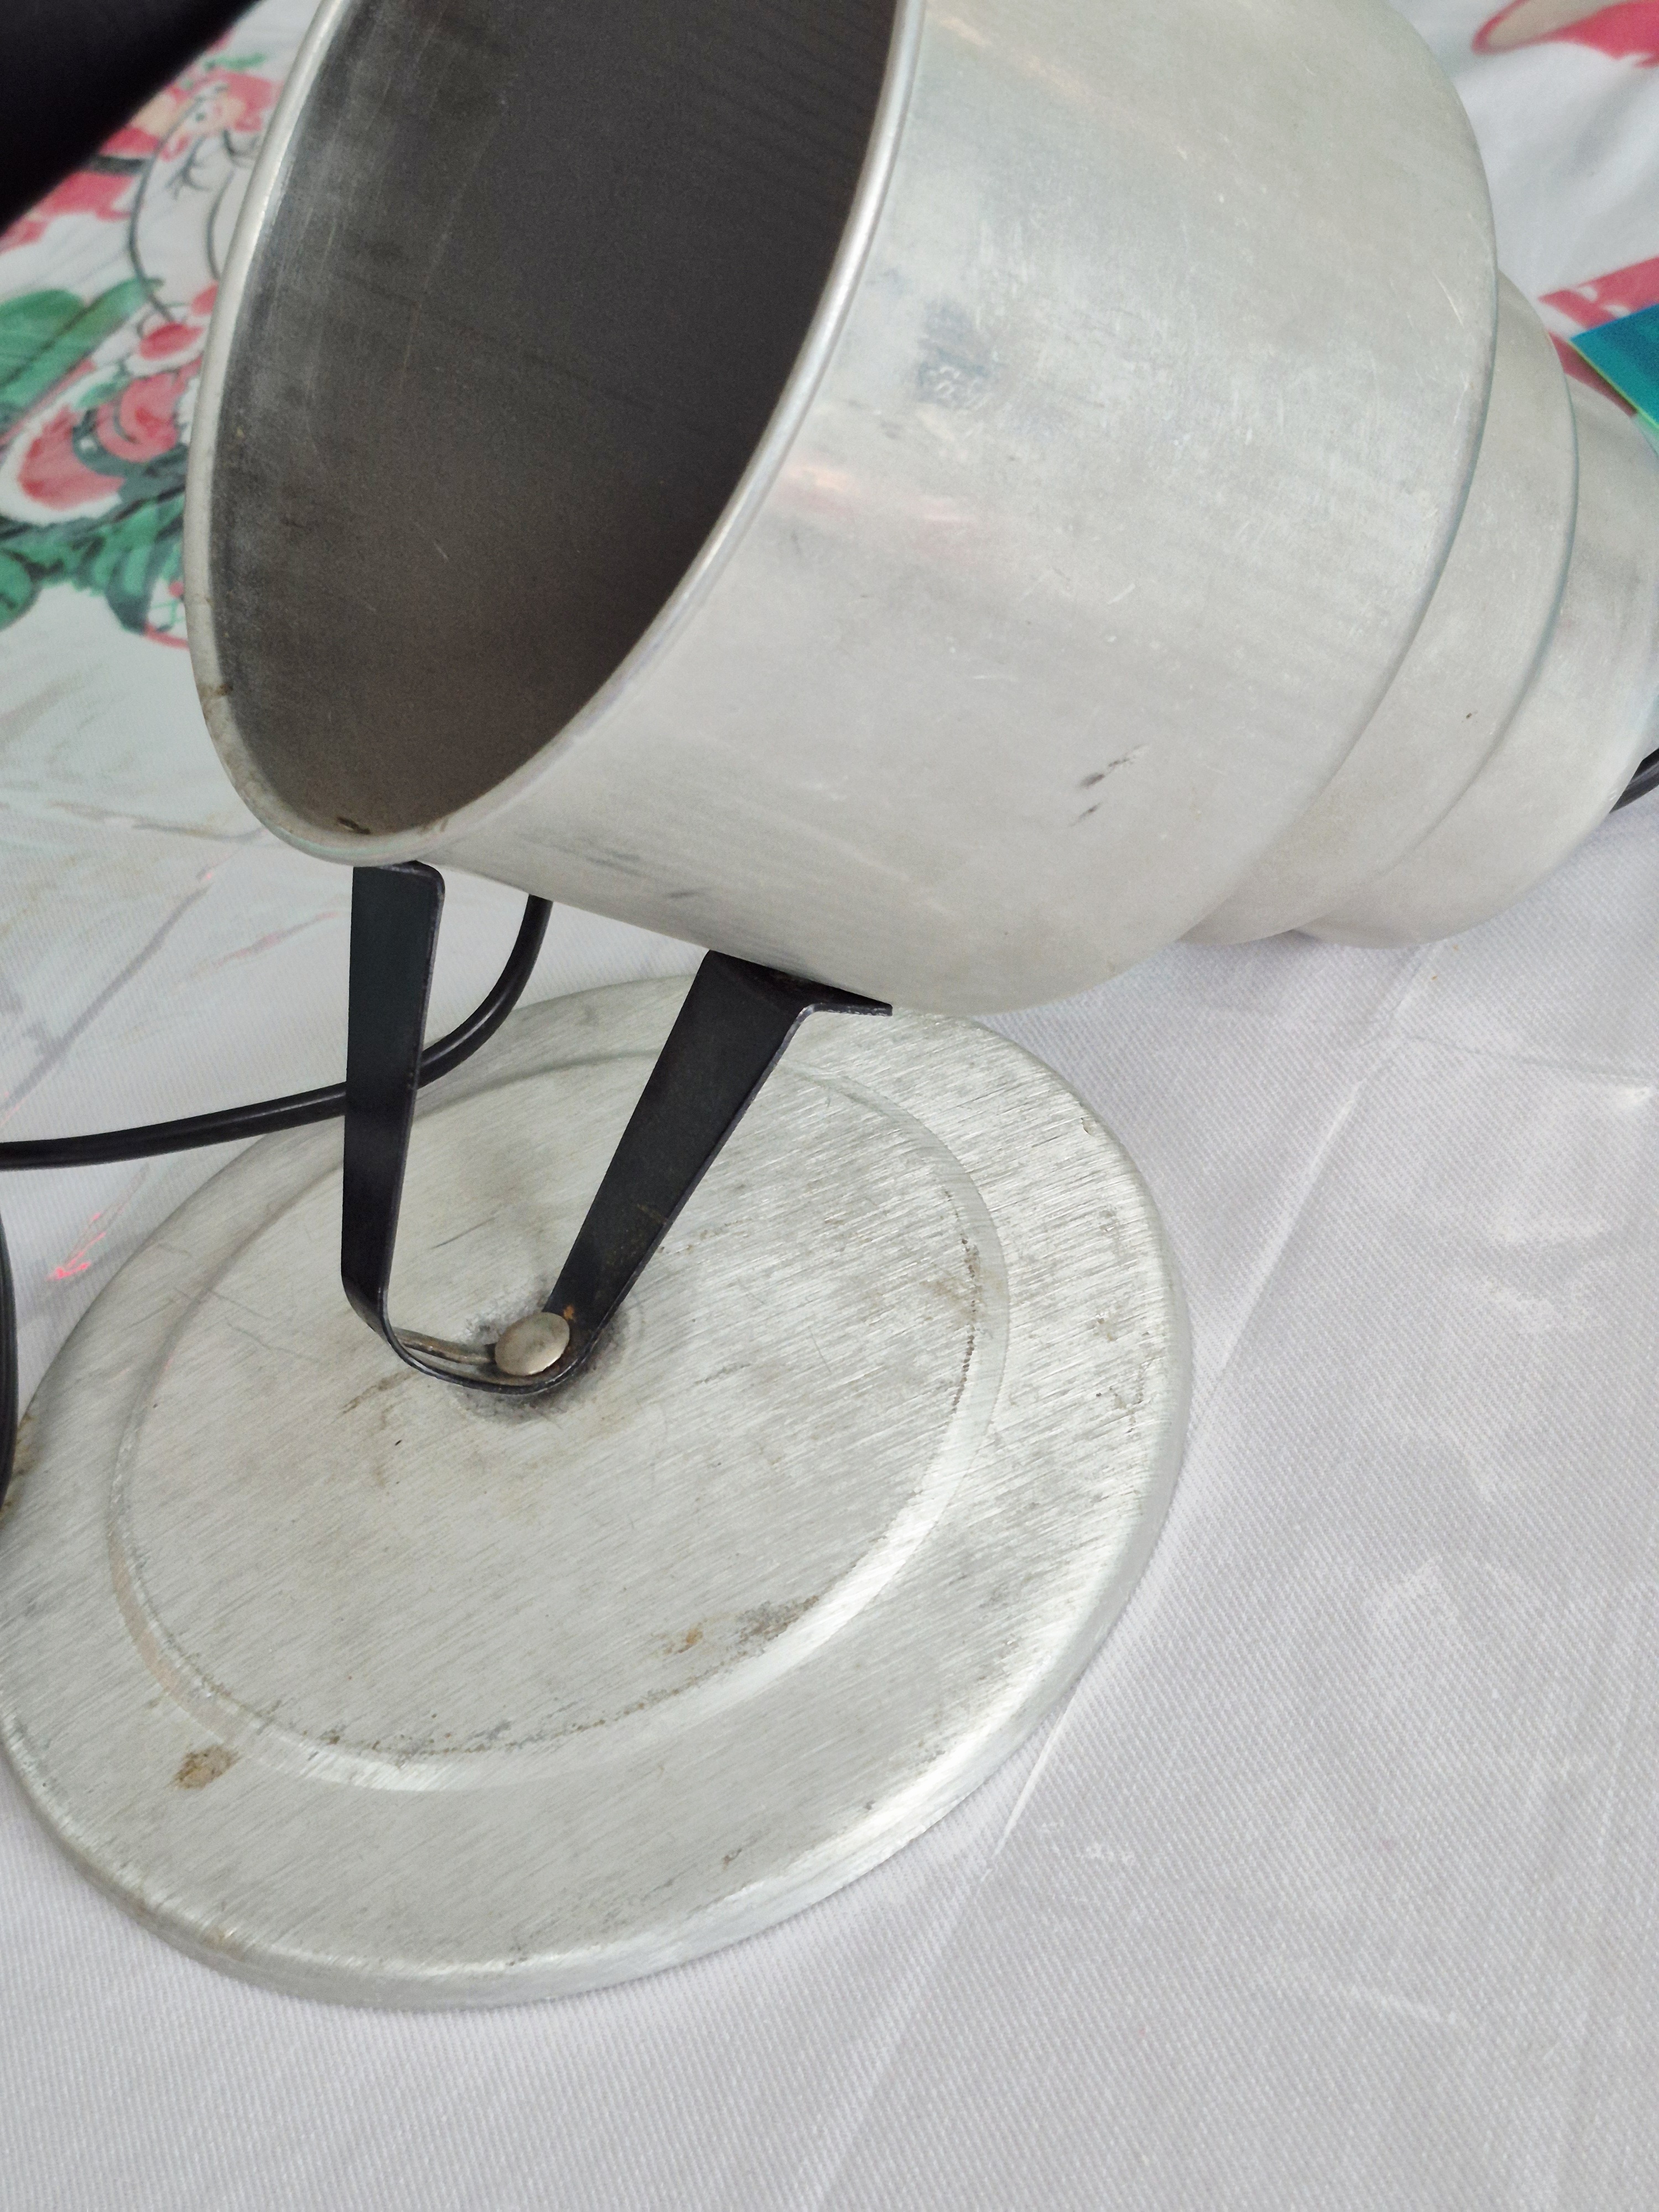
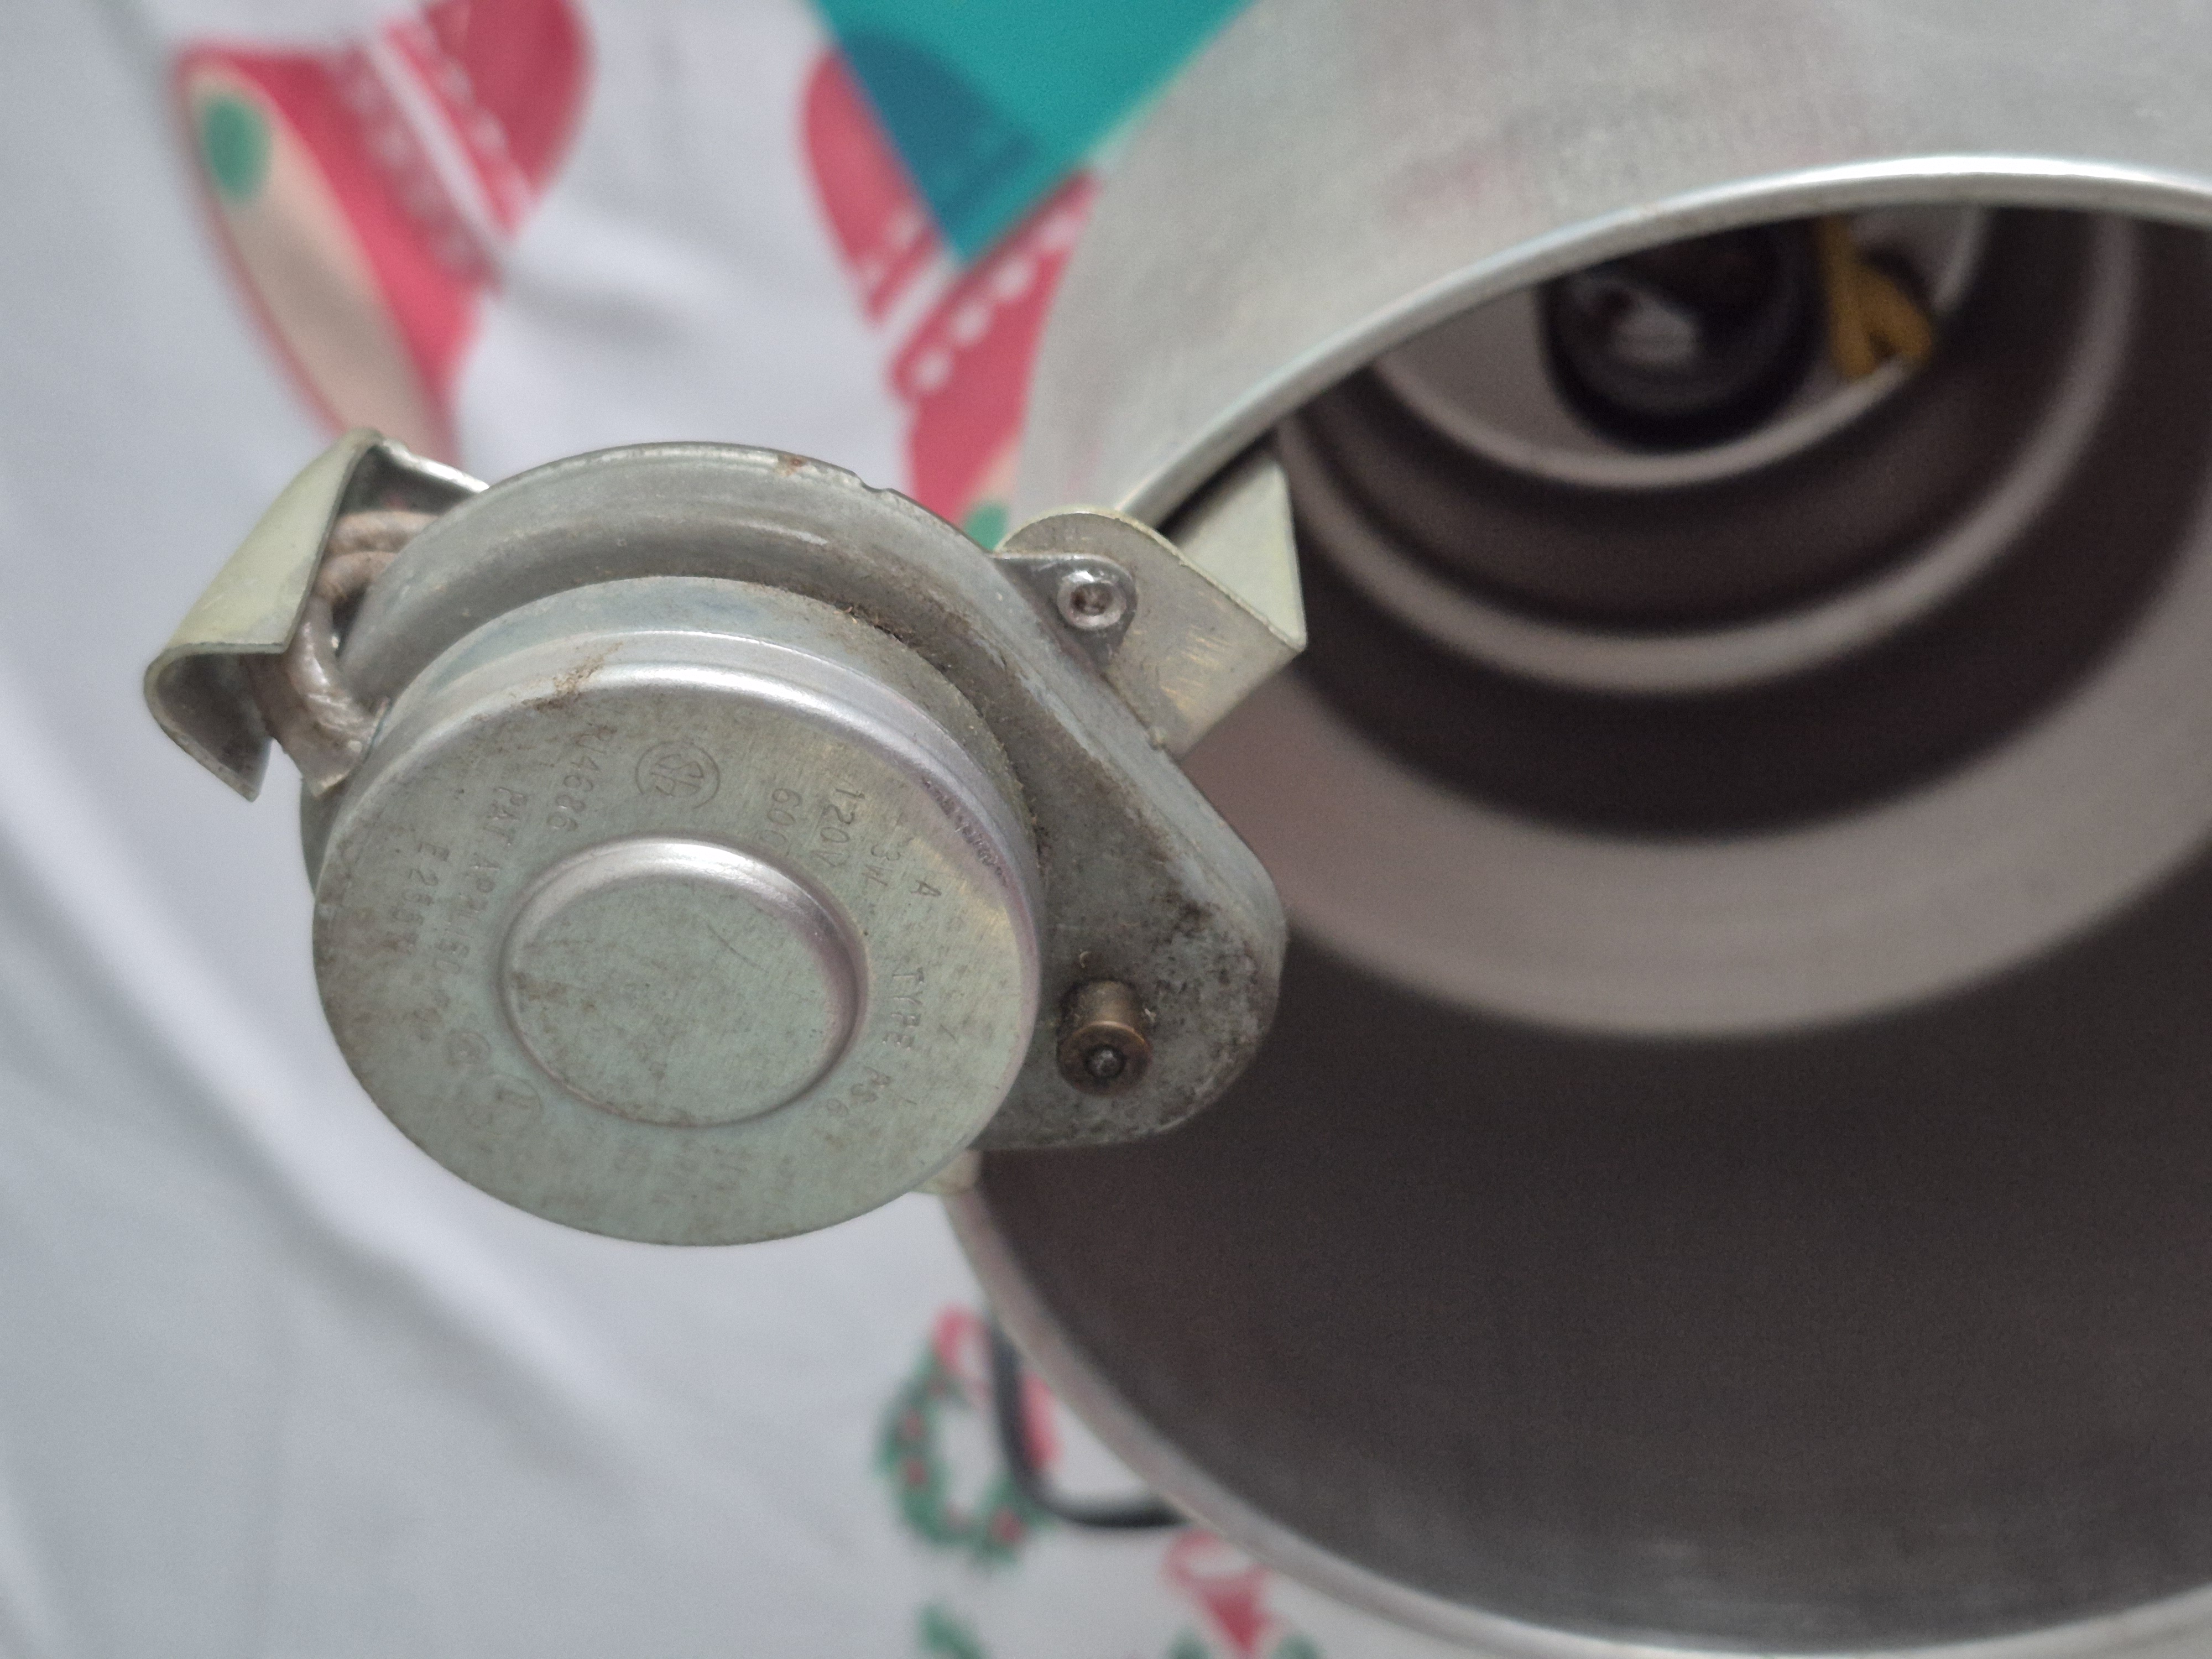
Step 6: The motor
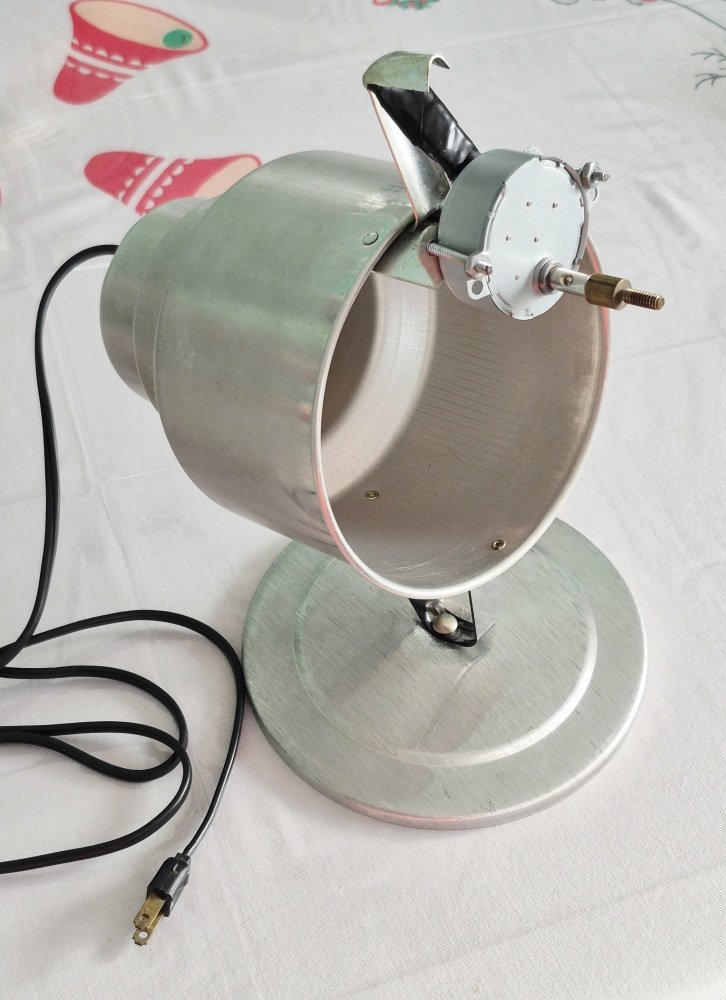
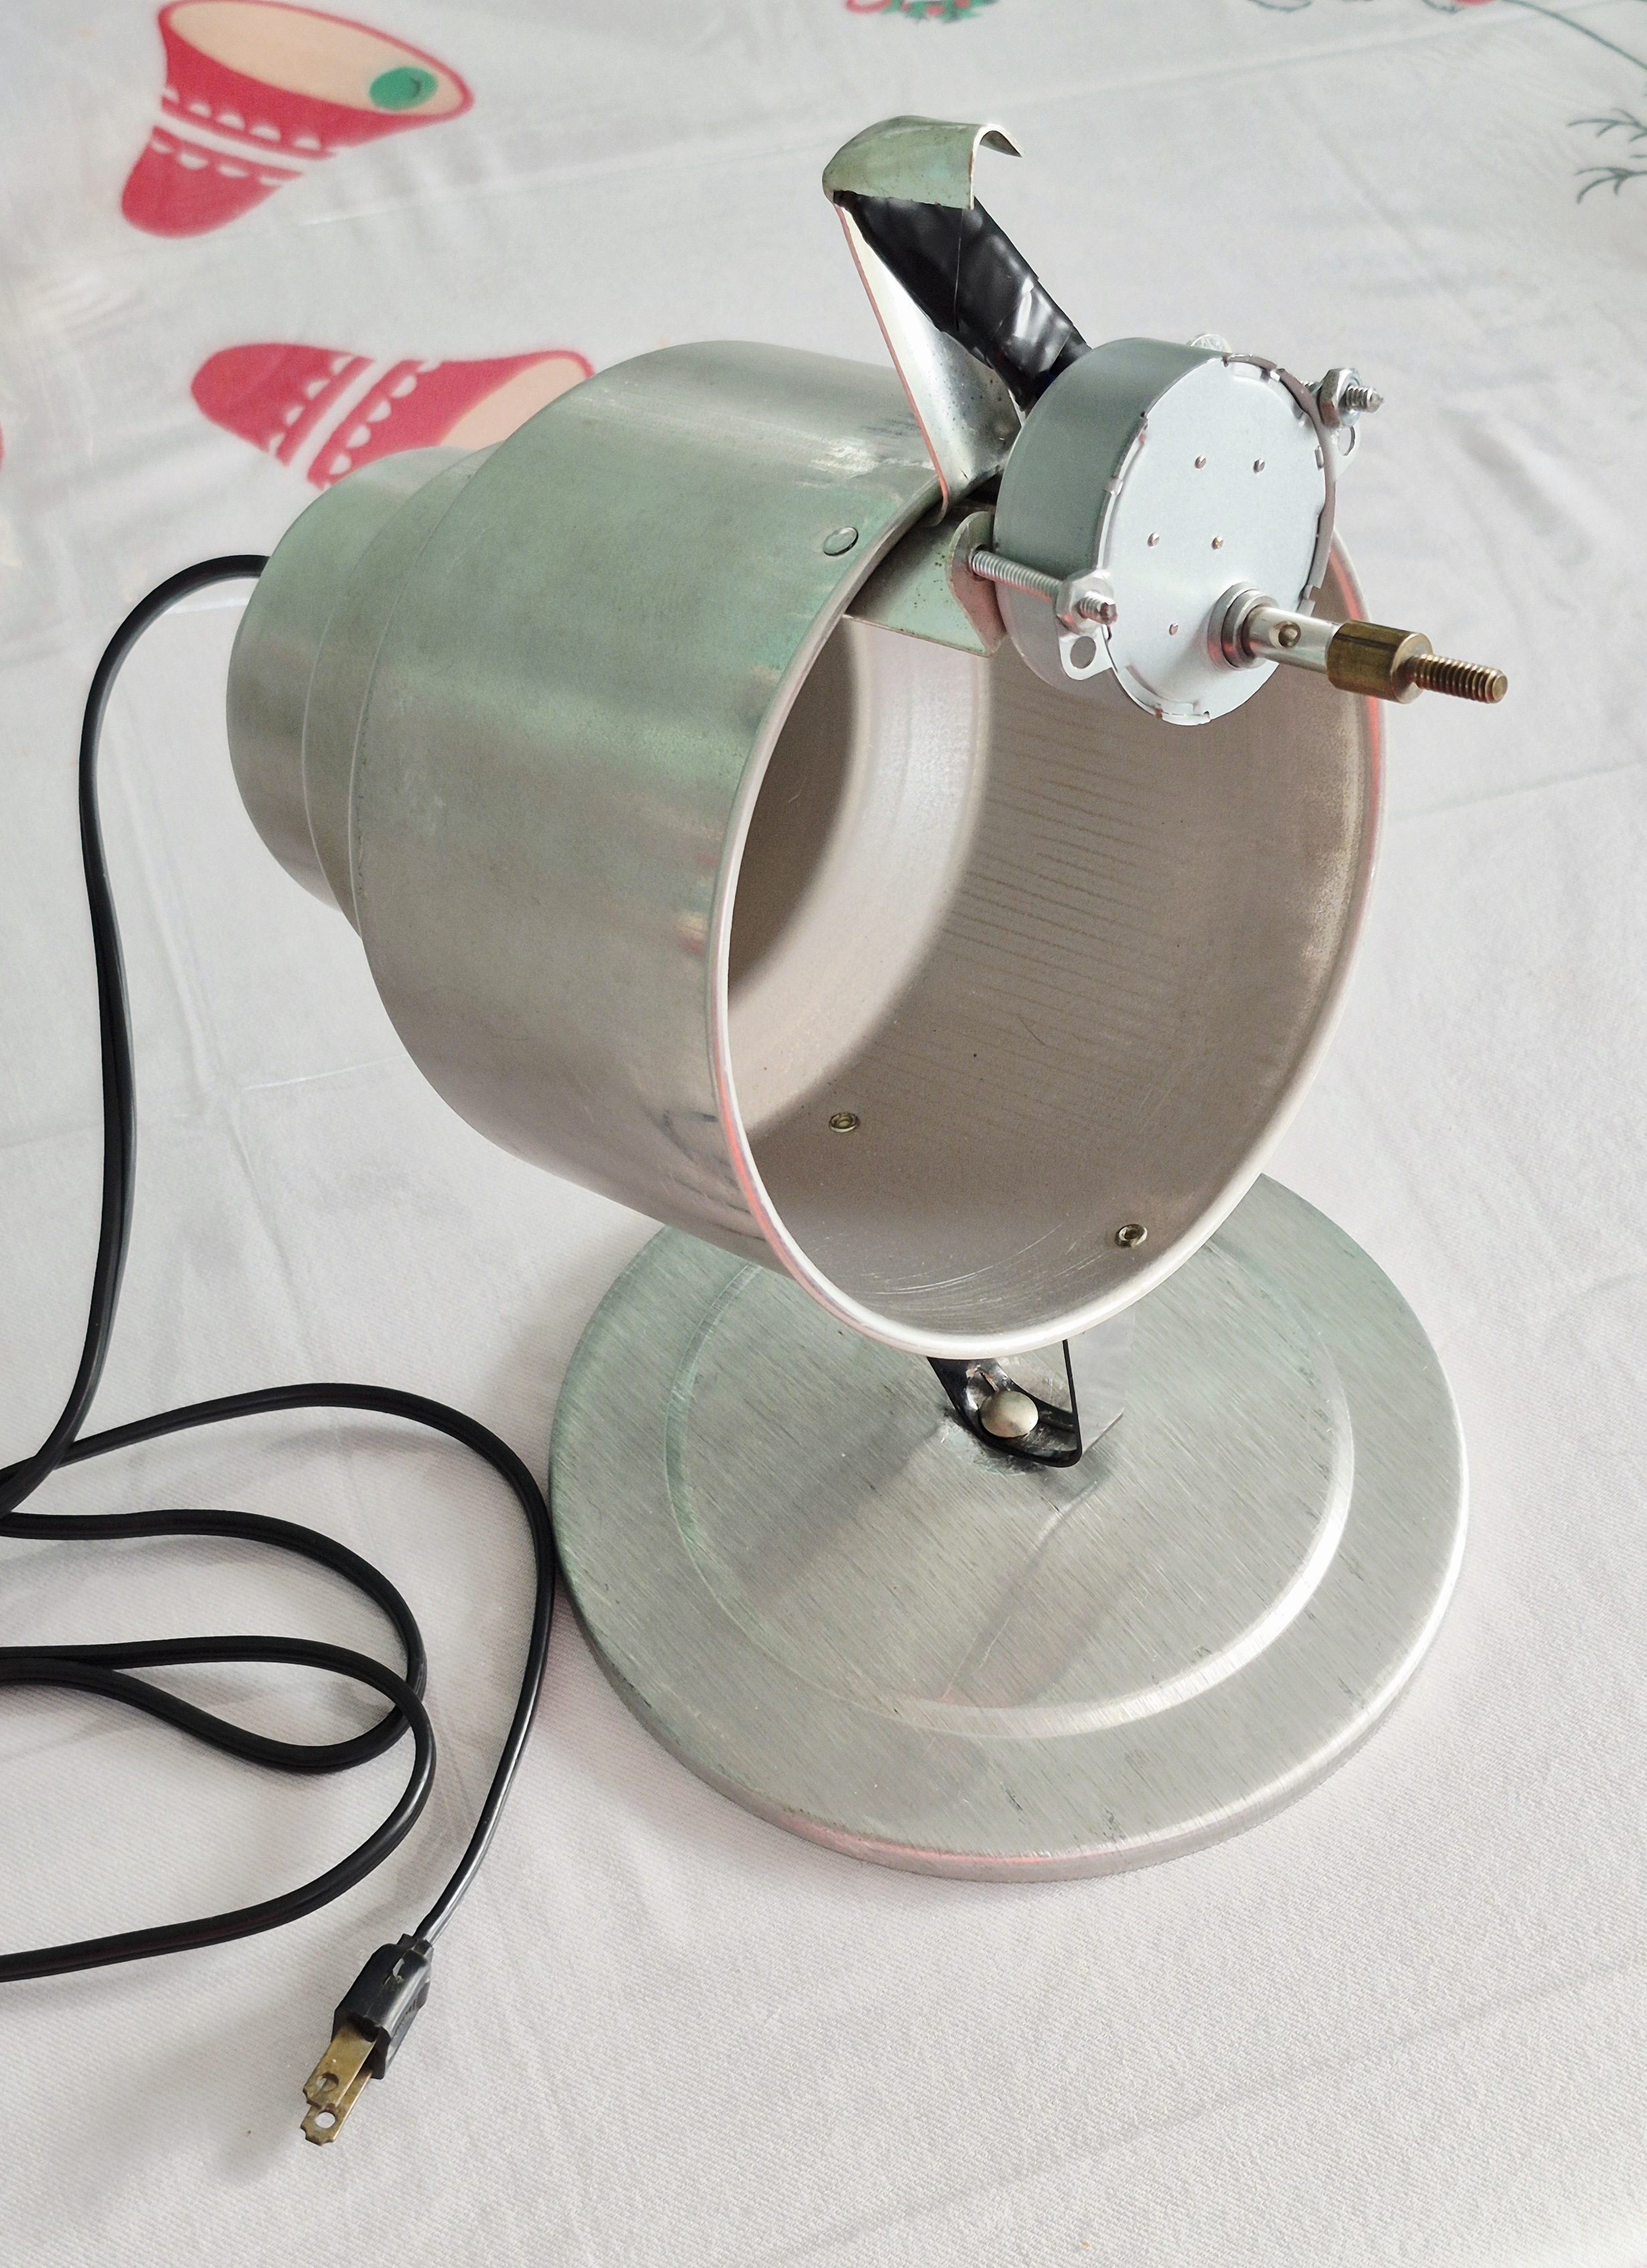
Then I had to put a new revolving motor in. I know absolutely nothing about motors, but I managed to figure out what I needed and ordered it. It was actually pretty simple to make the connections. Then I had to glue a threaded piece at the end so I could use a bolt to secure the wheel.
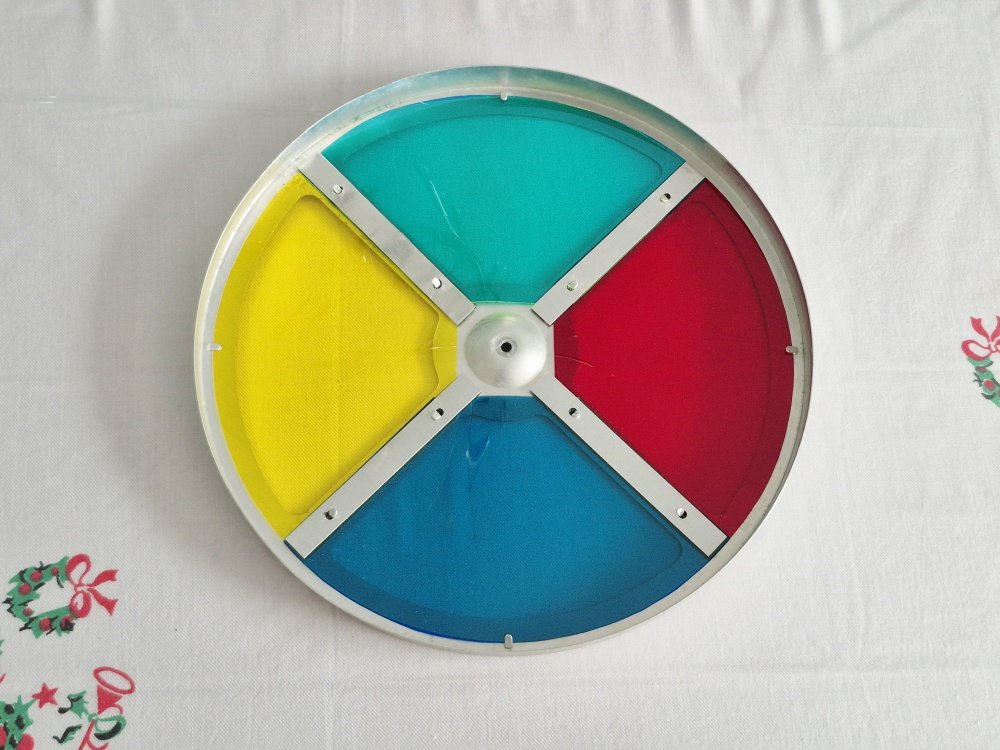
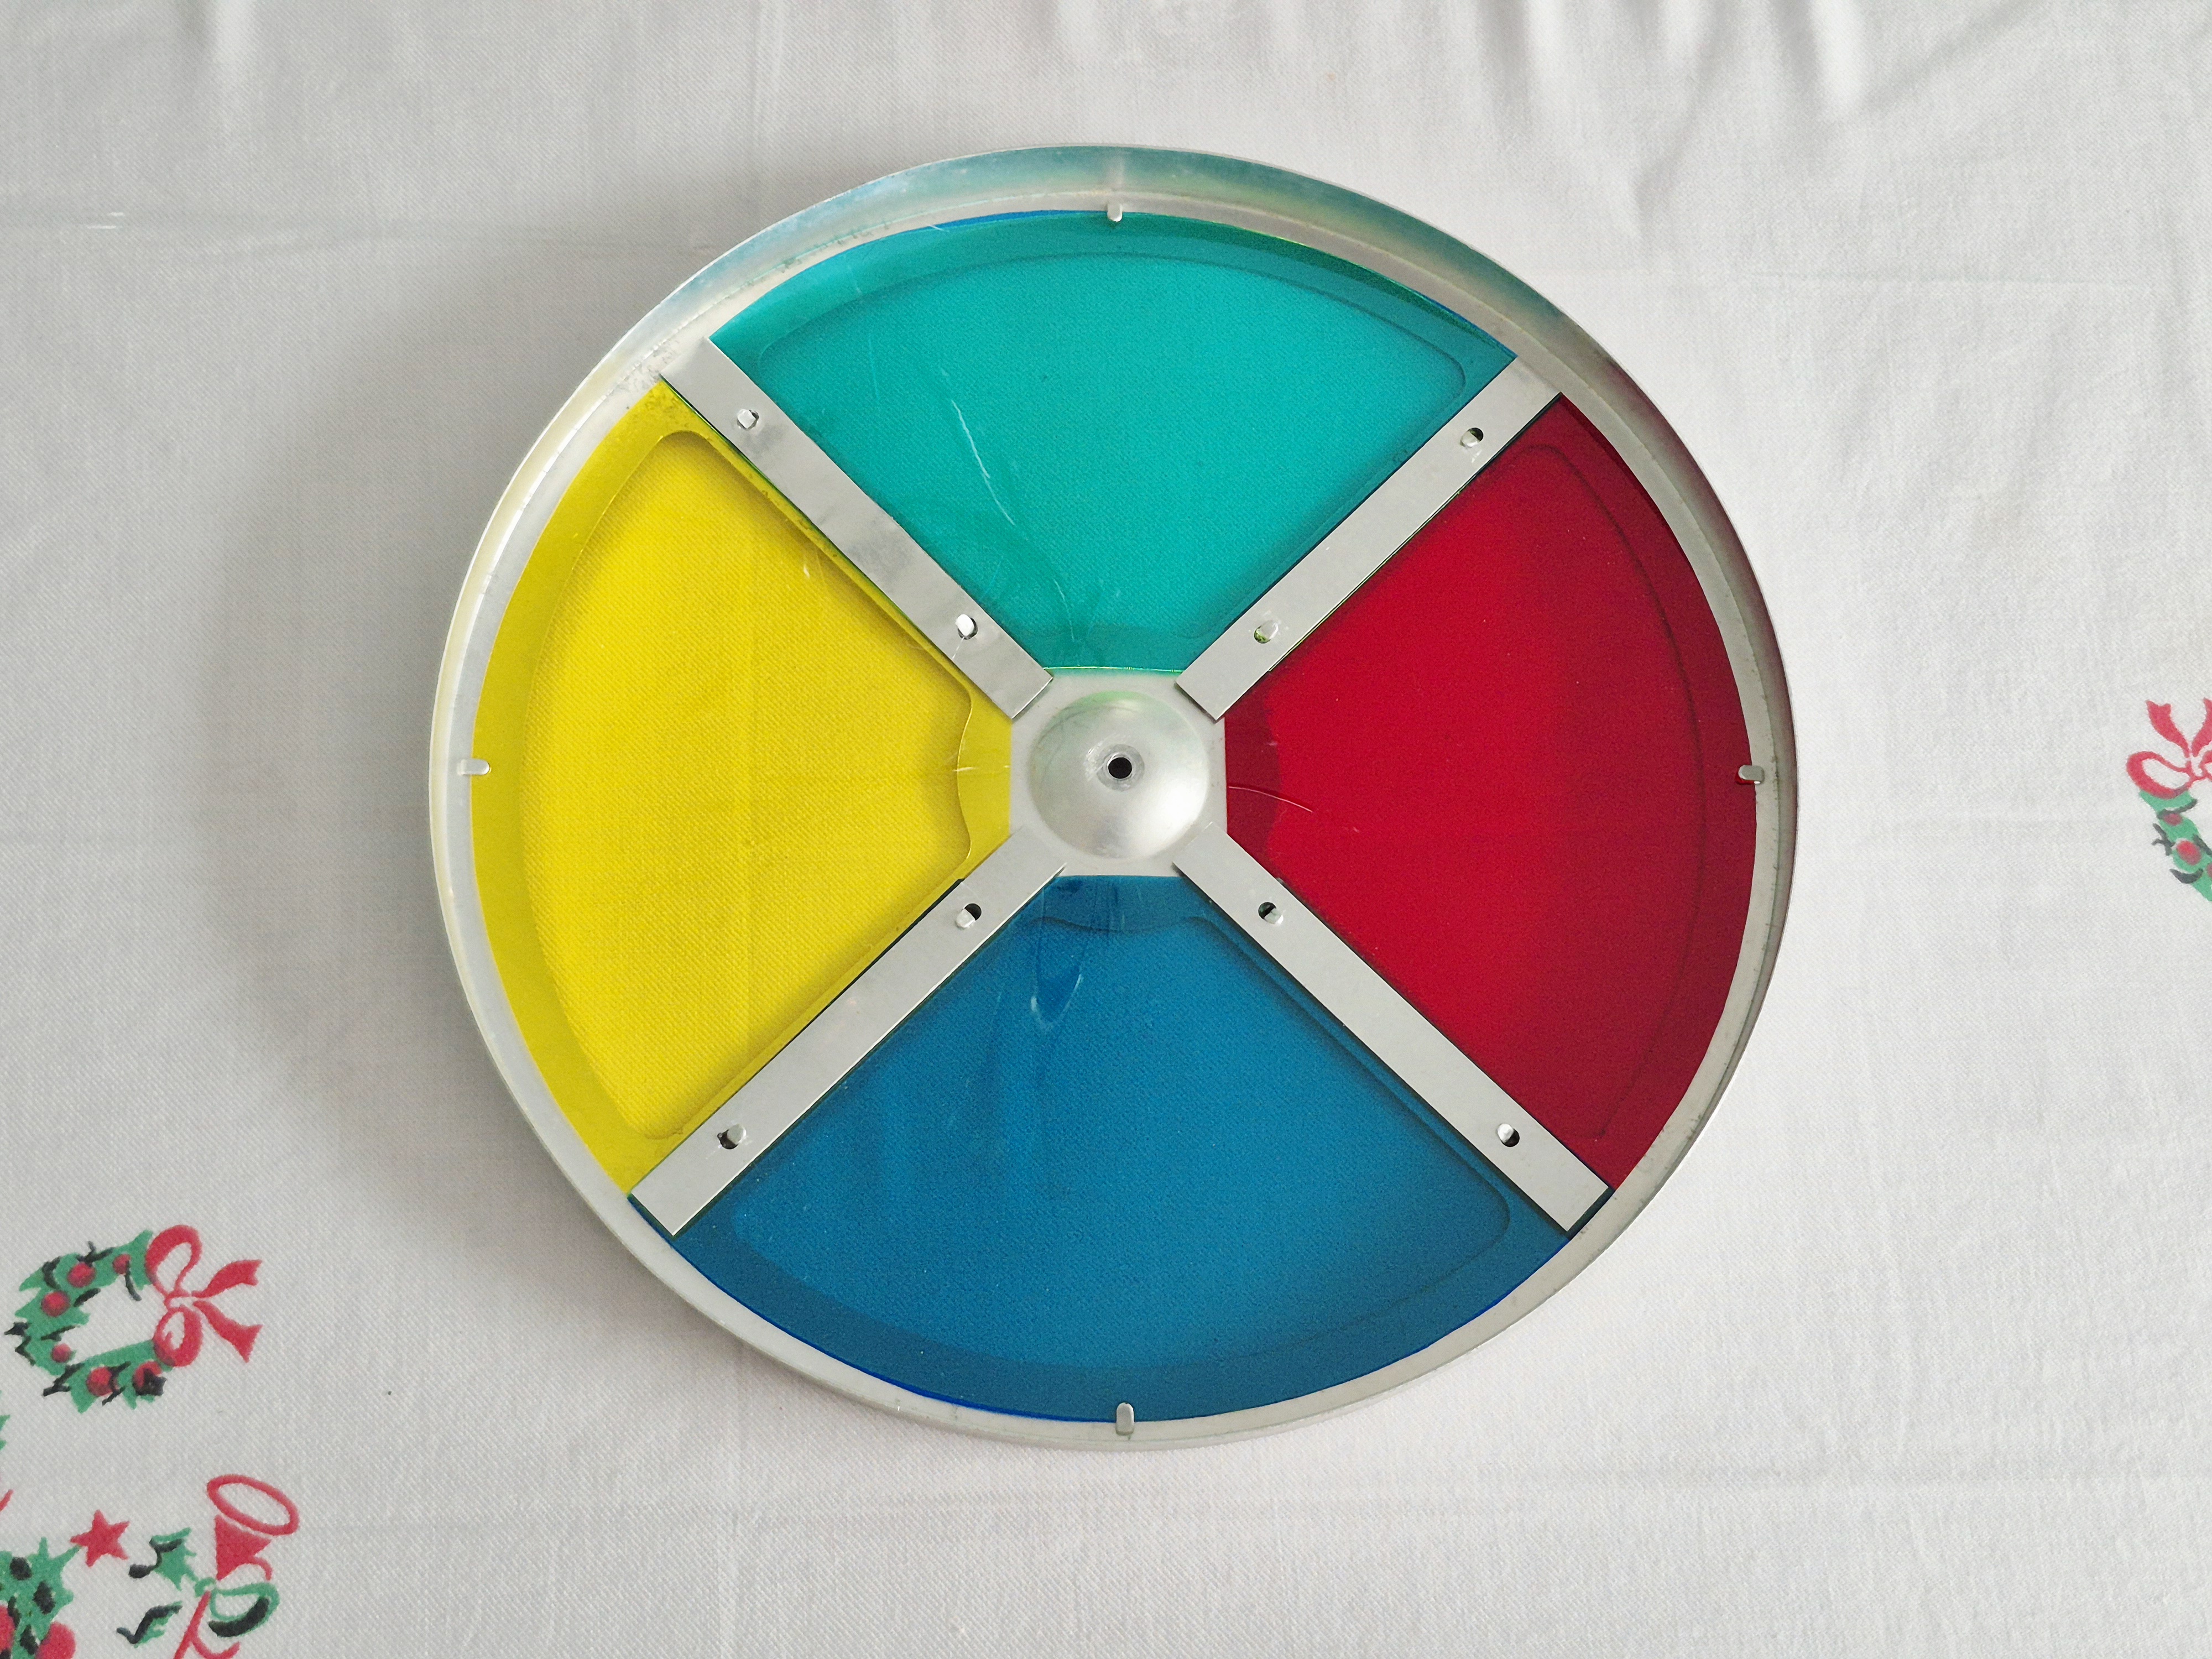
Step 7: The final moments

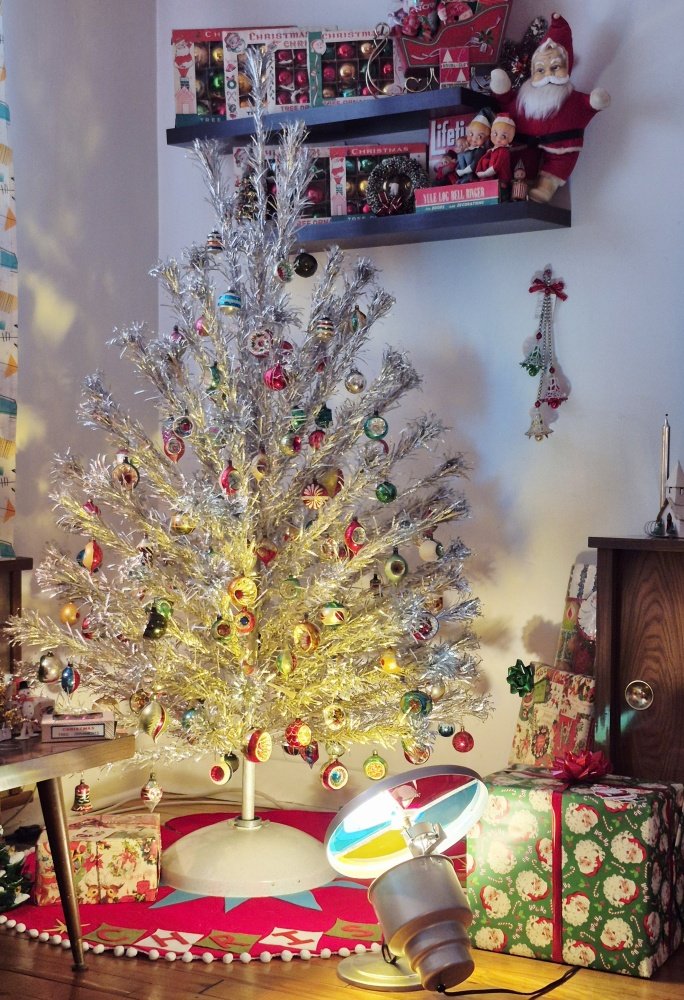
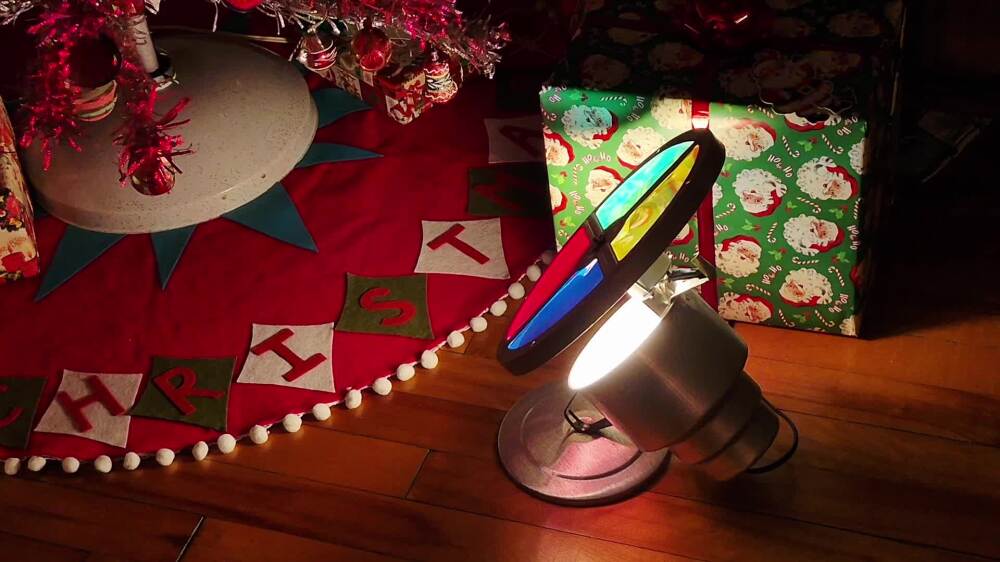
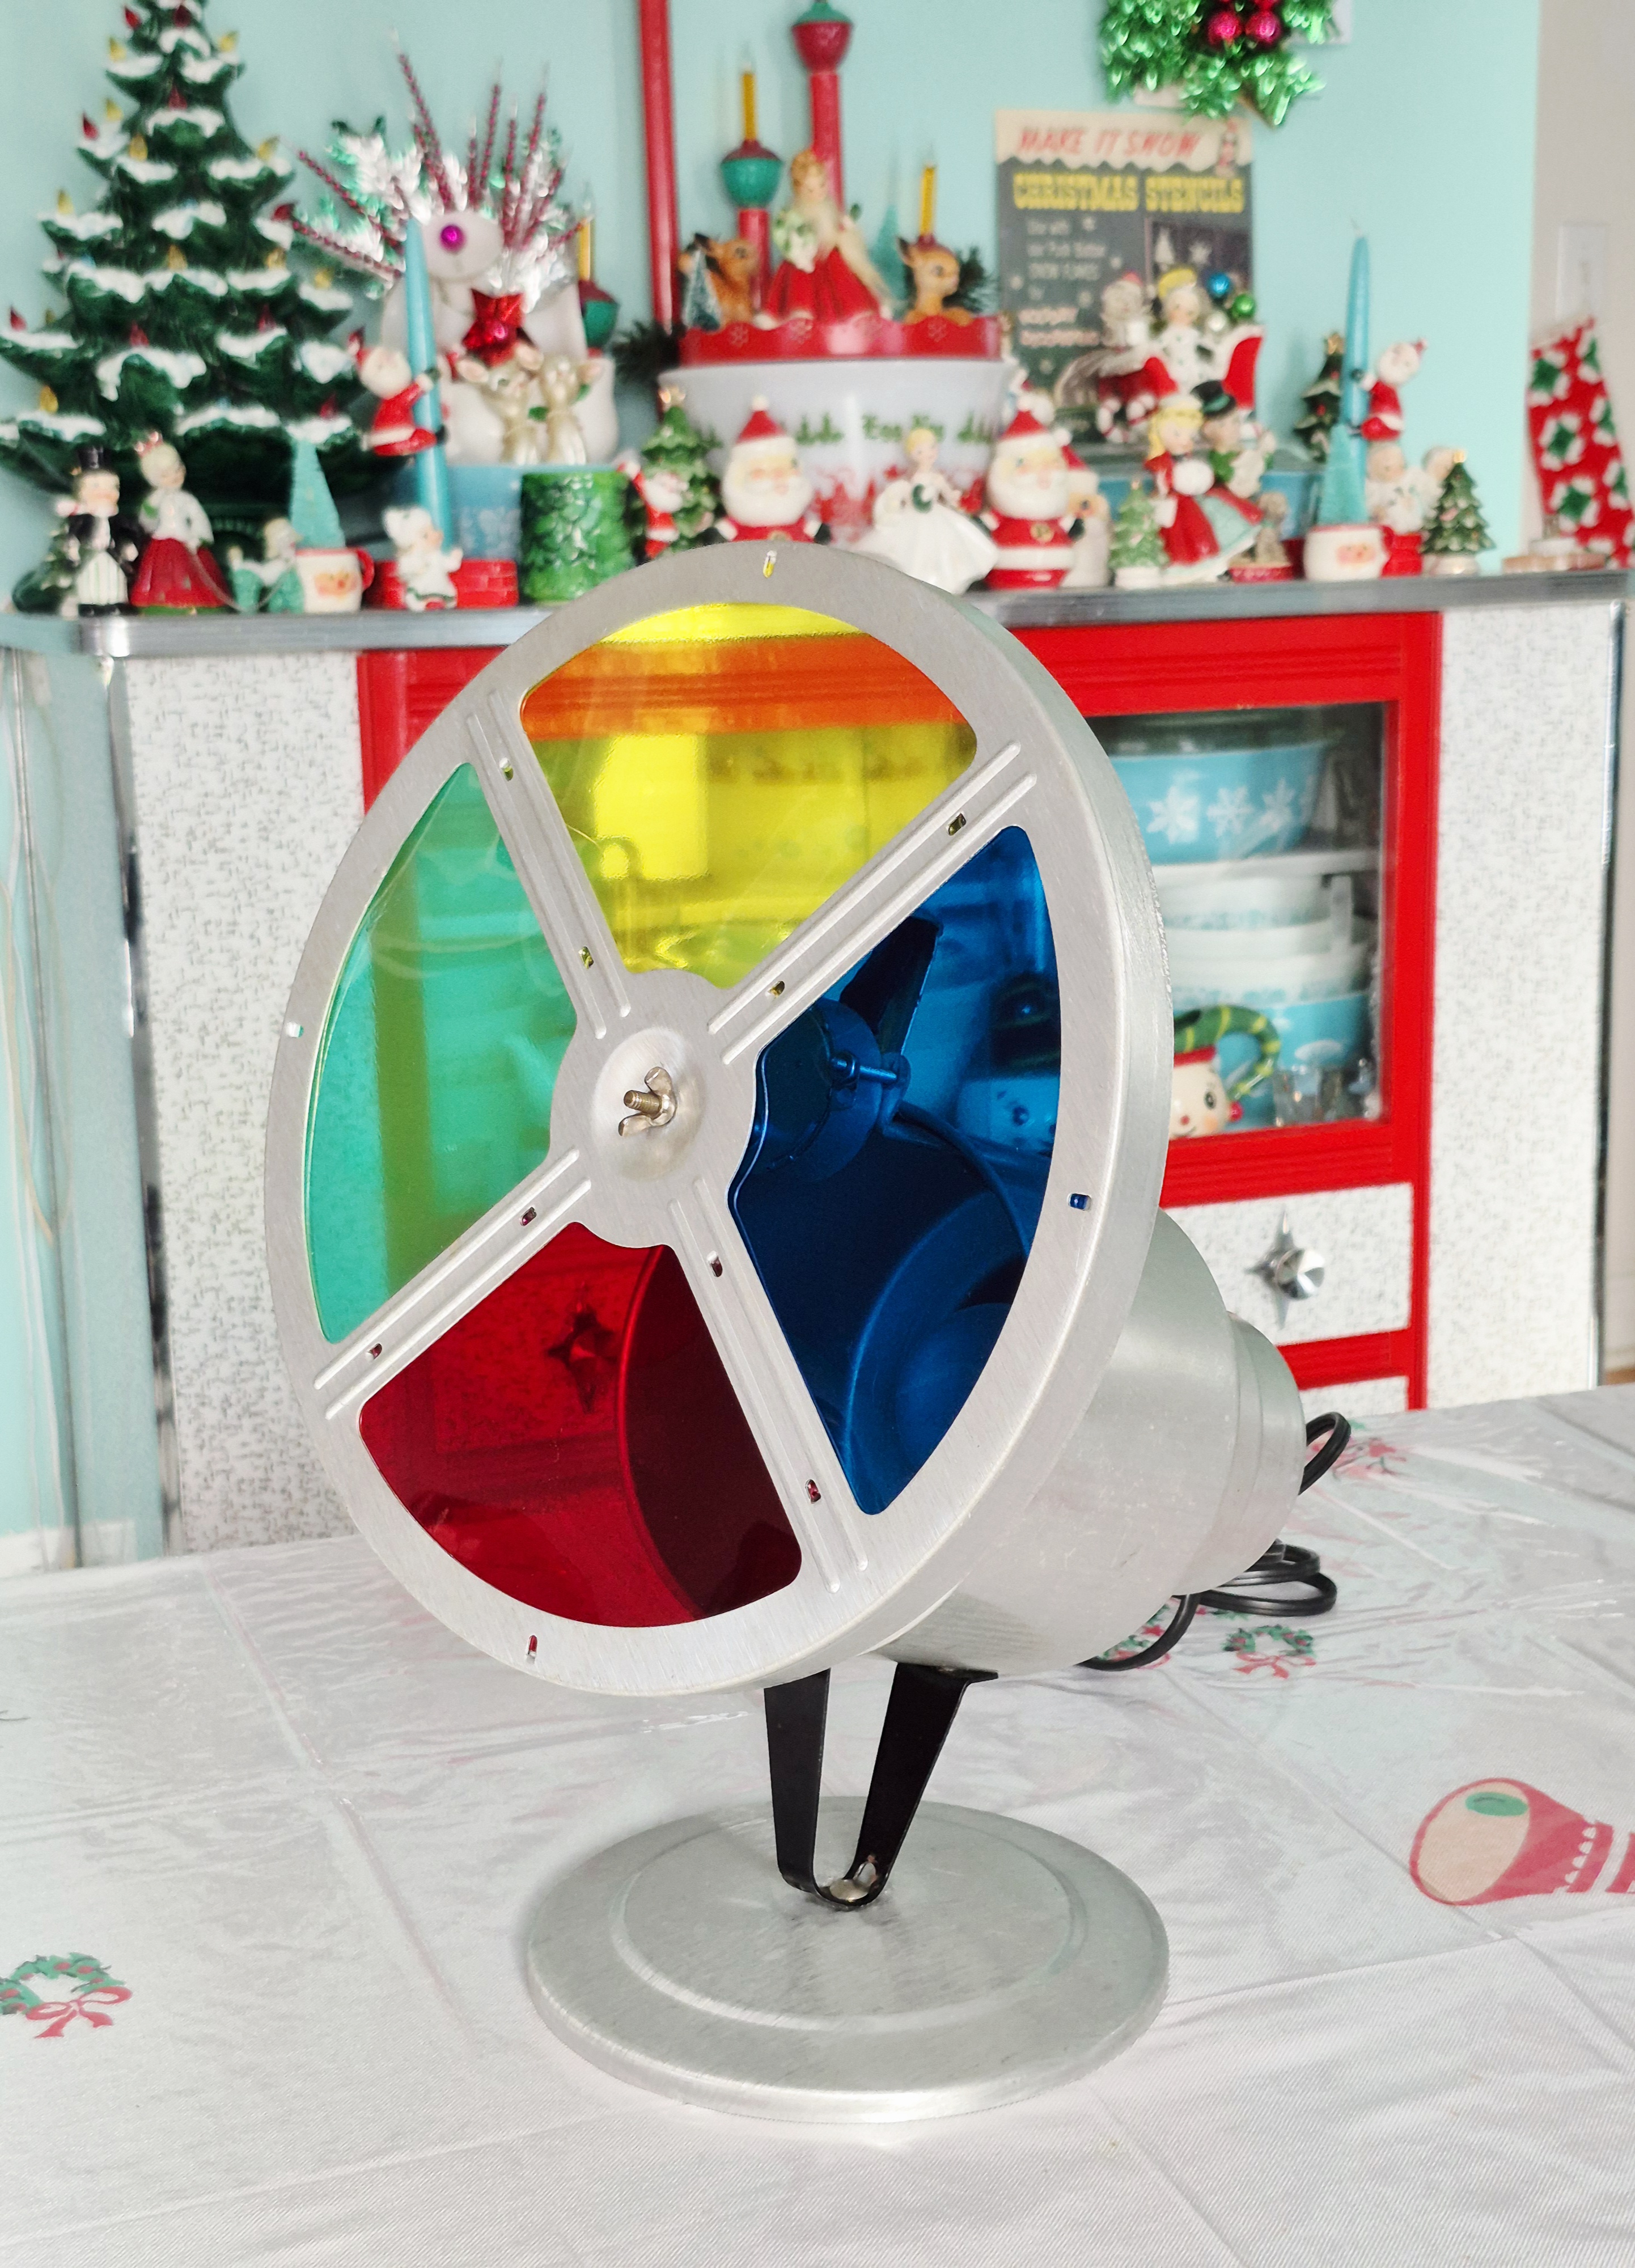

I reassembled everything and added an LED bulb — I know, not vintage, but it will prevent the gels from deforming. And, just like that, it worked! I am very pleased with this project, and it makes my aluminum Christmas tree even more magical ! ✨️